Neighborhood Trolley
thingiverse
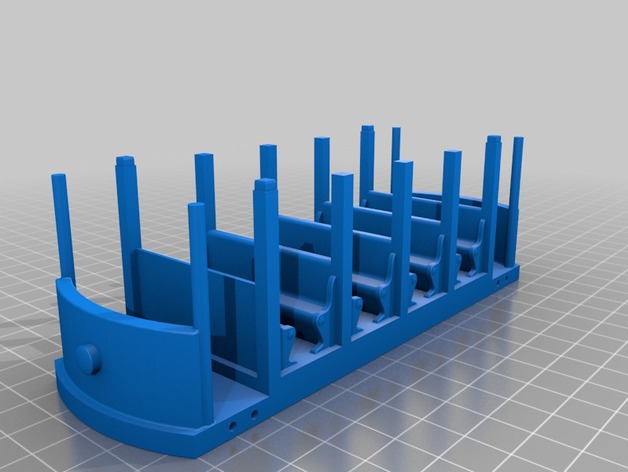
Ding ding! If you're a fan of Daniel Tiger or Mister Rogers (calling all aunts, uncles, moms, dads and grandpères), you've probably thought about printing up a trolley. First off, I want to semi-apologize for the Body file that's 64 MiB. I generally enjoy churning out high resolution models for my prints, where I don't see curves in 10-degree steps. Unfortunately for the body object this wound up making it rather huge, and I do not recommend attempting to use Thingiview on the high-resolution model (if somehow the preview is re-generated by the website). The "normal" res model file was saved using SolidWorks' "Fine" settings, and is about 1/16th of the resultant filesize. For this project, I wanted to make a trolley that was relatively close to the original and good-sized. I wanted most of it to be snap-fit, and after long periods of staring at old pictures, I realized that I liked the rustic feel of the screws that held the side platforms onto the trolley. The original trolley has all sorts of details, from the curved seat ends, to the caps covering the supports, to the slight overhang of the top roof, and I wanted to fit as much in as I could without going overboard on the number of objects that would need snapping together. The four cylindrical posts in the engineer compartments tended to be fragile when I had them at 2.5mm, so they're a full 3mm in this version, and I think it still looks good. The rest of it has generally survived** playtime with a four-year-old, so I left it alone. I intend to continue making little improvements, tweaking it a little to allow me to add LED lamps on the ends, perhaps. Maybe getting info on model train track motorized wheel modules or creating a variant with room for a small motor and gearbox? Open to ideas if you have any. Oh yeah, and you'll want to print two of the side platforms and two of the cow catchers. ** Aside from a minor crack on the side platform after falling to the floor, but it did not break off so I'm sticking with this story. Print Settings Printer Brand: Ultimaker Printer: Ultimaker 2 Rafts: No Supports: No Resolution: 0.1mm Infill: 22% Post-Printing Assembly In general, the top signage snaps into the 3x80mm (~4mm deep, in case you want to make your own signs) grooves on the roof. The roof snaps onto the four main post corners. The cow catchers snap in with three posts. The side platforms can be mounted with M1.6 or M1.8 screws. And the bottom has four M1.6-1.8 holes for mounting the optional wheeled dolly. I used 2mm rods with 16mm diameter tires, and it works well. I found myself using a very small rubber-handled screwdriver as a light mallet when getting the snap-fit parts to seat well, setting the body on my desk, positioning the roof and gently tapping the pegs into place. Same with the cow catchers, tapping between the engineer section posts and down onto the catchers. I used a drill/tap to round out the side platform mounting holes a little before using some tiny random anodized screws.
With this file you will be able to print Neighborhood Trolley with your 3D printer. Click on the button and save the file on your computer to work, edit or customize your design. You can also find more 3D designs for printers on Neighborhood Trolley.