Neighborhood Trolley
thingiverse
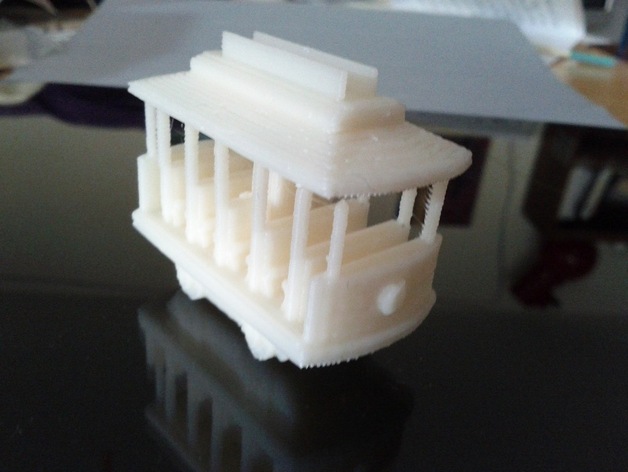
As a kid I LOVED Mister Roger's trolley, so here is a trolley I designed based on that one. I hope it takes you to the land of Makerbotbelieve. Instructions Updated 6/20/12: Trolley6.stl Is cleaned up a little and should print better on more finicky machines. Download and print Trolly6.stl. All parts are printed together in this file. (You can download and print the parts individually if you prefer.) Insert the split rod first into the base, "wheels" down. It should be a snug fit and you may have to squeeze the split part of the rod together. Slide the body over the rod. This should be a looser fit. Be very gentle with the poles that stick up - they are very fragile when printed at this tiny scale. Slip the top roof onto the center rod. It will be snug. Again, be careful with the poles. Squeeze it all tight. Play! Where does your trolley take you? This trolley is best printed in red. (I'd love to see it if you do.) I've attached the Sketchup file incase someone wants to edit it to give it truer colors on a machine that can print two colors at once. Ideally, the colors would be: Roof: red with yellow sign strips Body: red with green seats (with yellow seat sides, yikes!) Base: black
With this file you will be able to print Neighborhood Trolley with your 3D printer. Click on the button and save the file on your computer to work, edit or customize your design. You can also find more 3D designs for printers on Neighborhood Trolley.