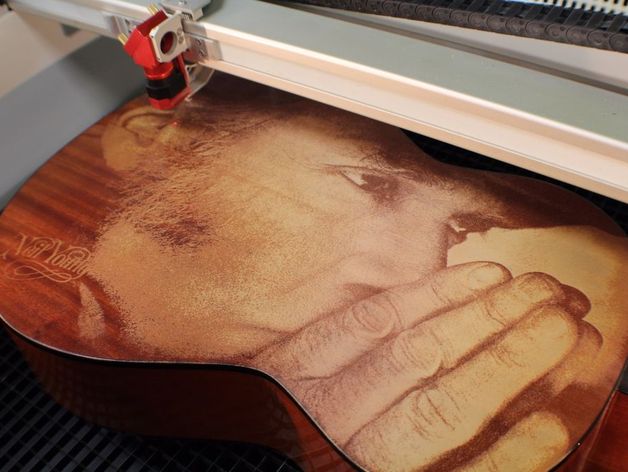
Neil Young Laser Engraved Guitar
thingiverse
Today we will be engraving Neil Young's face on the back of a guitar. What a way to make a guitar your own. To create this wonderful work of art, we used a Trotec Speedy 400 flexx laser engraving machine. All you will need is a guitar. How I Designed This Step 1: Select an image file First thing we need to do is to properly set up the image file to ensure the best effect the laser machine will have. In this first step; we have the original photo, an outline of an acoustic guitar and the perimeter/engraving measurements of the guitar put into a rectangle. We must first set up the image file properly to allow the machine to create a precise image. We took the original photo (can be any image of your liking) and an outline of a guitar with the perimeter/engraving measurements into a rectangle. Step 1: Select an image file Step 2: Adjust the size This step is created to make sure the picture is the right size for the actual guitar. An outline of the guitar was created to overlap the image to see what exactly will be engraved. Very helpful for making sure the photo is the right size to be engraved. This step is to align and see if the guitar is the right size. The outline of the guitar overlaps the image to see where the engraving will occur. It is important to make sure the photo is the correct size to be engraved. Step 2: Adjust the size Step 3: Enhanced Contrast During this process, the contrast is slightly enhanced to ensure the best effect. The dark tones in the photo were enhanced to be darker whereas the light aspects of the images were brightened to have the best contrast. This step will help to reduce the detail in the actual photo which increases the end effect of the laser. We slightly enhanced the contrast to ensure we received the best effect (Darker darks, brighter light aspects). This step will decrease the detail of the actual photo, while the finished piece will have a greater effect in contrast. Step 3: Enhanced Contrast Step 4: Convert to black and white Since the machine works in RGB colours, the picture had to be converted to black and white using the Jarvis setting. This step will allow the machine software to recognize the image to engrave. The Speedy 400 flexx works in RGB colours, and therefore need to be converted int black and white using the Jarvis setting. This will also allow the machine software to recognize which parts of the image to engrave. Step 4: Convert to black and white Step 5: Invert the colours The colours need to be inverted to allow the machine to engrave the dark areas instead of the light (it will come out as the user intended). Step 6: Make power and speed adjustments The power and speed levels are dependent on the image and object type itself. In this specific case, we used 100 power, 100 speed and 500 dpi. Step 7: Insert the guitar To ensure the guitar will be engraved properly, we must place the guitar correctly within the machine. To do so, we must centre the guitar and move the laser to the centre. Looking at the image, you can see that the laser has been moved from it's original position on the machines bed. Step 7: Insert the guitar Step 8: Set up your own image file to personally engrave your own acoustic guitar. Not only can images be engraved onto guitars, text, graphics and symbols can all be engraved to your liking. Happy engraving!
With this file you will be able to print Neil Young Laser Engraved Guitar with your 3D printer. Click on the button and save the file on your computer to work, edit or customize your design. You can also find more 3D designs for printers on Neil Young Laser Engraved Guitar.
