Neopixel MQTT Alarm Clock with Buzzer, RTC, Temperature, Humidity and Pressure sensor
thingiverse
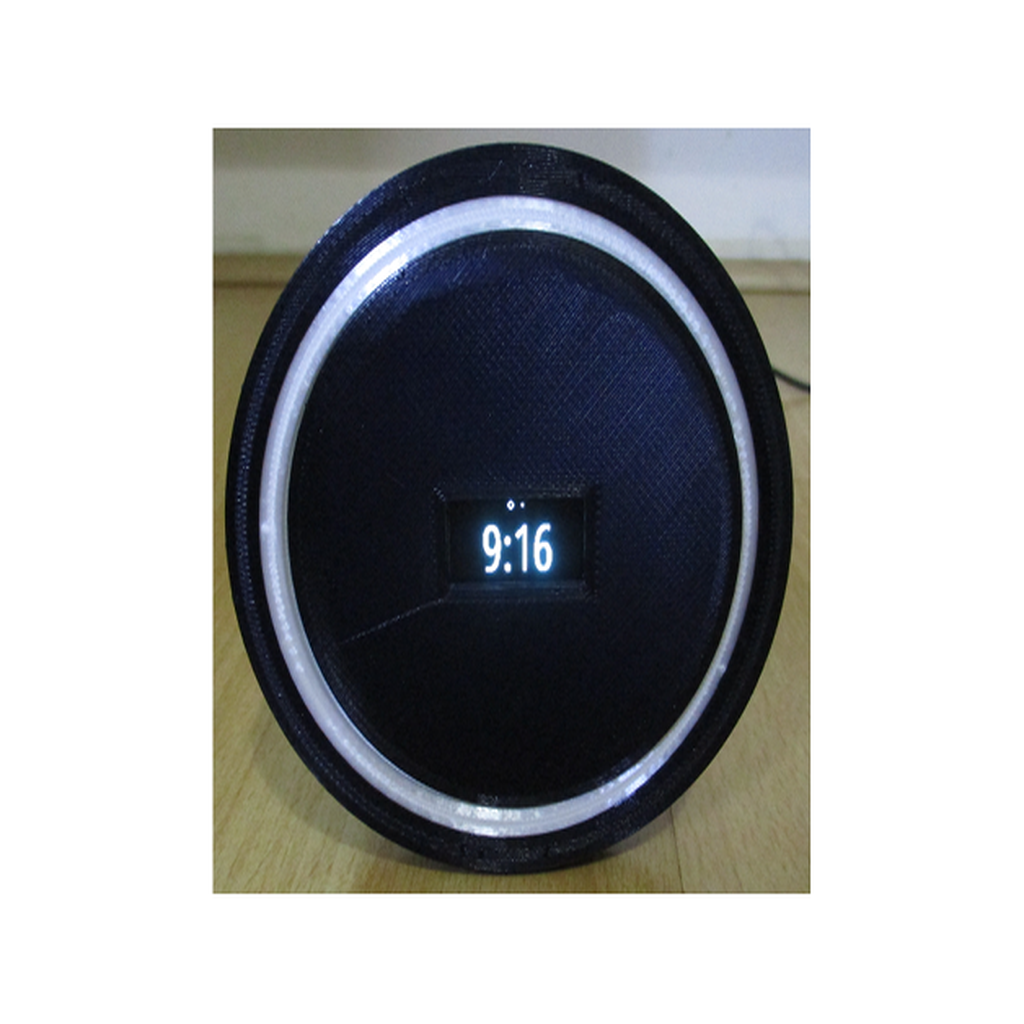
Have been tinkering with this clock for quite some time now, and needed an enclosure that fits perfectly, which this one does beautifully (big thanks to its creator), and I used part of the Desktop widget clock for the screen insertion into the face (many thanks again). The original design was made for a dual color printer, so I've modified it to include a slot in diffuser, and have also changed the design of the back to allow extra space for electronics - it's a tight fit, but all modules can fit inside. I loved the idea of being woken up gradually, and so the Neopixel ring can be triggered by an MQTT command independently of the buzzer. The clock only checks periodically so alarms may be out by a few seconds - but I'm okay with that. https://youtu.be/yKDOEWcy0uQ I have mine set up with a node-red flow that uses Bigtimer to trigger the light, and a delay that then sounds the buzzer 5 minutes later. The clock also contains a DS3231 RTC module so that if power is disconnected, then when plugged in again it shows the correct time (there's scope for a battery version that will work with no mains and use eg a RTC Alarm, but I've not done that). I've also included a BME280 that is used for temperature, humidity and pressure readings. The time and temperature is shown on the SSD1306 OLE display via sliding frames, each shown for 5 seconds. The code is cobbled together from an SSD1306 example script that showed the sliding frames of a clock, and the WS2812FX library that circles through approx 40 light animation effects. The exposure on the video is a little out, as the clock lights appear much brighter to my eyes. When the light displays, or the buzzer sounds, a button on the clock can be pressed to cancel it/them, and sends a message back to the MQTT server to cancel the alarm. Components used are: Wemos D1 Mini Buzzer Neopixel ring (I used an RGBW 24 pixel unit, 6500k, OD 92mm, ID 76mm) SSD1306 (I2C) 3.3V DS3231 RTC (I2C) 3.3V BME280 (I2C) 3.3V Switch 10k resistor 2 screws The circuit diagram is included. Printing is straightforward and there's no need for supports (except for the diffuser), any spans should be OK without them. There's a little slack to allow the diffuser to fit. If your tolerances are a little out, and the face isn't tight in the body when the screws are tightened, a couple of drops of superglue at the back edge should be sufficient to tighten the clock face to the diffuser. Ensure all components are insulated, I used heat shrink and kapton tape. Check for overheating and good air circulation. The code for the Wemos D1 Mini is in the AlarmClock.ino file, just copy and past it into the Arduino IDE to compile, use the library manager to add any libraries you don't have installed. You will need to include your wifi details, and your mqtt broker details, and if you use a different neopixel ring, you will need to adjust lines 29 and 32 to the type of ring used. A demo node-red flow is also included in a text file - just copy it and import it into node-red using the clipboard option.
With this file you will be able to print Neopixel MQTT Alarm Clock with Buzzer, RTC, Temperature, Humidity and Pressure sensor with your 3D printer. Click on the button and save the file on your computer to work, edit or customize your design. You can also find more 3D designs for printers on Neopixel MQTT Alarm Clock with Buzzer, RTC, Temperature, Humidity and Pressure sensor.