Neptune 3 Max Z-axis Rail Guide Positioning Fixture
thingiverse
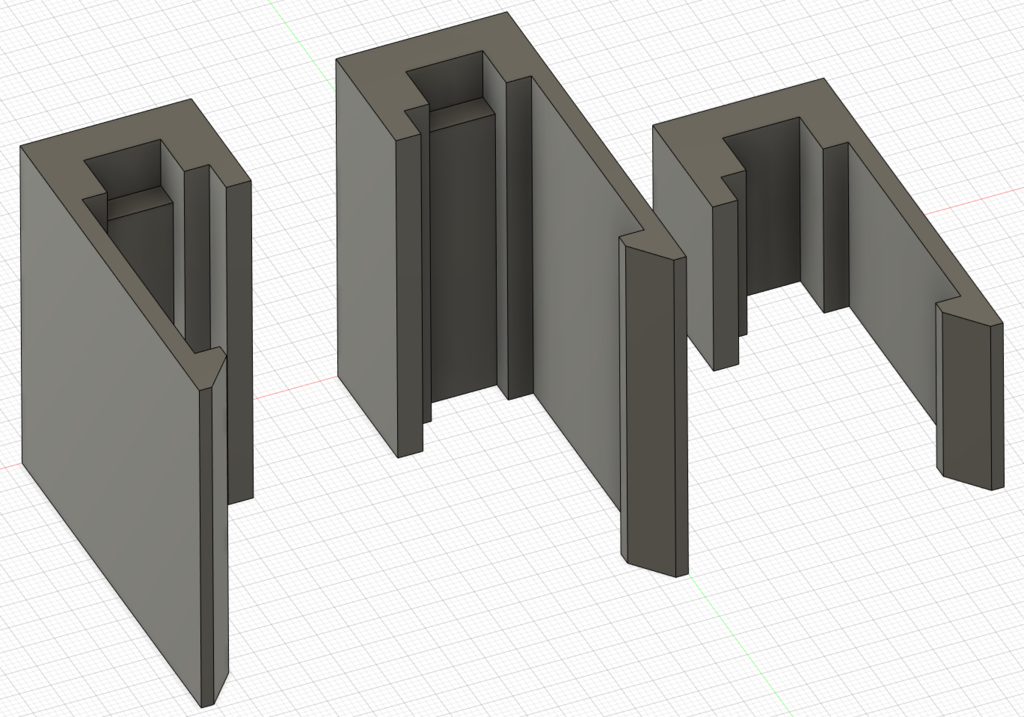
This is a remix of the alignment guide provided by TBStron3D for their [Z-axis linear rail kit](https://strong3d.myshopify.com/products/z-axis-upgrade-for-elegoo-neptune-3-max?variant=46029915357487) for the Elegoo Neptune Max 3. This remix makes the following three modifications: 1) The recess for the linear rail has been increased by 3mm, resulting in the rail being installed 3mm lower. For a stock printer, this change doesn't affect Z-axis travel, however, it does add a little bit of additional protection in case the print bed is ever lowered, maybe from replacing the metal center spacers, or from changing the hotend assembly. Since the main printer cable prevents the X-axis gantry from reaching the top of the printer, losing 3mm of travel at this end should not be an issue. 2) A mini alignment guide has been added which can be used to reposition the linear rails after the printer has been reassembled. 3) The model has been simplified to remove the need for supports which can affect dimensional accuracy. As a result of this change, the model is no longer symmetric and now has two versions. Both versions are required during installation. Printing two sets of the larger guides is recommended prior to beginning installation of the Z-axis rail kit.
With this file you will be able to print Neptune 3 Max Z-axis Rail Guide Positioning Fixture with your 3D printer. Click on the button and save the file on your computer to work, edit or customize your design. You can also find more 3D designs for printers on Neptune 3 Max Z-axis Rail Guide Positioning Fixture.