Nerf Swarmfire Trigger Switch Plate
thingiverse
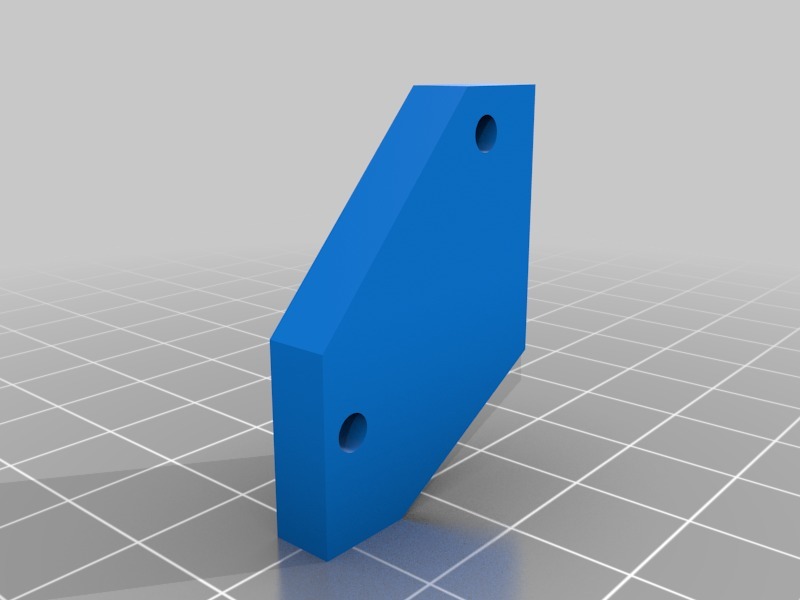
The standard version of this file should work well for most microswitches similar to the one shown in the photos. You can shorten your level arm length if needed, but in my case, the full length clears the shell wall without any problems. If you chose the [no holes] STL, a 7/64th drill bit will match MOST mounting screw hole diameters, but I'd still double-check by fitting the correct drill bit to the diameter of the mounting holes for your specific model of switch. Follow these steps (see photos): 1. Trim down the top support for the stock switch retention slot (first photo) 2. Determine if your microswitch switch mounting is similar to the pre-aligned STL 3. Glue the plate so that the side farthest from the mounting holes is flush with the 90-degree angle created by your shell reduction 4. Attach your switch so that its lever arms intercept the path of the stock trigger actuation path. Note: I use Cura for slicing, but no matter what software you're using, rotate the model so it's flush with the print bed.
With this file you will be able to print Nerf Swarmfire Trigger Switch Plate with your 3D printer. Click on the button and save the file on your computer to work, edit or customize your design. You can also find more 3D designs for printers on Nerf Swarmfire Trigger Switch Plate.