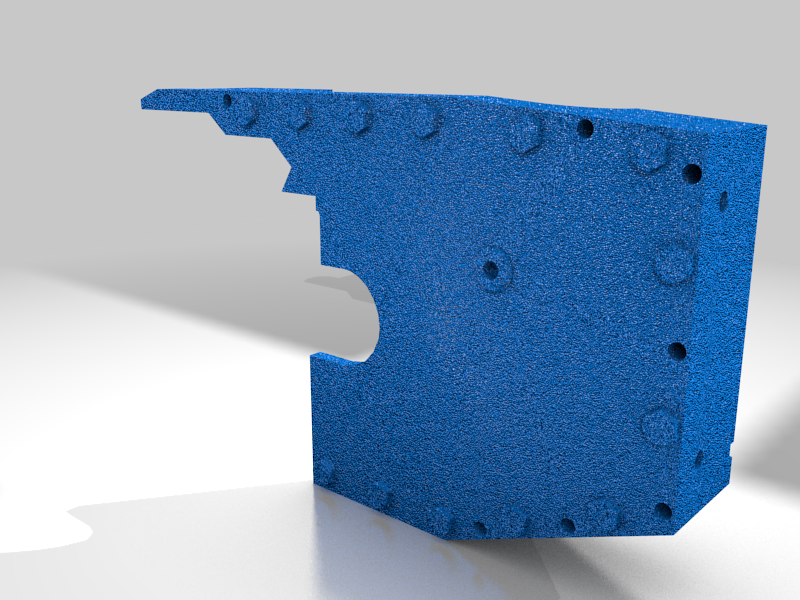
Nerf Vulcan MK V HMG body kit
thingiverse
Well, 2020 sucks and i know a lot of people have wanted to get their hands on it for a while. I've decided to follow slug's example and release the printed parts of the kit for free, i can always make and sell em myself anyway~! Now, a few notes. You'll need a drill with a 1/4" bit, and will have to also drill a hole in one of the printed shell parts, i forgot to do that for the wires. The "vulcan internal barrel spacer" is for a standard length of nerf barrel, connected to an afterburner/flywheel cage, this centers the end of that barrel inside of the vulcan's stock barrel, to improve accuracy of the dart. Now then, hardware wise you will need: 4x - 1/4" x 1" bolts 8x - 1/4" x 3/4" bolts 12x - 1/4" nuts Two small springs, roughly 3/8" in diameter an 1/2" long to put behind rev triggers 2x 15A 120v microswitches lengths of wire and like, 10x small screws, don't know the names of them but they should be pretty easy to find. Installation: Barrel/deco 1. There are now decorative rings named "barrel deco" in the files. Use these to slot over the stock barrel in the vulcan, you will have to disassemble the front part of the shell to get at the barrel itself 2. The barrel itself should slide in and lock into the same spot as the stock, stubby barrel 3. The sight slides over the front of the barrel, use superglue to affix once pushed all the way back to the tapered part. 4. The muzzle brake should slot onto the front. Rear shell: 1. Dismantle the vulcan's shell and remove the trigger, then cut off the non-needed part of the handgrip and re-insert the trigger. 2. once reassembled (by holding the shell together, maybe only two or three screws) hold together and slide the new shell over the rear half of the blaster. 3. Mark the holes with permanent marker to drill out with a 1/4" bit 4. Dismantle the shell once more, remove internals and drill out the holes. Afterwards, use four 3/4" long bolts to hold the new shell to the vulcan, apply hot glue around nut to firmly hold it in place for future dis-assembly 5. re-install internals in right half of vulcan shell. 6. Install "spade bracket" with two bolts into the right side of the shell, drill hole for wires using existing hole in bracket as guide. 7. For the trigger, insert trigger linkage through holes in shell as seen in photo, screw into bottom of trigger and insert a pin or bolt through the butterfly trigger to hold in place 8. For grips, hex nut sides should be facing outwards, with bolts coming from the inwards side, pointing out to the sides of the blaster. 9. insert pre-wired microswitches into cavities in grips, loop wire up behind switch and through top of grip, feeding into the grooves and out into the shell. From there, fill crevices with hot glue to seal wires in. 10. insert rev "trigger" prints into notches in grip, should sit somewhat loose, using top of trigger as a pivot and the bottom to depress the button on the switch. 11. Insert spring behind trigger, bolt may pass through spring but that's acceptable. 12. assemble grips, once more, with bolts on inner face and nuts on outer face. 13. Reassemble entire vulcan shell, carefully closing and bolting on the left side of the spade bracket, insert 8x small screws into holes. From now on, these will replace your vulcan's stock rear-shell screws and can be unscrewed to access internals, as well as the last two bracket bolts. These instructions aren't really completely detailed or anything, but if you're printing this you're probably the type to know how to fiddle with it until it works. So have fun!
With this file you will be able to print Nerf Vulcan MK V HMG body kit with your 3D printer. Click on the button and save the file on your computer to work, edit or customize your design. You can also find more 3D designs for printers on Nerf Vulcan MK V HMG body kit.