Nest Camera Reduced Glare Window Mount
thingiverse
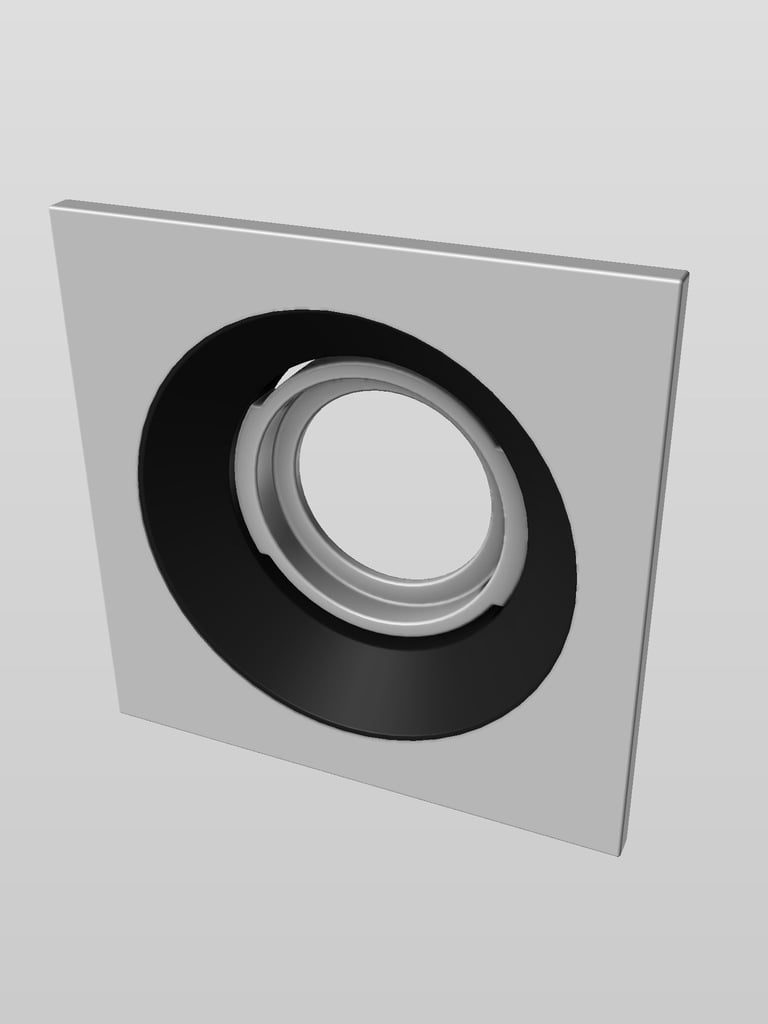
I've set up several Nest cameras indoors, pointing them outdoors to monitor my front porch, front and back lawns. While some might argue that outdoor cameras are a better option, in this case, indoor cameras make more sense for me. Using the mounts that come with the cameras work alright, but there's still a lot of glare. By reducing the distance between the camera and the glass and creating a bit of shade, I've been able to reduce glare, especially at night when the inside lights are turned on in our house. I printed these parts with a 0.2mm layer height using 3 outer perimeters, 3 top layers, and 3 bottom layers with 20% infill in Hatchbox PLA. Assembly is straightforward: First, insert the center camera mount into the outer ring. It's a snug fit, which helps keep it pivoted the way I set it. Next, push the window frame mount into the outer ring from the back. This too, is a snug fit. Then, simply insert your Nest Camera through the center hole and plug it in. Align the mount to the corner of your window, position everything as you want it, and get a feel for how it will be mounted. Apply a few pieces of 30 lb double-sided tape to the edges of the Window Frame Mount and adhere it to the edge of your window frame. Be sure not to stick it directly to the window - this could be hard to remove and might even break the glass. I also taped the camera wire to the edge of the window frame to keep it from hanging loose. I'm really pleased with how this mount turned out. It looks nice, and keeps the back of the camera exposed so that it still receives proper cooling.
With this file you will be able to print Nest Camera Reduced Glare Window Mount with your 3D printer. Click on the button and save the file on your computer to work, edit or customize your design. You can also find more 3D designs for printers on Nest Camera Reduced Glare Window Mount.