Nest WiFi Floating Wall Adapter and Cable Organizer
thingiverse
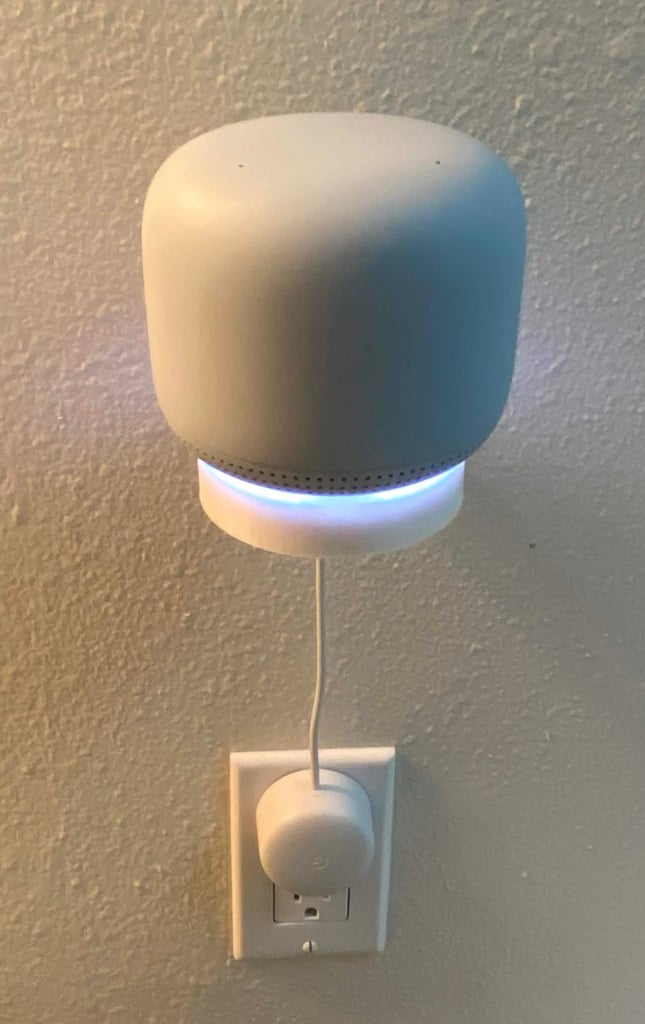
I love my Nest WiFi but got tired of my Nest WiFi point cluttering a surface and I didn't like all the extra power wire, so I decided to make a floating mount for it. A single small screw is needed to mount this - make sure the screw goes into a stud or this may tear out drywall. The mount just slides over the screw - make the screw head have about a 2mm gap and the mount will be nice and snug to the wall. Cable routing & mounting instructions (once it is securely mounted to the wall): 1. Disconnect the power cable from the Nest WiFi point. 2. Unspool the power cable from the little plastic clips fully 3. Run the end of the power cable (the part the plugs into the Nest Wifi point) through one of the two holes in the cylinder with four posts, pulling it through until it is the length you want underneath (e.g. a straight line from the mount to the wall socket it is plugged into). 4. Wrap the power cable around the four posts until about four inches is left. 5. Run the end of the power cable out of the other of the two holes, then up through the hole nearest the wall. 6. Plug the power cable into the Nest WiFi point. 7. Stow the two little clips that held the power cable in the middle of the hollow part of the base in case you need them again in the future. 8. Set the Nest WiFi point down on the mount. There are little raised grips on the front and back edges that it should slide behind so that it is securely mounted. 9. Enjoy!
With this file you will be able to print Nest WiFi Floating Wall Adapter and Cable Organizer with your 3D printer. Click on the button and save the file on your computer to work, edit or customize your design. You can also find more 3D designs for printers on Nest WiFi Floating Wall Adapter and Cable Organizer.