Akku Battery Adapter Power Tool ActivEnergy GardenLine compatible
thingiverse
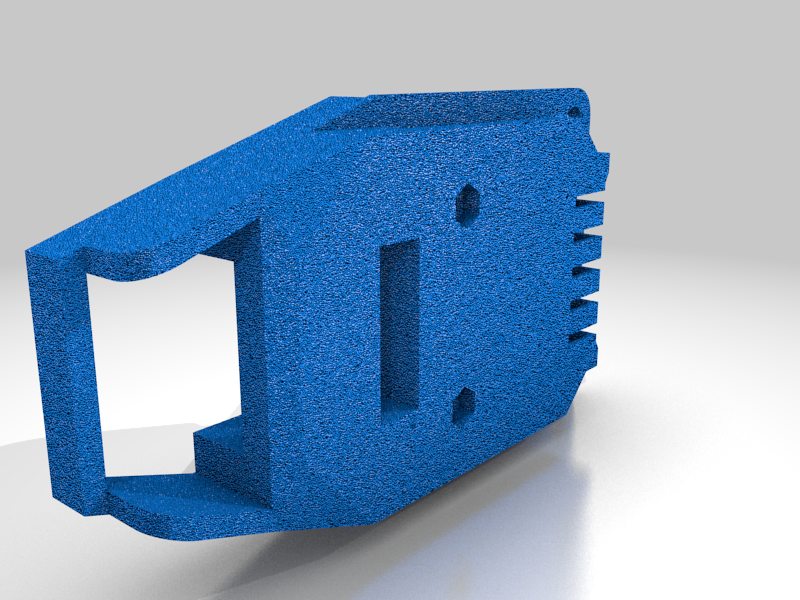
(English) Battery adapter from ActivEnergy compatible (AEc) (Battery, suitable for inserting into a tool) to (currently) GardenLine compatible (GLc) (tool, to insert a battery). The adapters can also be used independently to either use GLc batteries for different purposes or to build batteries for AEc tools. Print settings: Layer height: 0.2 mm Infill: 25% Support: Yes The support in the AEc adapter electrical slots is more diffcult to remove as the slot separators (1mm wide) are each next to the support. In any case I recommend to cut the brim from above (I printed the part with the tool facing area down to get a flat contact are to the other parts which are screwed on, but the top surface does not look so nice, but I don't care). Design: Holes are suitable for 3mm screws (for directly screwed in plastic they are 2,7mm, to insert screws, holes are 3.1 mm (which is tight for me)). The button is not moving very well due to the layers giving a rough surface, but it works to be reasonable usable, I used silicon oil on the button to make it move better, if you know a method to smooth the surface (e.g. for ABS with Aceton vapor), you can apply it here. Assembly: GLc: The holes are for inserting screws and use washers (as I had Allen screw heads which were rather slim). As connector you can use 6,3mm flat-cable connectors in print type, that can be soldered onto a raster PCB.The distance between the two contact is not matching the normal (2.54mm) raster, so I drilled the holes bigger, sticked the flat connectors with the PCB in the adapter, adjusted everything and carefully soldered to upper pin (so the PLA does not melt), to fix it, then removed everything and finished soldering and cables. AEc: The images show a version that only uses 2 insert screws to connect the parts (Battery, Lid and possibly GLc adapter). I extended the current design to support 4 screws for each part that connects to another (the additional screws are all directly screwed into the plastic). I didn't found the female flat connectors (at least for print only for crimp, if you know where to get them you can let me know), so I cut and bend them from 1mm (which is way too thick) sheet metal. The T-PIN (Thermistor) has to be grounded via a 10kOhm resistor, my hedge trimmer works with this. The connectors (between the adapters, yellow) I used are XT30 (they are not necessary but enables easier re-mount of different adapters). (Deutsch) Akku-Adapter von ActivEnergy kompatibel (AEk) (Akku, passend zum Gerät) auf (aktuell) GardenLine kompatibel (GLk) (Gerät, zum einstecken eines Akkus). Die jeweiligen Adapter können auch einzeln verwendet werden um entweder GLk akkus für andere Zwecke zu verwenden oder einen eigenen Akku für AEk Geräte zu bauen. Druckeinstellungen: Layer Höhe: 0.2 mm Infill: 25% Support: Ja Der Support im AEk-Akku-Adapter in den Kontakt-Schlitzen ist etwas fummelig zu entfernen da die Schlitztrenner (1mm breit) jeweils direkt daneben liegen. In jedem Fall von oben einschneiden (ich habe das Teil mit der dem Gerät zugewandten Seite nach unten gedruckt um einen sauberen Anschluss an die anzuflanschenden Teile zu erhalten, zum Nachteil einer nicht so schönen oberseite, was mich nicht stört). Design: Löcher sind passend für 3mm Schrauben (in Plastik 2,7mm; zum Durchstecken 3,1mm (ist bei mir knapp)). Der Knopf ist aufgrund der Druckwülste schwergängig, es funktioniert jedoch ausreichend gut um ihn zu verwenden, ich habe den Knopf noch mit Silikonöl gängiger gemacht, wer Methoden kennt um den Kunstoff zu glätten (bei ABS ggf mit Acetondampf) kann das hier ggf. probieren. Zusammenbau: GLk: Die Löcher sind zum Durchstecken der Schrauben mit Unterlegscheiben (da ich mit Sechskant-Köpfen recht kleine Schraubenköpfe hatte). Als Fahne für den Kontakt dienen 6,3mm Flachstecker in Printmontage die auf eine Rasterplatine gelötet werden. Der Abstand zueinander entspricht 'nicht' dem Raster, ich habe die Löcher des Rasters etwas aufgebohrt, dann alles in den Adapter gesteckt, ausgerichtet und dann den oberen Pin kurz (um das PLA nicht anzuschmelzen) festgelötet und nach der Entnahme fertig verlötet und verkabelt. AEk: Auf den Bildern ist noch eine Version des Adapters zu sehen der zum Zusammensetzen der Hauptteile (Akku, Deckel, ggf. GardenLine Adapter) 2 Schrauben zum Durchstecken verwendet, das aktuelle Design erweitert die Befestigung jeweils auf 4 Punkte, bei denen die weiteren Punkte direkt ins Plastik geschraubt werden. Die Flachkontakte (als Printmontage) habe ich nicht gefunden (nur in Crimp) (für Hinwweise wäre ich dankbar) und hab diese daher aus 1mm (was viel zu dick ist) Blech selbst gesägt und gebogen. Den verwendeten T-PIN (Temperaturfühler) habe ich mit einem 10kOhm Wiederstand nach Ground verbunden, meine Heckenschere kann damit betrieben werden. Die verwendeten Stecker (gelb) (ist nicht notwendig, man kann dann aber die Adapter einfacher umbauen wenn nötig) sind XT30.
With this file you will be able to print Akku Battery Adapter Power Tool ActivEnergy GardenLine compatible with your 3D printer. Click on the button and save the file on your computer to work, edit or customize your design. You can also find more 3D designs for printers on Akku Battery Adapter Power Tool ActivEnergy GardenLine compatible.