Nikon F-Mount Pinhole Lens for FX and DX
thingiverse
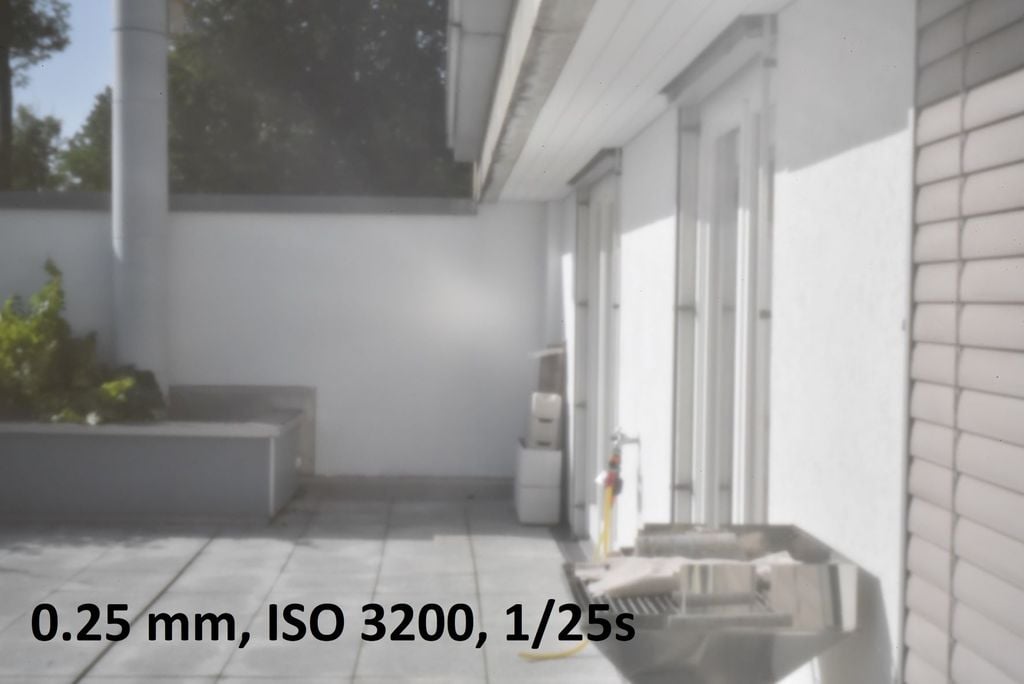
See the pictures. This is what you might expect from below pinhole lenses mounted on a D750 or similar Nikon camera (DX or FX) with F-mount bayonet. The pictures were taken free-handed in bright sunlight with - Precision-drilled and deburred 0.5 mm pinhole at ISO 3200 and 1/100 s - Precision-drilled and deburred 0.25 mm pinhole at ISO 3200 and 1/25 s - Precision-drilled and deburred 0.1 mm pinhole at ISO 12'800 and 1/20 s - Needle-punched beer can and NOT deburred 0.6 mm pinhole at ISO 3200 and 1/100s - Needle-punched thin aluminium foil and NOT deburred ca. 0.1 mm pinhole at ISO 10'000 and 1/4s on a cloudy day This lens is designed to accomodate circular diaphragms of up to 30 mm and square diaphragms of up to 30 x 30 mm2. I obtained the precision-drilled square 30 x 30 mm2 brass diaphragms via Ebay from a seller called "virgisst" in Lithuania. Search Ebay for < Pinhole "lenses" for pinhole camera >. I made the needle-punched diaphragm from a piece of beer can, pierced fully through from the outside by a 0.6 mm needle, exit burrs not removed. In general objects with straight lines and extensive and smooth surfaces (e.g. modern architecture) look interesting, irregular structures (e.g. plants) look a bit blurry. In contrast to conventional lenses pinhole lenses do not have any problem with depth of focus and there is no need to adjust focus: Every section of every picture is equally "sharp" from zero to infinity. CAUTION: - You are using my design at your own risk. The camera sensor, the mirror, the viewfinder etc. are very delicate parts and may easily be damaged and costly to repair. - Keeping this in mind I designed this pinhole lens to not protrude further into the FX camera's mirror area (with its larger than DX mirror) than a standard Nikon lens. Howto: - Print the three parts. I used black PLA, a 0.4 mm nozzle, 0.3 mm layer height, 15% infill and no supports. - Glue the baseplate to the bayonet. I used Revell Contacta PROFESSIONAL. The baseplate is one layer less thick than its mounting countersink in the bayonet. You may renounce on glueing, but then the bayonet will be a bit loose on your camera, - Position the diaphragm on the bayonet/baseplate assembly and install the body part on top of it. You may have to deburr the three positioning pin holes in the body part if you printed an "elephant foot". Take care not to cover the four screw boreholes with the diaphragm. Center the pinhole before completely pressing the body part down. - Secure the assembly from the backside with four self-tapping screws 2.9 mm diameter x 9.5 mm thread length (DIN 7981-C-H). - Install an identical fifth self-tapping screw into the rim of the body part as a lens mounting angle indicator. Make sure it does not protrude into the camera's bayonet area. - Install the pinhole assembly to your camera. - Take pictures. You will have to experiment with ISO and exposure time. As always I included the OpenSCAD source code for you to adapt and improve. Visit my other designs at https://www.thingiverse.com/thinger13/designs
With this file you will be able to print Nikon F-Mount Pinhole Lens for FX and DX with your 3D printer. Click on the button and save the file on your computer to work, edit or customize your design. You can also find more 3D designs for printers on Nikon F-Mount Pinhole Lens for FX and DX.