Nintendo Switch Mount For PowerA Controller
thingiverse
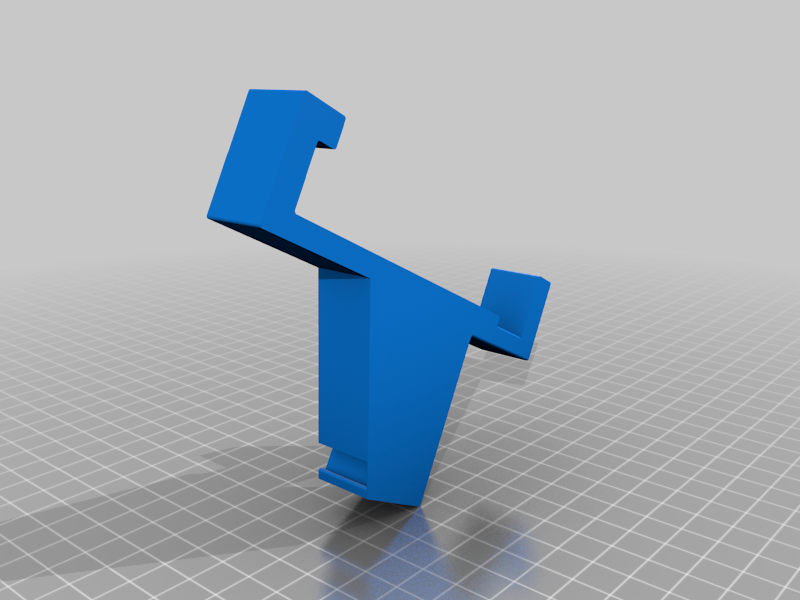
https://www.thingiverse.com/thing:3496237 originally presented a mount for a pro controller. I expanded on the original design making it adaptable to a PowerA controller. The Holder was not redesigned, it is listed as Holder.V2.stl updated 03-17-2019 by NamelessParanoia. The only redesigned part is the Mount and there is only one length version provided. It seems to be fine at this length with the weight distributed nicely, room for hand and fingers. Also excluded was the opening for a usb charger as it makes the overall assembly less rigid. If its needed, you may play with remixing the stl file. Note that the Base Plate was not countersunk in the model for ease of printing and to allow the user to choose the fastener style. Bill Of Materials: (1) Mount Rev0 (1) Base Plate Rev0 (1) Adapter Spacer Rev0 (1) Holder (4) M3x20 Steel Hex Drive Flat Head Screw Required Tools: screwdriver 1/8" countersink bit Optional Tools: 1/8" drill bit multipurpose grease Assembly Notes: 1. Remove the 4 existing screws from back of controller without removing the bottom 2 screws. 2. Separate the light indicator and handle subassemblies, use 1/8" drill bit to open existing holes in each assembly. 3. Join back together the subassemblies without any screws and set it aside. 4. Using 1/8" counter sink drill and drill counter hole to depth of 1.7mm or until head of flat head screw is flush with surface. Conversely if drilling is not not desired, just screw in a pan head tapping screw of your desire. But keep in consideration the length of screw, possible stripping of holes and process as described in step 5. 5. Take the joined assembly and place Base Plate aligning 4 holes on back with countersinks facing up. Insert screw in a hole and by hand tighten screw till some resistance is felt. Next place second screw in diagonally opposed hole and tighten by hand till resistance is felt. Repeat this process for the remaining screws. With assembly firmly in hand tighten all the screws in diagonal fashion until head of screw is flush with surface or as desired. Do not over tighten otherwise you will strip the holes of the subassembly with the indicator lights. Now take this fastened controller subassembly and set it aside. 6. If needed use grease on edges of Mount, with hook profile of facing up insert into channel of Adapter Spacer until you cant push it up any further by hand. Now take this mount subassembly and set it aside. 7. Take the controller subassembly and If needed use grease on edges of the fastened Base Plate. Now join the contoller subassembly and the mount subassembly by gently inserting Base Plate into cavity of Adapter Spacer. Then firmly pressing until the mount subassembly bottoms out on the Base Plate. Operation: Insert Switch (MOD.HAC-001) into the overall assembly by sliding it into the Holder. Diagonal the Switch so that bottom corner is in the groove of Holder and the top corner is below the hook of Mount. Press the power button down and apply a side force to slide the Switch all the way into the Holder. You will notice there will be some deflection on the Holder as you do this. That is ok, just don't leave the unit under this stress for long or it may take a permanent deformation. To take out the Switch, pull down a corner of the Holder and slide the Switch until it rests on top of the Holder. Now apply some force and push to the side, don't forget to press the power button down while you do this. Again you will see some bending but I found this to be acceptable for what it is. Maintenance: Keep PLA parts out of the sun and heat. Do not drop and and do not let you dog chew on any of your parts as you see the consequences. Miscellaneous: Please consider tipping the designer, thank you!
With this file you will be able to print Nintendo Switch Mount For PowerA Controller with your 3D printer. Click on the button and save the file on your computer to work, edit or customize your design. You can also find more 3D designs for printers on Nintendo Switch Mount For PowerA Controller.