Nixie tube Clock Dock
thingiverse
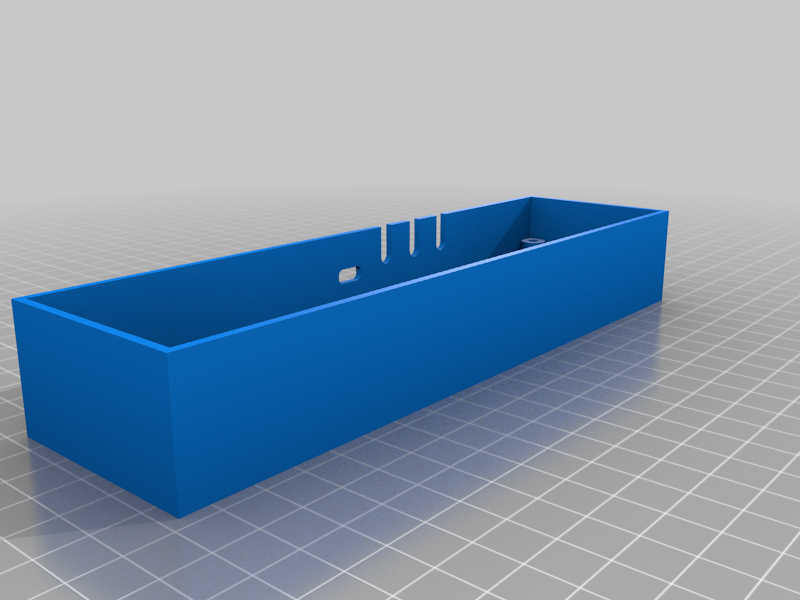
///////////////////////////////////////////////////////////// 組み立てには以下の材料が必要です。 M3*30ボルト(鍋ネジ推奨)・・・・・・4個 M3ナット・・・・・・4個 M3ワッシャ・・・・・・4個(ナット側には付けません) プラ板(透明)60*180*1・・・・・・2枚(正背面用) プラ板(透明)60*29*1・・・・・・2枚(両側面用) プラ板(透明)24*174*1・・・・・・1枚(上面用) 接着剤(硬化後透明になるタイプ推奨)・・・・・・適宜 上記のプラ板はダイソーで購入した透明の下敷きをカッターで寸法どおりに切断し作製しました。寸法通りにカットするよりも印刷物に合わせて採寸した上でカットした方が誤差なく、かつ調整もしやすいと思います。 高さ調整が必要な可能性があります。画像の矢印(四隅)をプルすることで高さを調整してください。 ///////////////////////////////////////////////////////////// ///////////////////////////////////////////////////////////// The following materials are required for assembly. M3*30 bolts (pan head screws recommended): ・・・・・・4 pieces M3 nuts: ・・・・・・4 pieces M3 washers: ・・・・・・4 (not attached to the nut side) Plastic board (transparent) 60*180*1・・・・・・2 pieces (for the front back) Plastic plate (transparent) 60*29*1・・・・・・2 pieces (for both sides) Plastic board (transparent) 24*174*1・・・・・・1 sheets (for top side) Adhesive (transparent after curing type recommended) ・・・・・・ as needed The above plastic board was used as a carpet pad. You may need to adjust the height. Please adjust the height by pulling the arrows (four corners) of the image. /////////////////////////////////////////////////////////////
With this file you will be able to print Nixie tube Clock Dock with your 3D printer. Click on the button and save the file on your computer to work, edit or customize your design. You can also find more 3D designs for printers on Nixie tube Clock Dock.