NodeMCU V1 Amica ESP8266 Case
thingiverse
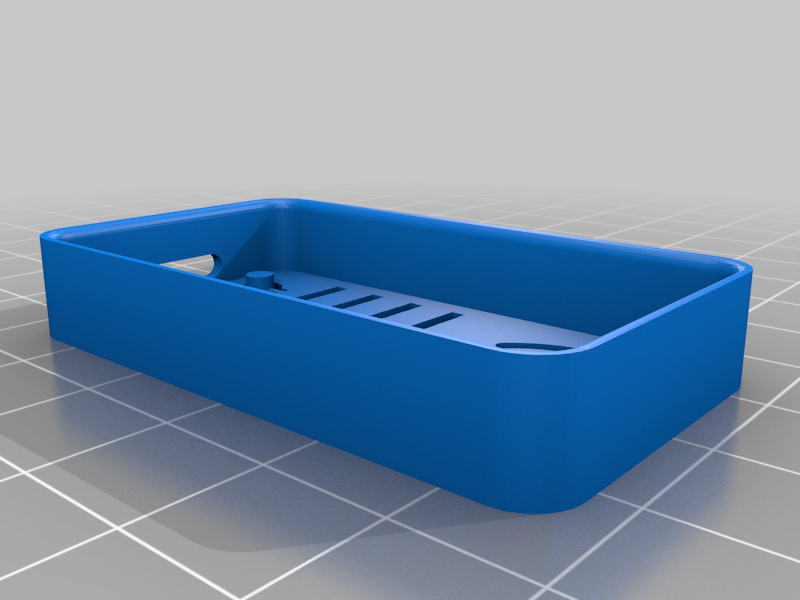
Started with this original: https://www.thingiverse.com/thing:1128026/ increased the height of the housing by 2mm. https://www.thingiverse.com/thing:3474898 This remix increased it by 1mm but still wasn't long enough for the pins on any of my boards, I did use the addition of the screw hole from this remix Grabbed the WiFi Symbol from this remix: https://www.thingiverse.com/thing:2624162 Replaced the holes from that remix with the buttons from this one: https://www.thingiverse.com/thing:3527010 one of them printed perfect and the other required a slight bit of post to get working, though better print settings may do just fine. I also widened the holes at the bottom of the pin holes because I wouldn't get wires in on any of the other models. Wires fit snug, especially when the board is pressed in. Wanted to use the icons from either of these two but didn't get to it: https://www.thingiverse.com/thing:1305796 https://www.thingiverse.com/thing:2786523 Note that this is for the NodeMCU V1 from amica, V2/V3 are a bit larger and this thing won't work for it. Model on Tinkercad: https://www.tinkercad.com/things/3DHnPj2Jsmk-nodemcu-v1-case
With this file you will be able to print NodeMCU V1 Amica ESP8266 Case with your 3D printer. Click on the button and save the file on your computer to work, edit or customize your design. You can also find more 3D designs for printers on NodeMCU V1 Amica ESP8266 Case.