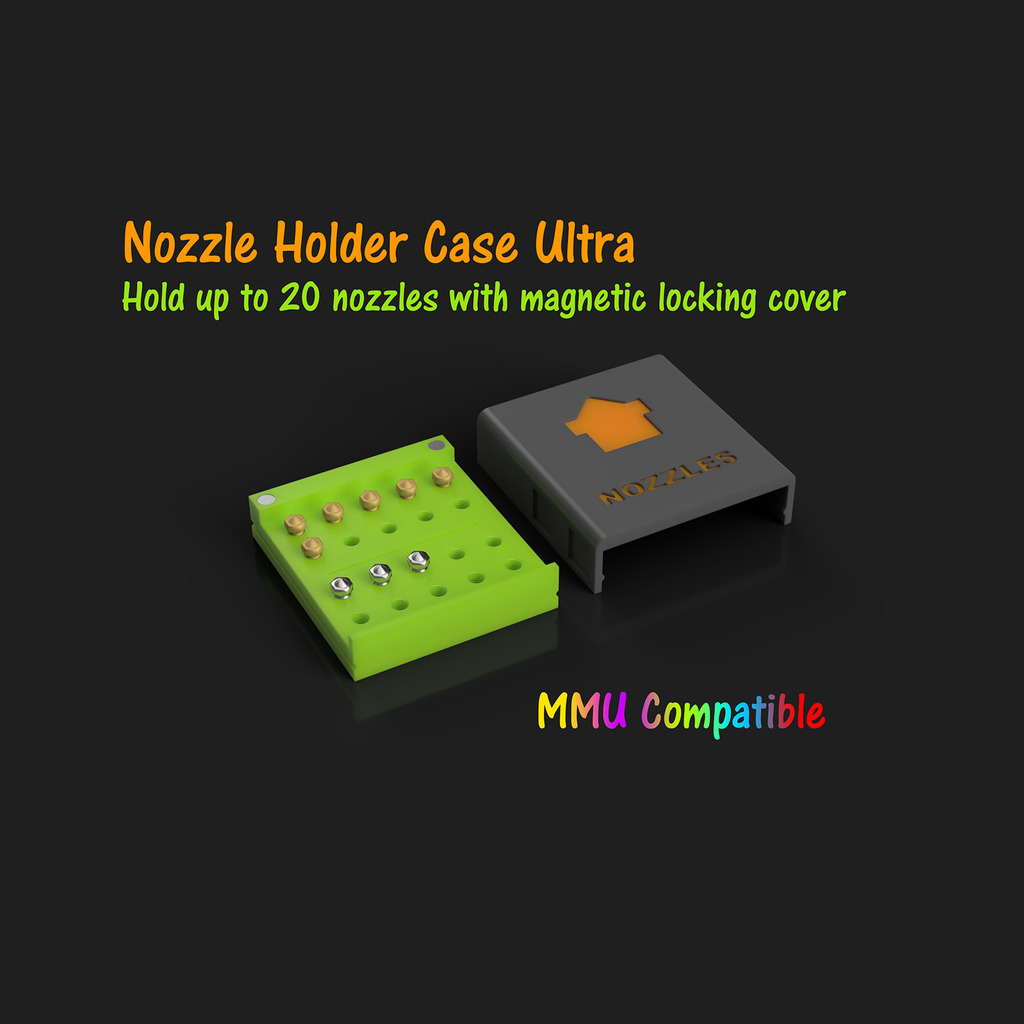
Nozzle Holder Case Ultra
thingiverse
This is a printable nozzle holder case that can hold up to 20 nozzles, for the man or woman that has lots of nozzles. This is inspired off of the E3D Nozzle Holder by 3D previews. FEATURES: Holds up to 20 nozzles. Indented separator between the top 10 and bottom 10 nozzles, with the idea you can store your regular brass nozzles and your specialty nozzles (such as hardened steel or vanadium) separately. Has a sliding cover that locks into place magnetically to keep your nozzles safe. Nozzles screw into the holder with an appropriate thread and will not fall out. Has an optional multi-material (MMU) compatible design for the cover. Has an optional Slice Engineering™ Nozzle Wrench holder which also magnetically locks into place. Note: Slice Engineering Nozzle Wrench only works with Slice Engineering nozzles. I highly recommend their nozzles. UPDATES: 2/26/2021 I further improved the tolerances on all the parts so that if you are slightly overextruding, the parts will not bind on each other. Everything should work much better now mechanically. I modified the MMU cover to print better, the letters/nozzle graphic are no longer recessed, and they will print flat on the bed for higher quality. I added some photos of the printed part in multimaterial BEFORE this improvement. 2/25/2021 Added a non-threaded variant for the case, if by chance you do not want to have to thread the nozzles in. This will be less secure but easier to store and retrieve the nozzles. Now the .STL files are called “Case Threaded” and “Case NoThread”. After lots of testing, I decided single 6x3mm magnets are not strong enough to securely hold the Slice Nozzle Wrench in place. So now the magnet pockets are deeper that you may place two 6x3mm magnets into each nozzle wrench bracket pockets. I also adjusted the tolerances of the nozzle wrench brackets so that they fit a bit tighter. I also felt the cover did not latch securely enough, so I also deepened the magnet pockets on the case, so you can stack two 6x3mm magnets in each pocket. I compiled the two Slice Nozzle Wrench brackets into one .STL file. SUGGESTED PARTS NEEDED: SIX 6x3mm Neodymium magnets if you are not going to use the Slice Nozzle Wrench Holder. TEN 6x3mm Neodymium magnets if you ARE going to use the Slice Nozzle Wrench Holder. (So that's six total magnets or 10 total magnets) PRINT THESE FILES: If you want single color prints: Case Threaded.stl if you want threaded nozzle holder, OR: Case NoThread.stl if you do not want threaded nozzle holder. Cover.stl If you want multicolor cover: Cover MMU 1.stl Cover MMU 2.stl Cover MMU 3.stl PLACE THE THREE COVER FILES INTO PRUSASLICER AT THE SAME TIME AND IT SHOULD RECOGNIZE IT AS A MMU PRINT. For some reason my CAD software refuses to export this in the correct orientation, you will need to rotate the model upside down in PrusaSlicer and print it flat on the bed. If you want optional Slice Nozzle Wrench holder: SliceNW Holder.stl HOW TO ASSEMBLE THE CASE/COVER: Put two 6x3 magnets together. Add some superglue to the bottom of them, and put them into the first magnet pocket on the top ledge of the case. Repeat the above step for the other magnet pocket on the other side of the case. Add some superglue to a 6x3 magnet and put it into a magnet pocket on the bottom of the cover. MAKE SURE YOU INSERT THE MAGNETS WITH THE CORRECT POLARITY. The ones in the cover need to “attract” the ones in the case. Repeat the above step for the other magnet pocket on the opposite side of the cover. Do not put cover on the case for at least 1 hour to let superglue dry. HOW TO ASSEMBLE OPTIONAL NOZZLE WRENCH HOLDER: Put two 6x3 magnets together. Add some superglue to the bottom of them, and put them into the first magnet pocket on the bottom of one Slice Nozzle Wrench Holder bracket. Polarity of magnet does not matter. Repeat above step for other Slice Nozzle Wrench Holder bracket. Let superglue on magnets dry for at least 1 hour. Now put superglue on the bottom of the printed brackets and place them into the pockets on the left side of the cover, with the cover laying down on a flat surface on the opposite side. Let dry for at least 1 hour before placing Slice Nozzle Wrench into the holder. HOW TO USE: Screw the nozzles into their holes in the case. Un-screw the nozzles out of their holes in the case. Always let nozzles cool to room temperature before screwing them into the case. If you would like to modify this to create your own non-Slice nozzle wrench holder, I have included the .STEP file in the downloads section. If you're absurdly rich and want to support a poor guy like me in my 3D printing and photography endeavors, check out my Patreon: https://www.patreon.com/photogad
With this file you will be able to print Nozzle Holder Case Ultra with your 3D printer. Click on the button and save the file on your computer to work, edit or customize your design. You can also find more 3D designs for printers on Nozzle Holder Case Ultra .