Nut Cracker
thingiverse
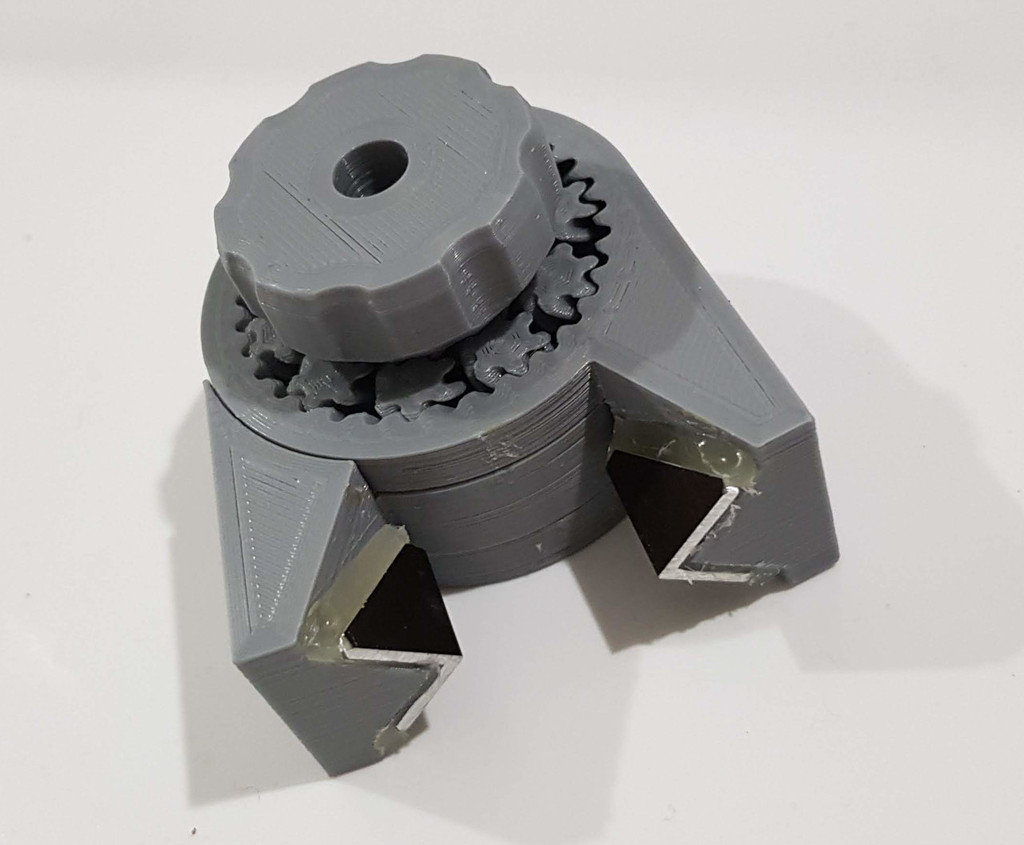
Experimental Nut Cracker Takes Shape Awaits Rigorous Testing Featured alongside reinforced aluminum jaws, this innovative device boasts a robust bite all on its own. The gear ratio stands at 1:41.667. Assembly is a breeze as it prints in place fully formed without the need for supports. A crucial note: Print at 0.2mm layer height when using the standard model to ensure optimal results. If making custom adjustments, verify that your layer height matches the specified parameter. Preview your print carefully before proceeding and make sure the 1-layer gap remains intact within the outer ring gears. To disassemble the device safely, use a sharpened spatula or hobby knife to carefully pry apart the 1-layer gaps, listening for the characteristic "crack" sound as you go. Next, turn the knob slightly to get the gears moving freely. Now, manually open the jaws by back-driving them a few millimeters (allowing for some backlash). With all parts now separated, be prepared for slight stiffness at first but repeated opening and closing will loosen things up quickly. For added smoothness, apply petroleum jelly or your preferred lubricant to the gears and work it in by repeatedly opening and closing the device. As an optional upgrade, reinforce the jaws with aluminum angle or stainless steel, securing them with a bit of glue for extra durability.
With this file you will be able to print Nut Cracker with your 3D printer. Click on the button and save the file on your computer to work, edit or customize your design. You can also find more 3D designs for printers on Nut Cracker.