Obelix
myminifactory
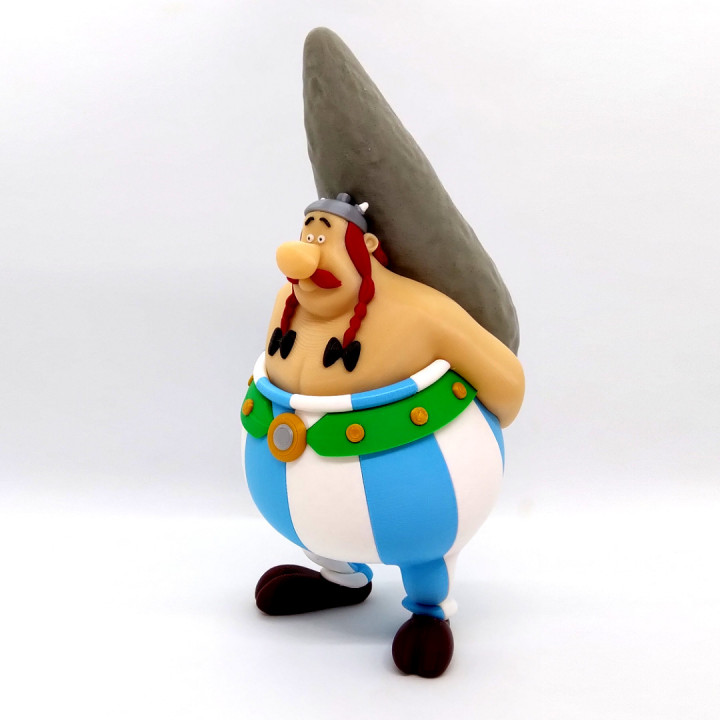
Obelix, a cartoon character in the French comic book series Asterix. Obelix works as a menhir sculptor and deliveryman, and is Asterix's best friend. Obelix is noted for his fatness, the menhirs he carries around on his back and his superhuman strength. No supports are required. Two pieces contains built-in braces. Optional parts without the built-in braces are also supplied if you resize the model down or simply want to use your slicer supports to help hold the parts to the print bed. If you have the proper filament colors, no painting is needed. The assembled model is 256mm tall. Enjoy! ...........................................................................................................Special shoutout to maker Benoît Lussier for providing invaluable QA printing and quality feedback. Another shoutout to the guys at 3DBoom (Thingiverse id: 3db00m) for printing a beautiful copy of this model. A picture of the front view of their print is included. See their build under their full make for more details............................................................................................................ **Print Instructions:**Supports: NoResolution: .2mmInfill: 10% Notes:** Refer to the notes below for a few helpful printing and assembly instructions. ........................................................................................................... **Building the model** Colors Black: (Paramount3D PLA - Black)eye_blacks (contains two identical pieces)bow_leftbow_righteyebrow_lefteyebrow_right.. Blue: (3D Soulutech PLA - Aqua Blue)pants2_bottompants2_toppants2_cuffpants4_bottompants6_bottompants6_middlepants8_bottompants8_toppants8_cuffpants10_bottompants10_top.. Brown: (Hatchbox PLA - Brown)shoe_leftshoe_right.. Skin: (Paramount3D PLA - Universal Beige)bodybody_without_braces (optional piece).. Gold: (Hatchbox PLA - Gold)buckle_goldbelt_rivets (contains six identical pieces).. Green: (Hatchbox PLA - True Green)belt.. Red/Orange: (3D Fuel PLA - Iron Red) )hairbraid_leftbraid_rightmustache_leftmustache_right.. White: (Overture PLA - White)eye_whites (contains two identical pieces)horns (contains two identical pieces) pants1_bottompants1_toppants3_bottompants3_toppants3_cuffpants5_bottompants5_middlepants7_bottompants9_bottompants9_toppants9_cuff.. Silver: (unknown PLA)helmetbuckle_silver.. Stone: (Paramount3D PLA - Medusa Stone Gray)menhirmenhir_without_braces (optional piece).. ........................................................................................................... **Printing and assembly tips** Printing tips1 - No supports are required. Two pieces contain built-in braces, body and menhir. Optional parts without the built-in braces are also supplied if you want to use your slicer supports. The built-in braces are designed for a .4mm nozzle and for the size that the model is presented. If you resize the model down, the built-in braces will not work. 2 - There are some pieces that may need brims or rafts, use your discretion. When setting up my prints I prefer to be conservative to ensure the least chance of a print failure. *I used rafts on: - eye_blacks 3 - When removing parts from the printer bed, it's a **VERY** good idea to place left/right parts into separate containers to help with the assembly process. ..Assembly tips: 1 - Take your time gluing the model together and enjoy the process. Dry fit as many pieces as you can first. Give some thought into which parts to glue together as groups and then gluing the groups together. Let the glue for each group set completely before combining groups. 2 - I used 3D Gloop and E6000 to put this model together. I am not affiliated with 3D Gloop but have experimented with different glues for my models and have found that this glue is a great option for my models. Each type of glue has different pros/cons and I found that 3D Gloop was far easier to use than superglue (for me). I used the PLA version that comes in a tube. The E6000 sticky glue that I also use allows more time to position parts and is still the best for smaller parts. For both glues using a smaller amount is usually better than more glue. 3 - **IMPORTANT**: The pants parts all have bumps and inserts. If you simply glue the parts in order, since it forms a full circle, you will not be able to squeeze in the final part of the pants. Consider gluing the pants in at least two groups and then glue the groups together. Use the belt as a guide while gluing. 4 - The eye_blacks are extremely small, but easily fit into the eye whites. Tweezers, toothpicks or nimble fingers will help. 4 - Glue the helmet onto the head last (no pins provided). The back of the top bump of the helmet will simply rest against the menhir. 5 - Refer to the assembly diagrams in the pictures section as well as the uploaded pictures for putting the model together. The model is meant to be glued. Do not hesitate to ask questions, feedback is essential to making better models.
With this file you will be able to print Obelix with your 3D printer. Click on the button and save the file on your computer to work, edit or customize your design. You can also find more 3D designs for printers on Obelix.