Object 260 Lesson 7
myminifactory
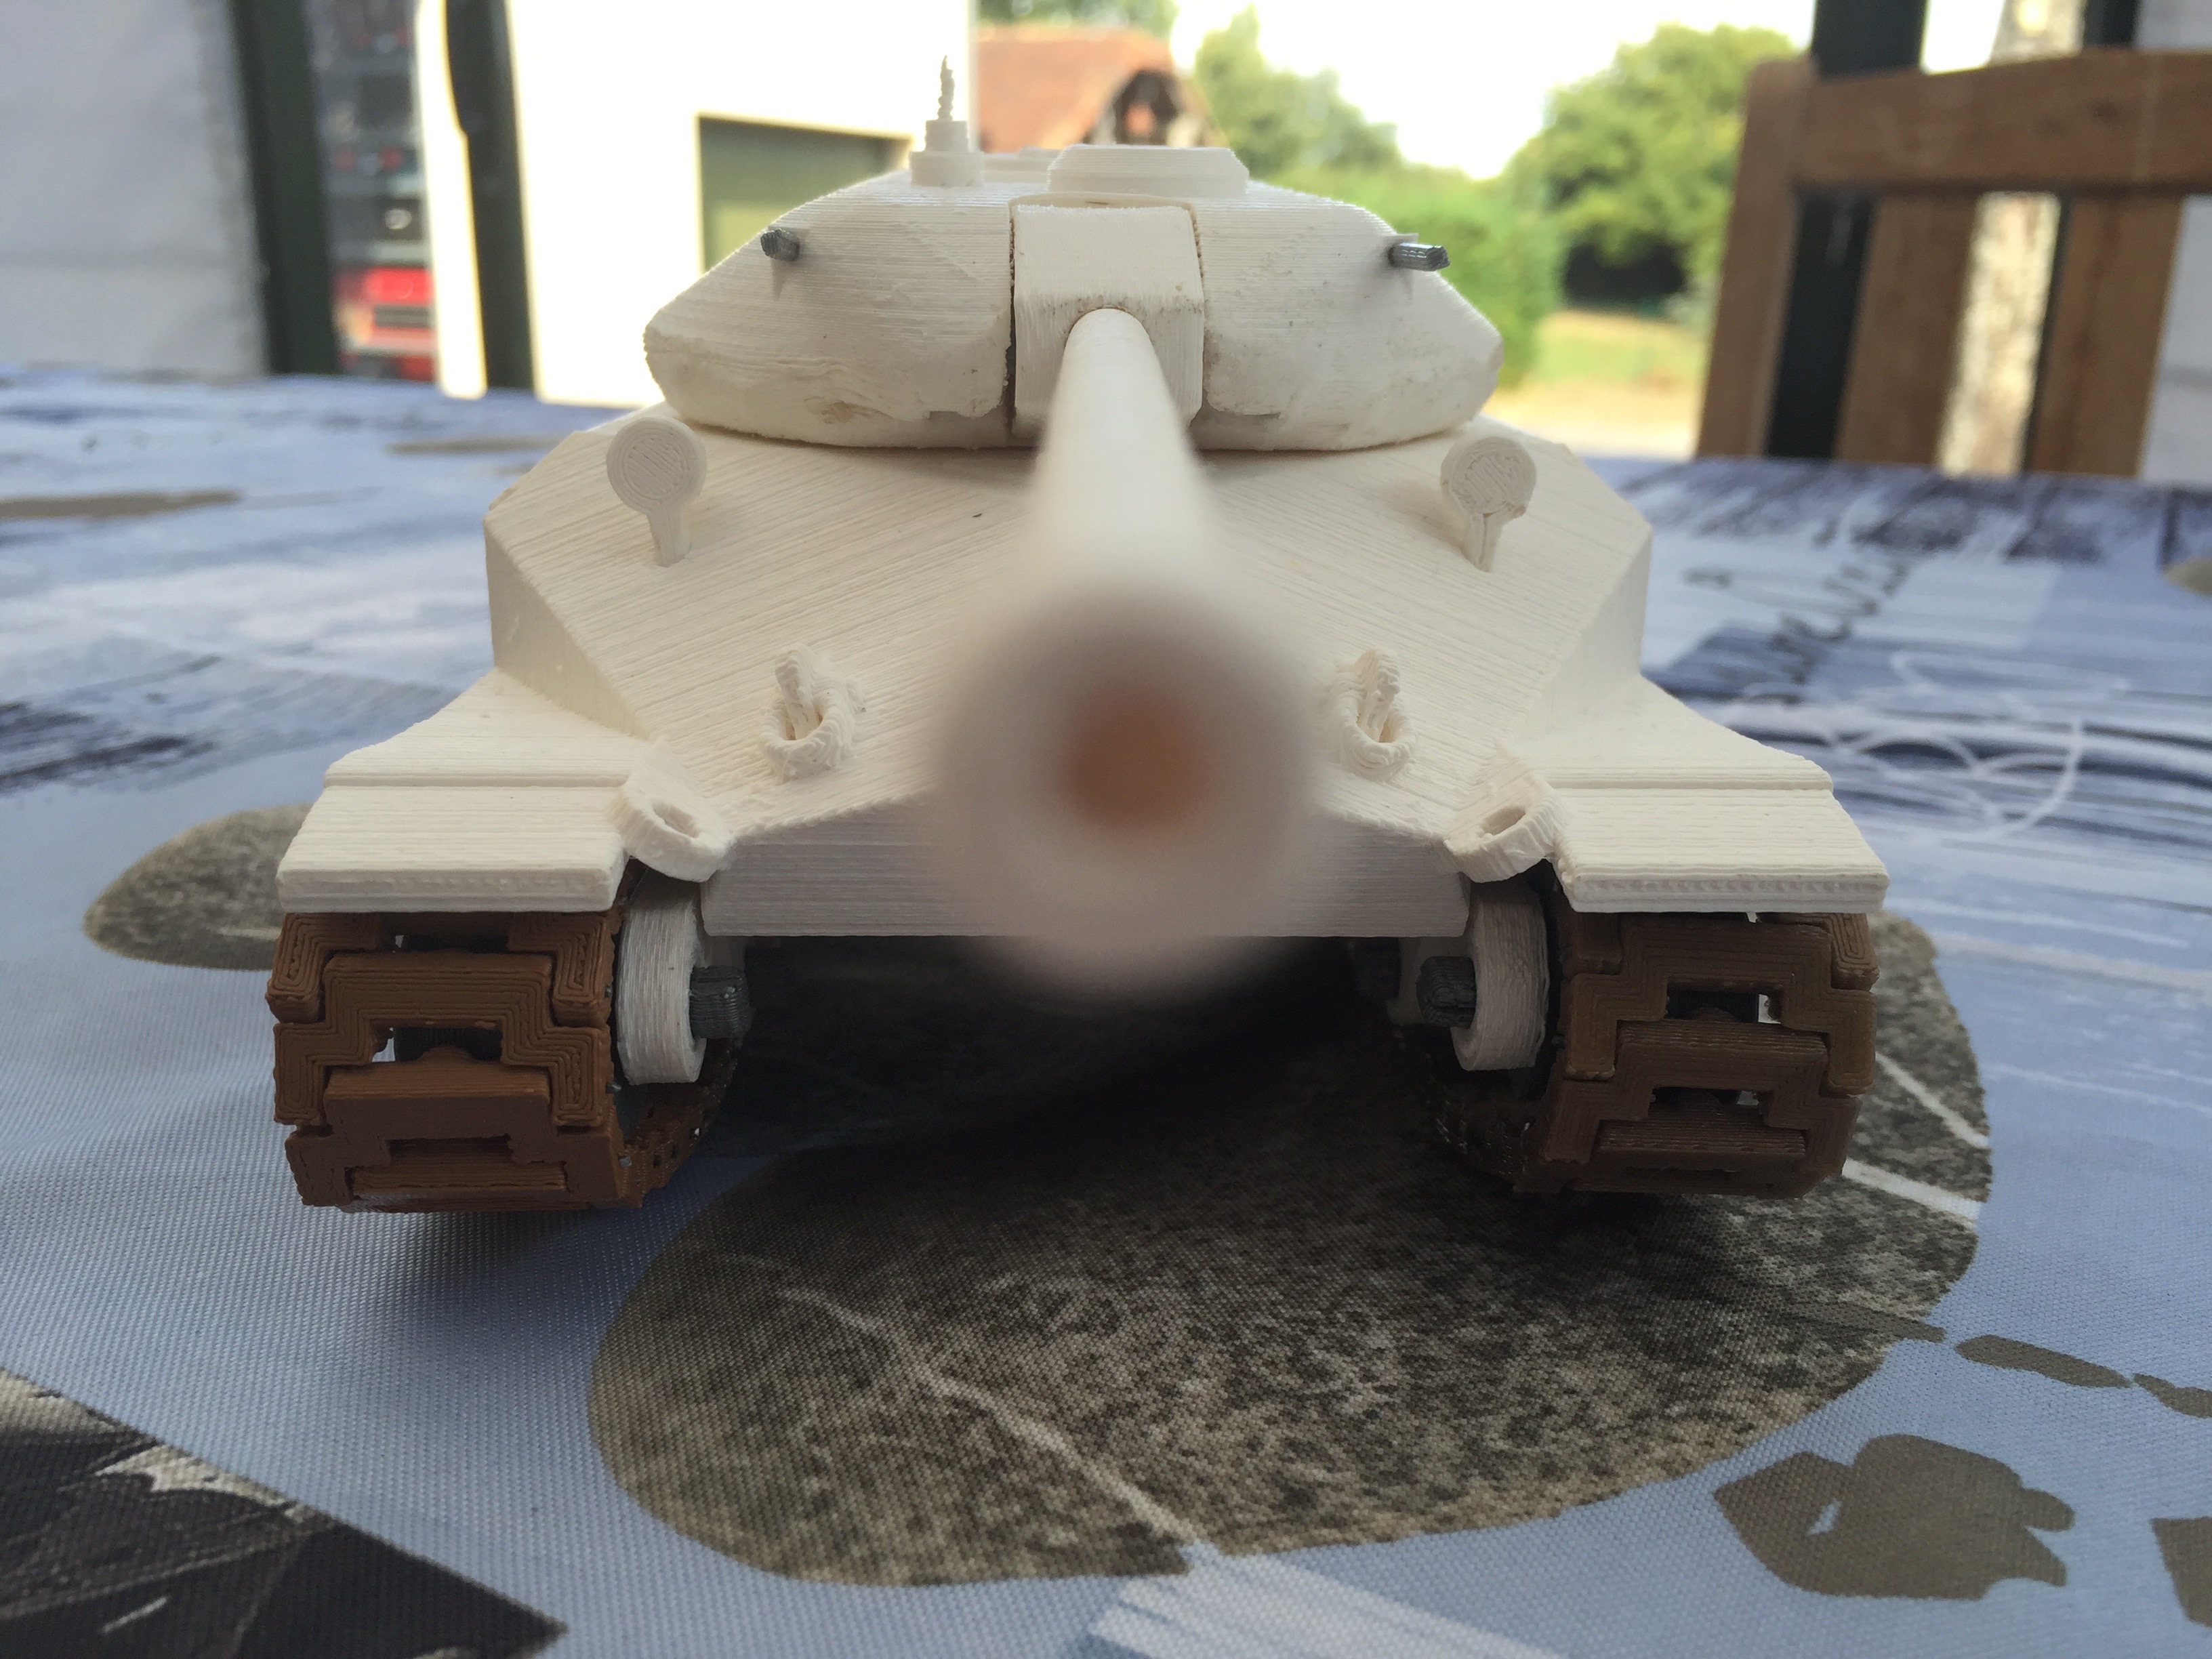
Printing Tutorial Object 260 Part 7 of 8 PART ONE CAN BE FOUND HERE PART TWO CAN BE FOUND HERE PART THREE CAN BE FOUND HERE PART FOUR CAN BE FOUND HERE PART FIVE CAN BE FOUND HERE PART SIX CAN BE FOUND HERE Over the next eight lessons, I'll be showing you how to reproduce the Object 260 tank on your home printer. I will include detailed part lists and assembly instructions plus videos of different stages during manufacturing, assembly, and finishing of the tank. The tutorial will cover printing individual parts, post-preparation of printed parts, assembly, painting, and finishing. If you follow this tutorial, you'll end up with a scaled version of the Object 260 and probably a headache from repeated Casatchock music in each video. If anyone has difficulties or needs advice, contact me through MMF studios; I'll be happy to help. Final Assembly Before Painting At last, I've finished assembling the tracks – it took forever and requires patience; just keep saying "it will end one day." Some updated photos show the assembled tank before taking it apart for painting. All STL files and PDF documents are available for download in this lesson's download section. Next week, I'll go through painting, then the finished tank (only one available) will be on sale in the MMF online shop.
With this file you will be able to print Object 260 Lesson 7 with your 3D printer. Click on the button and save the file on your computer to work, edit or customize your design. You can also find more 3D designs for printers on Object 260 Lesson 7.