OctoPi with TFT and Camera Case
thingiverse
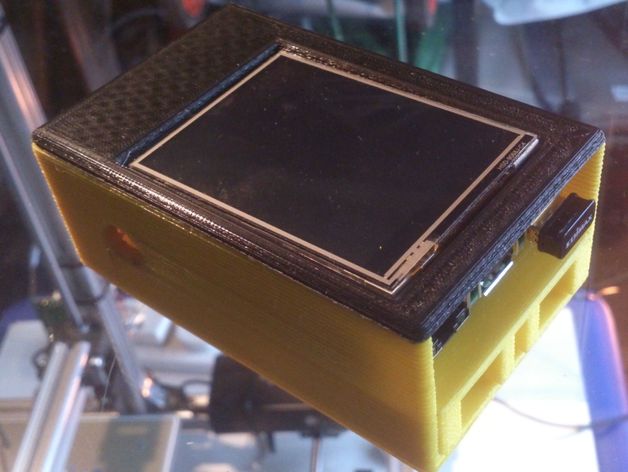
Here are the Instructions: Attach the base with superglue to the lid in the correct direction! Drill out the camera mount holes to 1.5mm, place the mount on the base aligning it with the square hole. Add a spot of glue to attach the mount if necessary. Start by putting the assembled OctoPi through the open end first. The Micro SD card goes in before the rest of the Pi. Put the camera on top and attach using a few screws, folding the cable to go over the Micro SD card afterwards. Add a leveler to space the screen without soldering the TTH, also add an optional spacer to put above the Ethernet port and necessary spacer below behind power socket. Now push OctoPi in until screen fits inside the lid frame. This is easier if you turn box upside down first! Push in support holding OctoPi place while using slots downwards for ventilation purposes
With this file you will be able to print OctoPi with TFT and Camera Case with your 3D printer. Click on the button and save the file on your computer to work, edit or customize your design. You can also find more 3D designs for printers on OctoPi with TFT and Camera Case.