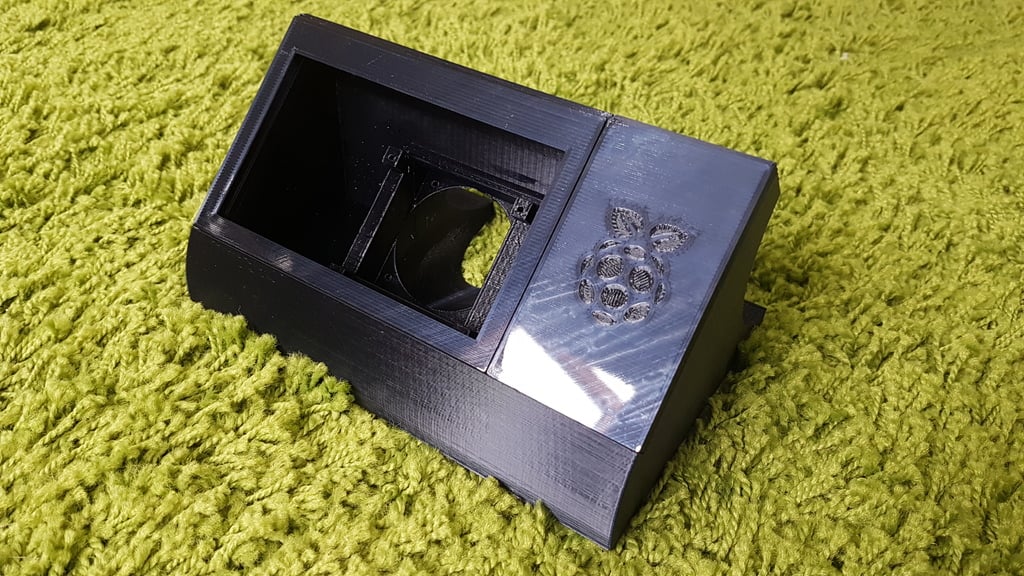
Octoprint Console Raspberry Pi 3 B 5 " inch Elcrow touch screen with fan cooling
thingiverse
It appears that you've created a comprehensive guide for assembling and configuring a Raspberry Pi-based touchscreen display. Here's a summary of the key points: **Hardware Assembly** 1. The case design may require modifications to accommodate different screen sizes or types. 2. The micro-SD card slot is planned, but its implementation depends on the current design. 3. An external switch will be created to engage with the micro slider switch on the 5" screen. **Software Configuration** 1. **Touch calibration**: Run a series of commands to calibrate the touchscreen, including stopping TouchUI, installing xinput-calibrator, and updating the bootloader. 2. **Screen rotation**: Update the bootloader and follow instructions from the Ubuntu wiki to rotate the screen. 3. **Whitescreen issue**: Consult the touchscreen manufacturer for installation instructions if the driver is not working. 4. **Boots to blackscreen**: Update the X11 configuration file to use the correct framebuffer. **Troubleshooting** 1. **Inverted touch axis**: Edit the calibration file and add options to invert the horizontal or vertical axis. Please note that this guide assumes a specific setup with a 5" Elcrow touchscreen display and an Raspberry Pi board. If your setup differs, you may need to modify the instructions accordingly. Additionally, some of these steps may require technical expertise, so be cautious when following them.
With this file you will be able to print Octoprint Console Raspberry Pi 3 B 5 " inch Elcrow touch screen with fan cooling with your 3D printer. Click on the button and save the file on your computer to work, edit or customize your design. You can also find more 3D designs for printers on Octoprint Console Raspberry Pi 3 B 5 " inch Elcrow touch screen with fan cooling.