Octoprint Enclosure Raspberry Pi Caddy
thingiverse
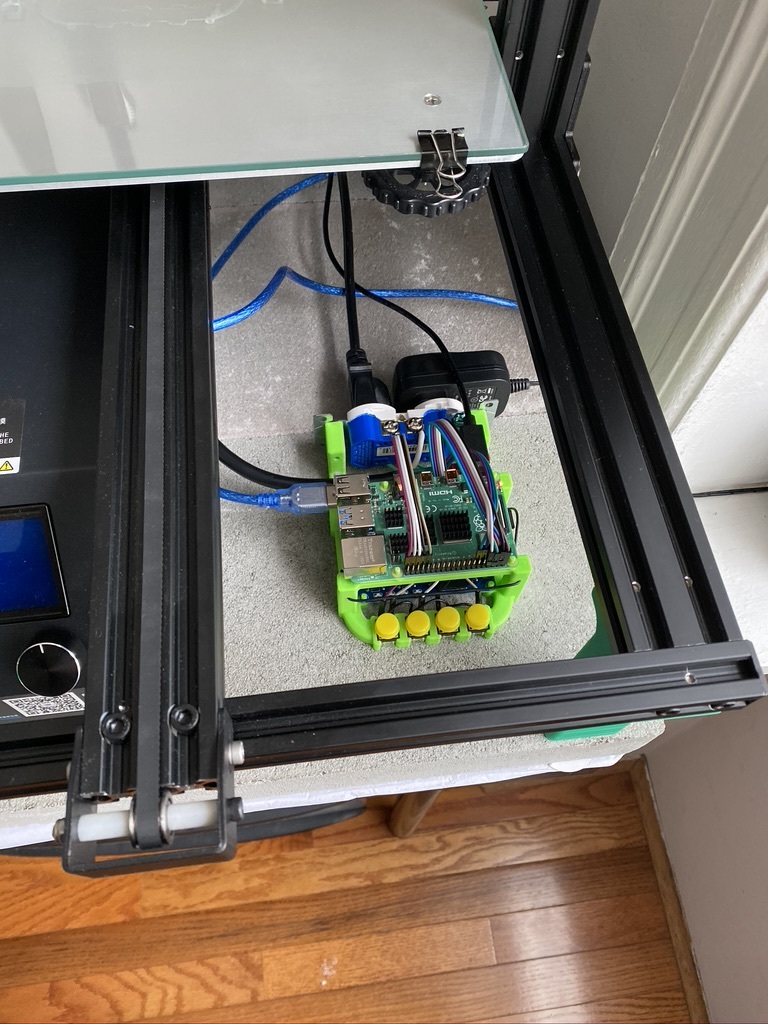
I created this setup for my Raspberry Pi 4 and Creality CR10S, but it will work with many other types of printers. I used a four-channel relay connected to an AC outlet, allowing me to switch both the printer and light on and off. The four buttons let me control the light and printer, preheat the printer, and toggle connecting, starting, and canceling prints through the octoprint enclosure plugin. I also included a radio frequency transmitter that controls RF outlets around my house using a program called codesend paired with homebridge. For more information on how to set this up, I recommend checking out timleland.com's guide on using Siri to control wireless power outlets with homebridge. In addition to the relay setup, I'm running pihole, a network-level ad blocker that runs smoothly on my Raspberry Pi. I've also added a Logitech webcam to monitor prints in real-time. The relay board and Raspberry Pi drop into pegs printed specifically for this purpose, eliminating the need for screws.
With this file you will be able to print Octoprint Enclosure Raspberry Pi Caddy with your 3D printer. Click on the button and save the file on your computer to work, edit or customize your design. You can also find more 3D designs for printers on Octoprint Enclosure Raspberry Pi Caddy.