Oculus prescription lens adaptor (Go, Quest and Rift S)
myminifactory
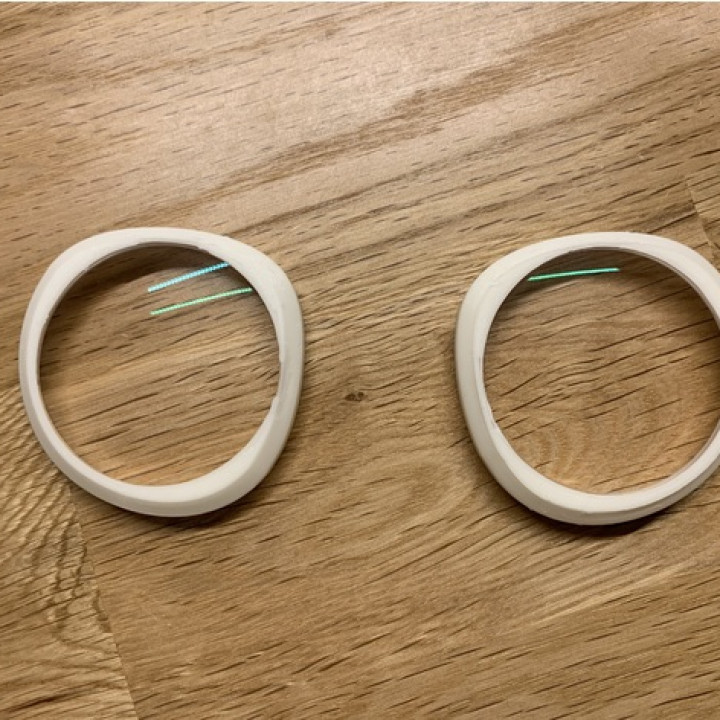
Originally this was uploaded here because Thingiverse as unstable. I've since moved back to thingiverse (https://www.thingiverse.com/thing:3642004). Description Prescription lens adaptor for new Oculus headsets (Go, Quest and Rift S), which all have the same lens adaptor mount. It's designed to take standard single vision lenses for Zenni #550021 frame. It's been tested with 1.57 mid index lens. Antireflective coating highly recommended to help with glare. Total price: Lenses ($15) + AR coating ($5) + 3D print from Ninja Prototype ($9) = $29 Lenses:https://www.zennioptical.com/p/stainless-steel-round-eyeglass-frames-/5500?skuId=550021 UPDATE 2019-06-11: I made the snap points for Zenni lenses much more snug. They now snap on and stays on pretty well, even when I apply a bit of pressure while cleaning.I've added an option for 2mm thicker adaptor. This is a good option if your prescription is > +/- 2 and your lenses are thicker than 3mm.Added left / right label (this might be too small for your printer, I'll work on improving this in future updates). IPD When you order your lenses: 1) Go and Rift S users: use your measured IPD.2) Quest users: use IPD 65mm to align with the optical centers of the headset lenses. You can then use the physical IPD adjustment on the headset to change the IPD. Test fit the adaptor on your headset The lenses on your headset have rings that can be popped off (see this video https://www.youtube.com/watch?v=1YR742r-aZ0). Align an adaptor to the matching side of the headset, and snap it in place. It might take some fiddling to align the snap points (tip: use the original lens ring as reference), but it should go on without too much force. Test the other adaptor, and mark the horizontal orientation when they on the headset. Detach the adaptors for next step. Using the adaptor Once you receive your lenses, mark horizontal orientation lightly on the lenses so you can match it with the horizontal orientation of the adaptor. With the adaptor detached from the headset, push the Zenni lenses inside the adaptor and it should snap into place. The lenses should curve into the adaptor (so when you wear the headset, the lenses curve in the normal direction). You can pop the lenses out if you need to adjust the orientation. Finally, make sure you clean the headset lenses and the adaptor lenses before final assembly.
With this file you will be able to print Oculus prescription lens adaptor (Go, Quest and Rift S) with your 3D printer. Click on the button and save the file on your computer to work, edit or customize your design. You can also find more 3D designs for printers on Oculus prescription lens adaptor (Go, Quest and Rift S).