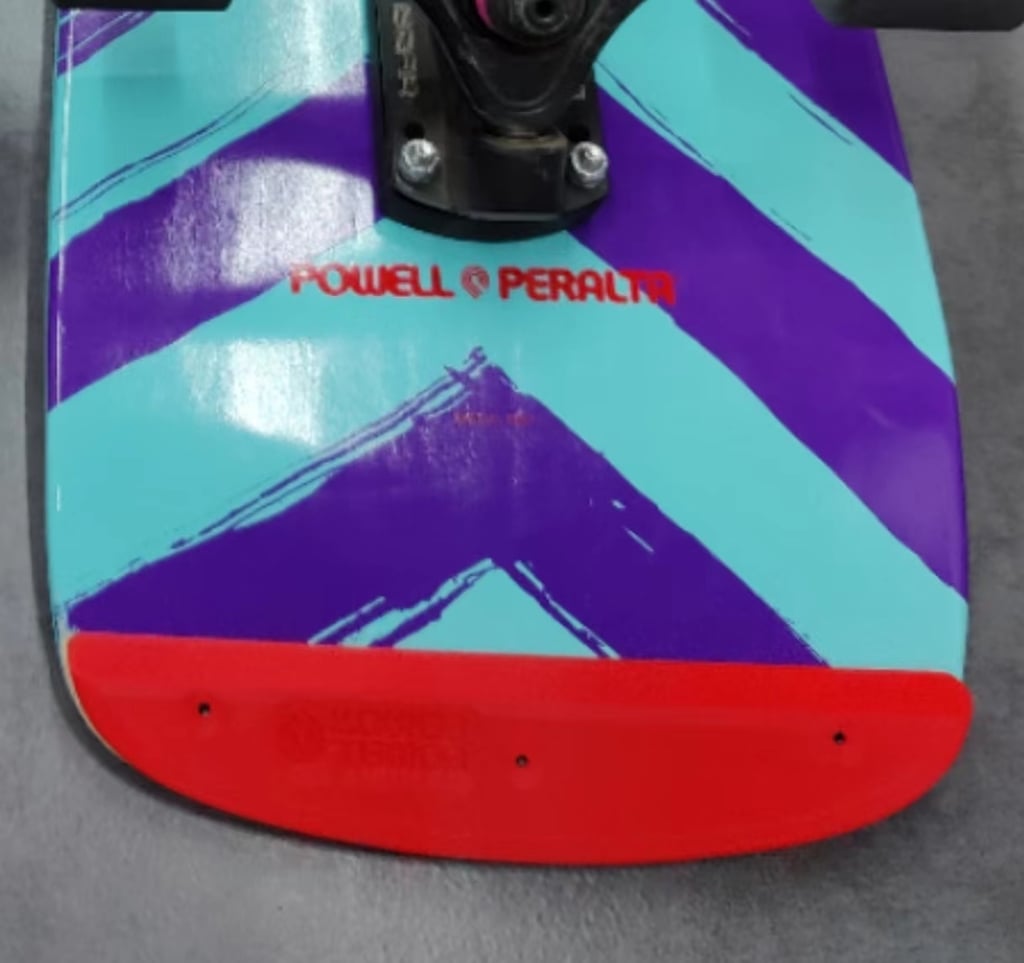
OG Powell-Peralta style Tail Guard
thingiverse
This is a Powell-Peralta classic style tail guard for your reissue decks. There are two files uploaded. One of them is the tail guard main body, you can simply print it with 100% infill and get the job done. If you want to print faster with less material but same strength, you will need the other file named 'reinforcement' - align the reinforcement part with the rear end of the tail bone where it takes the most beat from the ground, then use 'overlap settings' in the slicer for the reinforcement part, set the infill rate to 100% and infill pattern to concentric, so that you have a solid rear end for abrasion. Set the infill rate of the main body to 40%, infill pattern to gyroid. #### My settings for your reference. - Filament: Ploymaker Polylite PLA Pro - Nozzle: 0.4mm - Layer height: 0.2mm - Wall line count: 10 - Top layer count: 15 - Bottom layer count: 10 - Infill rate: 40% - Infill pattern: Gyroid Overlap settings for the rear reinforcement part - Infill rate: 100% - Infill pattern: Concentric #### How to mount the tail guard? Drill three 4.5mm or 5mm through holes on the tail of the deck, mount the tail guard with three M4 self-tapping screws, so the screws go from the top through the deck and grab the tail bone at the bottom. Pls take the manual of Powell-Peralta tail bone as reference. #### Hints If the tail of the deck is slightly curved laterally like how my PP Steadham skull & spade deck is, you can put the printed tail guard in the hot water (80 celcius plus) for a couple of minutes, and it will become softer for you to reshape a little bit. Of course it's only doable for PLA filament.
With this file you will be able to print OG Powell-Peralta style Tail Guard with your 3D printer. Click on the button and save the file on your computer to work, edit or customize your design. You can also find more 3D designs for printers on OG Powell-Peralta style Tail Guard.