Old TV Photo Frame
thingiverse
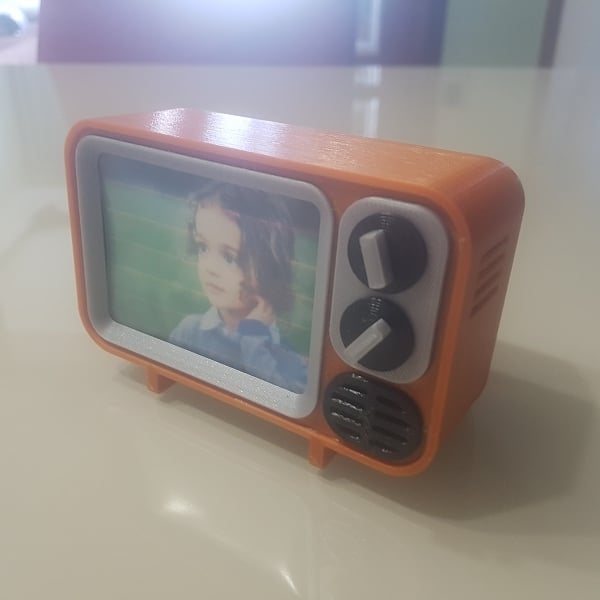
This is a small TV from the 80s... You can use your favorite photo with it. 1. Print the parts and glue the screen frame, the small panel and the speaker on the main panel 3. Fix the knobs on the panel using 2 2x10mm screws 4. You will need a piece of transparent plastic sheet (151 x 55 mm) to use as a photo protection and also allowing the drawer to slide without jams. I used a plastic folder, 0.15mm thick. Fold in half and glue it on the drawer, fitting the folded side inside the recess located on the drawer (image). Again, I made this to avoid jams. After glued and BEFORE GLUING THE MAIN PANEL ON THE TV BOX, test the drawer fit. If it get stuck (it's hard to get precision) you can push it from outside. Slightly sand the bumps untill you can slide it out with your fingernail (there is a slot on the edge to fit it). We won't change photos too often, I believe, so... 5. Glue the main panel on the tv box The photo size must be 75x55mm. The frame hides the picture about 5mm each side. The TV box was made with supports. Tested, works well (0.4 nozzle), remove them with a needle-nose plier. Photo used: https://pixabay.com/photos/807547/ Video: https://youtu.be/oZfpM7RmUWk Sorry about the low quality picture, I had a problem with my printer... :)
With this file you will be able to print Old TV Photo Frame with your 3D printer. Click on the button and save the file on your computer to work, edit or customize your design. You can also find more 3D designs for printers on Old TV Photo Frame.