One More IKEA Lack Enclosure
thingiverse
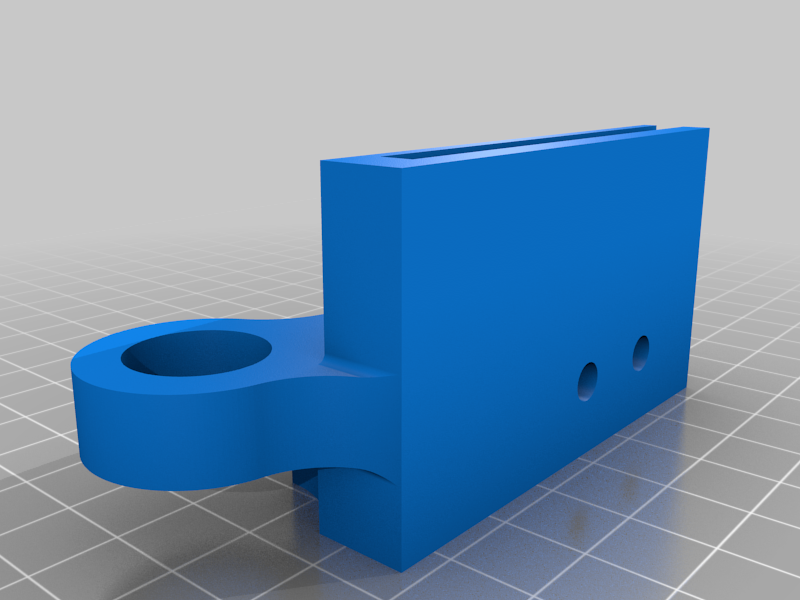
# This is still a work in progress! Do not start heating your bed! Further fine tuning is needed! ### Guess what? This is one more enclosure project using IKEA LACK. ### Why? I really wanted to give a try and design my own enclosure. That is the fun part of 3D printing, iterative design! ### Considerations Currently I have my Ender 3 V2 on "boots" (because of the bigger fans) raising It's height. I wanted to stick it on the enclosure and later on do other upgrades that might reduce / increase the height. When design this I wanted: * As modular as possible. * Easy height changes * Simple yet multiple build opinions. This means "splitting" the parts and avoiding making the things overly complex. Need more height? * Great, just add a table spacer on the table side! One side doesn't need hinges because you aren't going to move it (eg. Fixed backside panel)? * Add a round spacer to keep everything properly spaced. Only want a big panel door? * Add a round spacer on the other side to keep everything properly spaced. This is not fully K.I.S.S., you can go that root, just use simple hinges! ### What i need to print? I tried to make things symmetrical but in the end some parts aren't fully symmetric because of the position on the hinge. For a full build, with no height changes you will need: * 8x -> HingeLegSeg This part defines the placement of the of the parts in the Lack legs. * 8x -> HingeTableSeg This part holds the other hinge parts in place and fixes everything to the Lack legs and in the end allows you to fix the leg to bottom and top table. * 8x -> HingeOneSeg This is the part that holds the acrylic in place and moves on the HingeTableSeg to make the doors. * 8x -> HingeOneMirrorSeg This also holds the acrylic, is a mirror or the above part. If you use the HingeOneSeg on the bottom of the leg you will need to use the HingeOneMirror on the top, to make the holding holes symmetric. You also need to assemble the other leg the other way around. Note: If you don't mind the holes not being symmetric you can print 16x HingeOneSeg The above will give you a 480 mm of height, each base spacer will give you 15 mm extra About the acrylic / plexyglass / etc, for the normal design you can either use 500mm x 500mm or 250mm x 500mm. For the Ender 3 V2 my recommendation is to have the left and front side as 2x 250mm Panels and the rest using fixed 500mm Note: If you want to have a 500mm door you don't need to print the other side hinge, use the round spacer. TODO: Add the base height spacer + round hinge delete spacer TODO: Add the missing chanfer to the bottom of the table segment TODO: Add better instructions # This is still a work in progress! I'm still printing and fine tuning parts!
With this file you will be able to print One More IKEA Lack Enclosure with your 3D printer. Click on the button and save the file on your computer to work, edit or customize your design. You can also find more 3D designs for printers on One More IKEA Lack Enclosure.