Onewheel Modular Battery Display Flight Fin Spacer Module (Headlight Attachment)
myminifactory
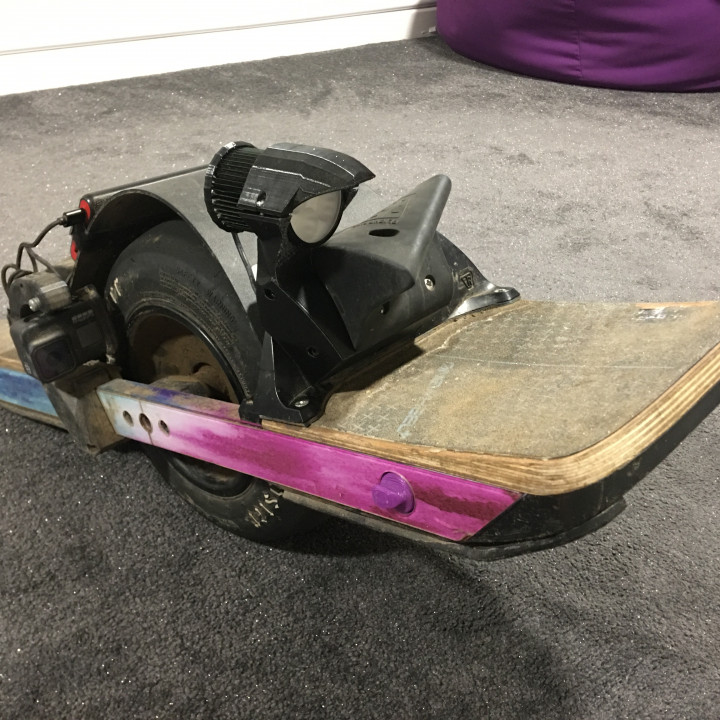
DO NOT ATTEMPT THIS PROJECT IF YOU DO NOT HAVE ANY ELECTRICAL EXPERIENCE. TAKE ON THIS PROJECT AT YOUR OWN RISK! READ THE INSTRUCTIONS COMPLETELY BEFORE ATTEMPTING TO MAKE SURE YOU'RE COMFORTABLE WITH THE PLANS LAID OUT ------------------------------------------------------------------------------------------------------------------------------------------------------------------------------------------------------------------------------------------------------ This model is designed to be a module for Onewheel Modular Battery Display Flight Fin Spacer Base. Summer has ticked around and now with more daylight I didn't want the headlight always attached. Trouble is removing the whole fin assembly and migrating the electronics would take a while so I've designed V3 of the spacer which allows for modules to be swapped in by undoing 2 bolts. I would recommend diffusing the light a little since when used without it is extremely bright and can dazzle those ahead of you. A frosted acrylic circle glued to or replacing the existing clear acrylic helps to do this without loosing too much light. For a wiring diagram please refer to the images for how mine is setup as an example. BOM 1x 80v Bike Headlight : https://www.amazon.co.uk/gp/product/B01EJJZX8Q 1x Latching Push Button : https://www.amazon.co.uk/dp/B07Y1KDN5M 1x XT30 Male Connector : https://www.amazon.co.uk/dp/B06XPTXFW9 2x M4 30mm Allen Socket Cap Bolt: https://www.ebay.co.uk/itm/221872591770 2x M3 10mm Pozidrive Pan Head Bolt : https://www.ebay.co.uk/itm/224373812129 1x 16 gauge wire : https://www.amazon.co.uk/dp/B07FN9G27L TOOLS BIG BRAIN! (Galaxy brain or more will suffice) A 3D printer, I think that's a given. Wire stipper Soldering iron Heat shrink Allen keys and screwdrivers Hammer (yes you may need this) Hot glue gun Instructions (starting at the image with the parts laid out) 1. Organise the parts (dismantle the headlightso that the mount is detatched. 2. Cut a length of the headlight wire off and solder that to the XT30 3. Slide the wire into the recessed XT30 slot with the wire protruding out the hole at the top. Make sure the XT30 slides in all the way. 4. Apply some hot glue to the back of the XT30 and some on the wire so when it's pressed in it should fill and squeeze out to seal the internal cavity and part of the hole. If it doesn't go in all the way pull on the cable gently and use the hammer to tap it down. 5. Slot the headlight into the print then fasten down the top to lock it in place with the 2x M3 10m bolts. Also take the lamp cap and insert the button with the nut tightened down. 6. Solder the 2 negative wires together from the XT30 and the headlight. Then take the positive wires and solder them to either side of the N/O pins on the switch. If you want to have the button light up you can use a voltage divider (2 resistors) to pull the voltage from the 63-45v range down to below 24 as required by the LED. I haven't done this since the headlight will tell me when it's powered. 7. Hot glue the pins and fed the wire into the notched section on the lamp cap. Using the screws that formerly held the former mounting plate you can fasten the lamp cap to the headlight heat sink. 8. Insert the 2x M4 30mm bolts ready for mounting. 9. Prepare the Base unit for unbolting, you don't need to power off the board but it would be best practice to do so. 10. Unbolt the blanking plate. You can swap over the spare Fuse if desired. 11. Press the module onto the base so that the XT30 slots in place. 12. Tighten down the bolts to keep it secured. 13. Give it a test, here is an example of the stock light, notice it barely overpowers the light creeping into the room 14. Powered on it become significantly brighter than the rest. 15. Congrats, you've now got a very bright headlight. I would recommend diffusing the light like I've done since when used without difusing it is extremely bright and can dazzle those ahead of you. A frosted acrylic circle glued to or replacing the existing clear acrylic helps to do this without losing too much light.
With this file you will be able to print Onewheel Modular Battery Display Flight Fin Spacer Module (Headlight Attachment) with your 3D printer. Click on the button and save the file on your computer to work, edit or customize your design. You can also find more 3D designs for printers on Onewheel Modular Battery Display Flight Fin Spacer Module (Headlight Attachment).