Onstep MiniPCB enclosure
thingiverse
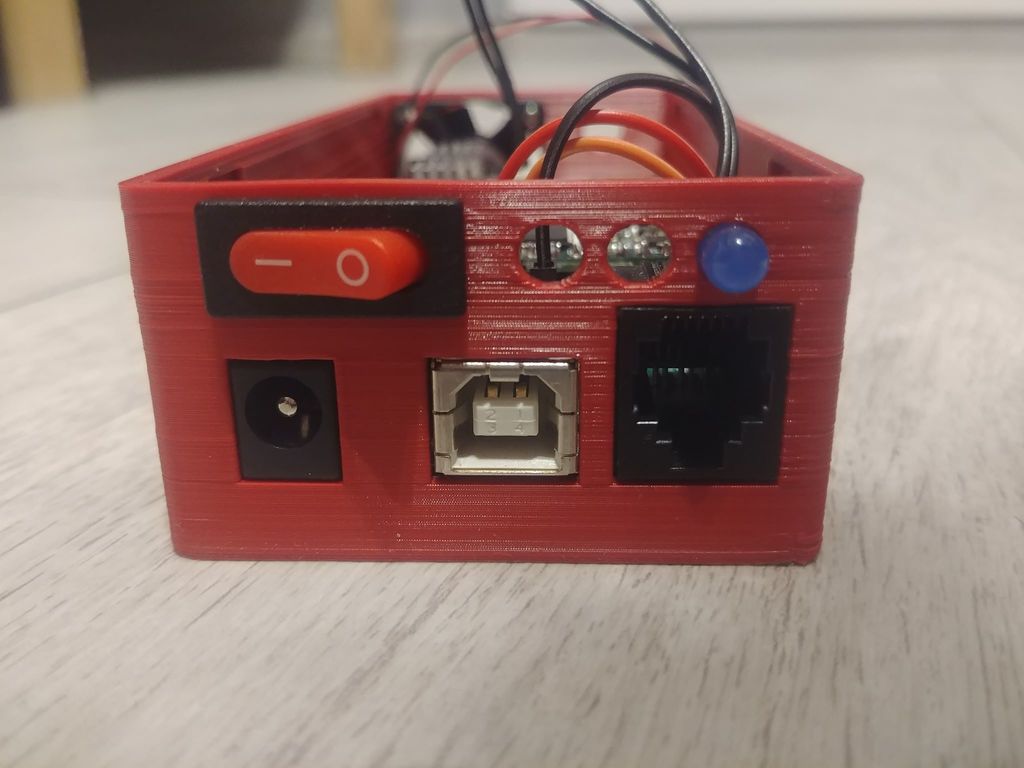
Hello. I`ve made my own case for miniPCB version of Onstep GOTO controller. All you need is here: https://groups.io/g/onstep/wiki/2E-MiniPCB. Thanks to Howard and others for this awesome project. About the case - I decided to use additional fan (3010) to cool down stepsticks, just because of using highest possible Vref. Some parts to buy: - 1x 3010 5V fan (I use SUNON - it uses 3 bolts only, that is why there is no 4th hole for bolt) - 3x LEDs 5mm (there is a blue, but obviously use RED to not disturb your eyes) - 1x Rocker Switch ON/OFF (bought here in Poland: https://sklep.avt.pl/przelacznik-mrs101-5c-3b-bistabilny-on-off-czerwony.html) Bolts and nuts to buy: - 3x M2 6mm - to keep the PCB in its place - 3x M2/M3 16mm - to keep the fan in its place - 3x M2/M3 nuts and washers - for fan`s bolts - to keep it there until the end of the world (or some days longer). Now I need to make top for this case. I have a project, just now there is no time to print it. I`ll do it in next few days. There was an idea to use aviation connectors for stepper motors, but finally it would make the case bigger. So I decided to stay with a place just for cables. Obviously you can easily drill it for bigger holes if you have some aviation connectors - just make sure there is enough place to fit it. The only place I used supports was the Fan area - but finally I think it should be printed well without any. Find your way :) The real text is ONSTEP. On photos you see ASTROARAS text - it is my friend`s nickname, who will be the owner of this unit :)
With this file you will be able to print Onstep MiniPCB enclosure with your 3D printer. Click on the button and save the file on your computer to work, edit or customize your design. You can also find more 3D designs for printers on Onstep MiniPCB enclosure.