Ooznest Workbee Z1+ X-carriage limit switch wire shroud
thingiverse
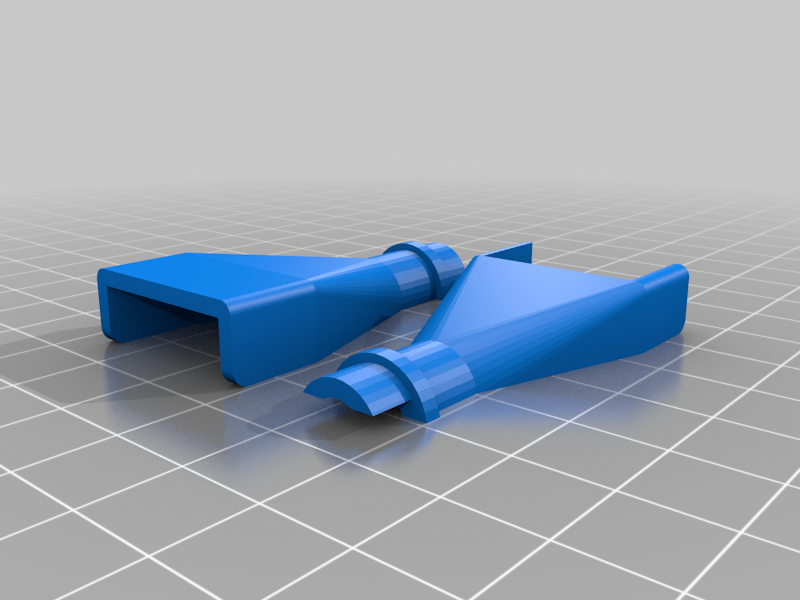
While assembling an Ooznest Workbee I saw that some of the comments mention that the X-carriage limit switch wiring can come loose and get tangled in the wheels (https://learn.ooznest.co.uk/Guide/3.+X-Carriage+Assembly/207#s1042). I came up with this solution to make sure this can't happen. I know a piece of tube and some glue would do the job too but here we are... The conduit consists of two shells which enclose the wire and switch. Once in place, they're wedged in pretty tightly so that tying them together with a cable tie is little more than a formality. See photos for assembly. Note that in the photos the X-carriage is inverted (stood on the stepper motor) so the "lower" part of the conduit is actually on top in the photos, and vice versa. Insert the upper part (the one that goes around the back of the switch where the wires are) first. If the wires have already been pulled taut, they must be given some slack. The round end goes into the hole in the plate while holding it at an angle. The shell is then pushed into place (careful not to damage the switch contacts). The lower part (the one with the cutout for the switch lever) is inserted in a similar fashion. The two shells can then be tied together with a cable tie. Print supports are required for the narrow end of the bottom part (where the semi-circular end does not contact the print bed) and optional for the rest. A brim may be helpful too.
With this file you will be able to print Ooznest Workbee Z1+ X-carriage limit switch wire shroud with your 3D printer. Click on the button and save the file on your computer to work, edit or customize your design. You can also find more 3D designs for printers on Ooznest Workbee Z1+ X-carriage limit switch wire shroud.