Open Emag Electromagnet Wrapping Machine
thingiverse
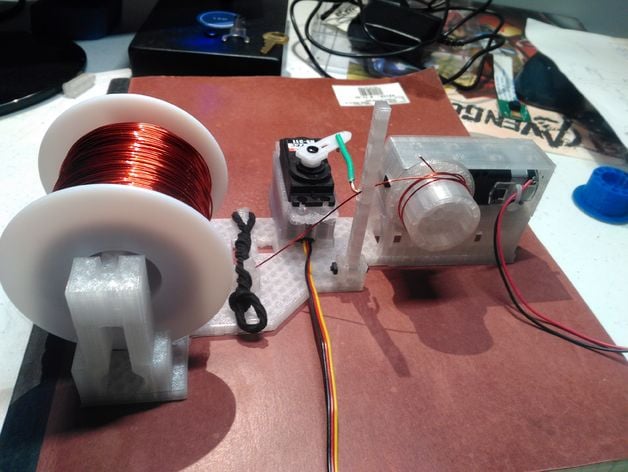
It appears you've copied a detailed tutorial on creating an electromagnet using a 3D printer and various materials from Amazon. The instructions cover everything from magnet wire to spool form design, as well as some tips for assembly and troubleshooting. The project involves several components: - A Hitec HS-311 Standard Universal servo (for the lever system) - Magnet wire (specifically Remington Industries 30AWG or 22AWG) - 3 inches of 14-gauge wire - Rubber band Here are the steps for assembly, according to the text: 1. Follow the photos in the slider above. 2. Use a hook shape with the end of the wire when putting it through the guide (intersection of rubber band and magnet wire). 3. Put the rubber band on first. Additionally, there are some tips for troubleshooting and customizing the project: - You may need to modify spoolform.scad to set the size and width of the spool form. - If you want to use thicker wire than 22 AWG, you may need to print with a material that is stronger than PLA and use a stronger rubber band. There are also some updates on the project: - The holes in the design were made wider for easier screw insertion. - The spindle holders were simplified. - The spoolform.scad file was cleaned up to make it easier to change properties. - The cursor design was updated with diamond-shaped holes.
With this file you will be able to print Open Emag Electromagnet Wrapping Machine with your 3D printer. Click on the button and save the file on your computer to work, edit or customize your design. You can also find more 3D designs for printers on Open Emag Electromagnet Wrapping Machine.