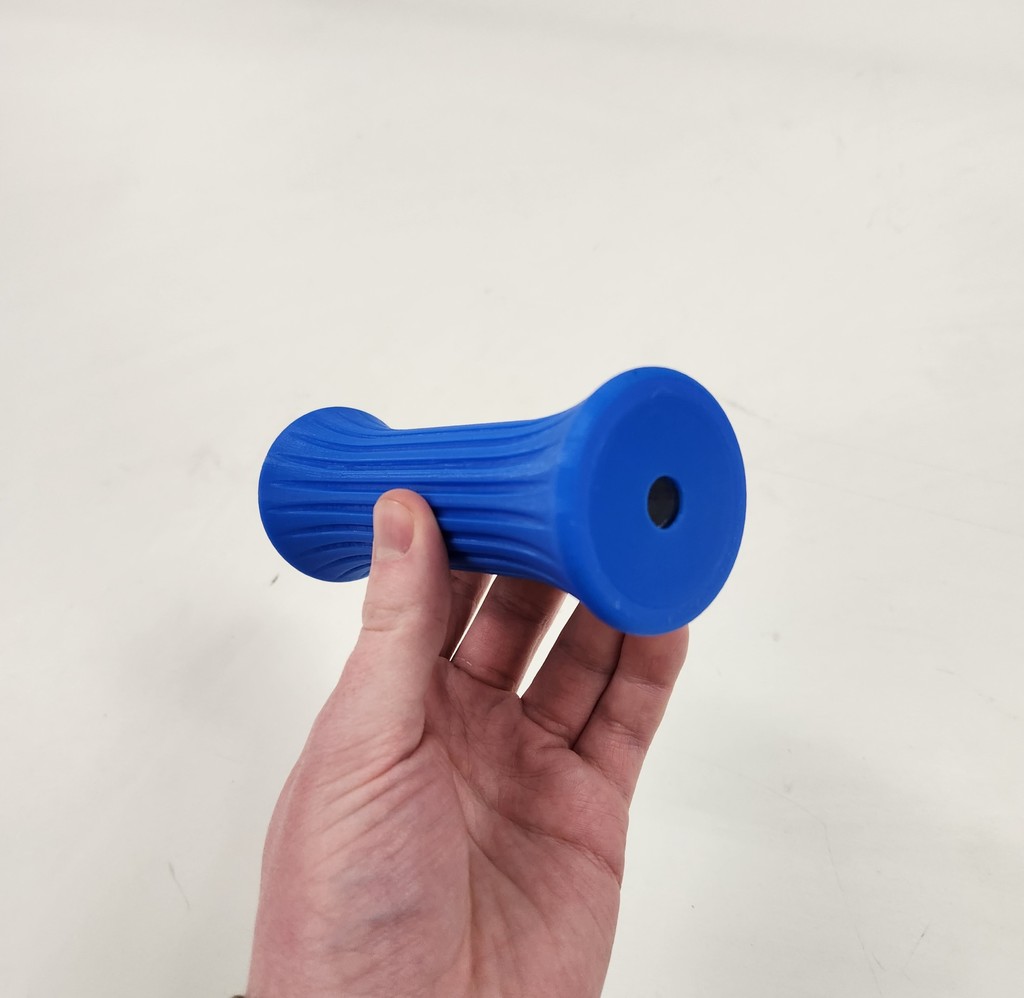
Open-Ended Kaleidoscope
thingiverse
This is a super simple kaleidoscope! Instead of beads, you can point this at anything and turn it into a kaleidoscopic pattern. Everything you'll need: 1 - Tube 2 - MirrorHelper 1 - ViewPlug 1 - EndPlug 2 - 1" diameter acrylic circles, at .125" thick 3 - 0.75" by 4.5" First Surface mirrors, at roughly 0.1" thick (mine is from a broken projector) When cutting glass, be careful of course, but it also wouldn't hurt to cut the pieces on the small side. I've had problems getting the mirror pieces to fit in the MirrorHelper. The MirrorHelper pieces are to help align the geometry of the mirrors, so the first step of the assembly process is to hot glue the mirrors to the MirrorHelper pieces. I glued my MirrorHelper pieces near the very end of the triangular mirror tube. After the glue is dry, apply some force to slide the whole mirror assembly into the Tube. In my case, the MirrorHelper pieces aligned almost perfectly against the end of the inner Tube. Then glue the acrylic circles inside the recess of both Plug pieces (EndPlug and ViewPlug). MAKE SURE that the glue doesn't cover the viewing portion, or else you'll be seeing endless repetitions of glue in your kaleidoscope. I recommend light dollops of hot glue, not so runny. After that, just shove your Plugs into the Tube ends until they lay flush! Try looking in from either end. Or you could even just use 2 EndPlug pieces. Whatever works for you. I enjoy looking at pictures or .gifs of mandala designs on google images. They usually have a pretty good effect:)
With this file you will be able to print Open-Ended Kaleidoscope with your 3D printer. Click on the button and save the file on your computer to work, edit or customize your design. You can also find more 3D designs for printers on Open-Ended Kaleidoscope.
