OpenAPS Pi+Hat 2x18650 Case
prusaprinters
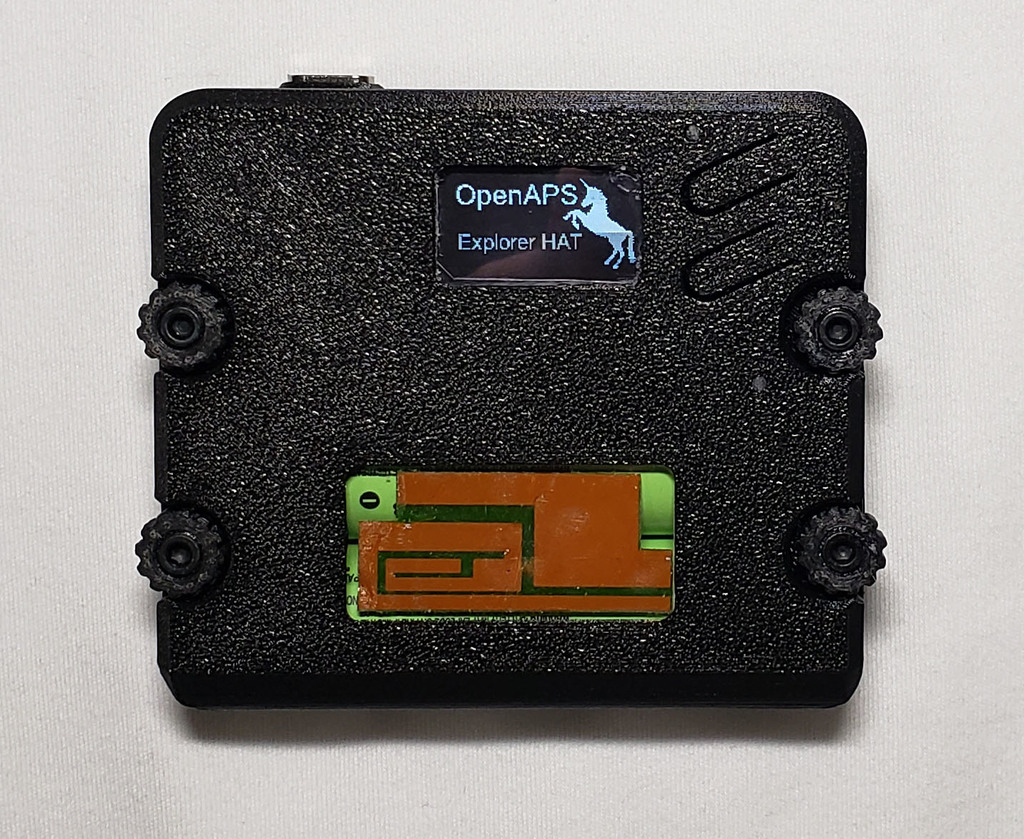
<p>I have also updated most files with final versions:</p><ul><li>2x_top_final.stl</li><li>2x_bottom_final.stl</li><li>2x_negterm_final.stl</li><li>2x_posterm_final.stl</li><li>2x_door_final.stl</li><li>genericpositive_final.stl</li></ul><p>These updates are compatible with the other parts, but make the case significantly easier to build. The tops and bottom now have custom supports, so do not split these to objects. Support is not needed unless you choose to not use the custom supports. No supports versions are also included.</p><p>Captive M3 hex nuts have replaced heat set inserts for easier builds, simply insert the nut into the slot and use a short M3 screw to pull it up into the retaining area. Depending on printer tolerances, you may need a tiny spot of superglue or epoxy to retain the nut, but they do not need this for me.</p><p>2x top final.stl</p><p>Now has a routing channel for the optional sticker antenna, as well a retaining clip for the wire. Fixed spacing issues with screw holes.</p><p>2x bottom final.stl</p><p>Added room for a small screwdriver for on the go servicing, and converted all heat set insert holes into captive M3 nuts. Added retaining clips for the negative power lead, tightened tolerances that previously prevented the case from closing totally evenly. Cosmetic inserts for coloring the positive symbol (called positivemarker.stl)</p><p>2x_negative_terminal.stl and 2x_positive_terminal.stl are both minor tweaks that work with the captive nut system.</p><p>2x_door_final.stl is a slight shape change to allow more room for the power cable.</p><p>2x_tool_final.stl is new, and fits underneath the battery to allow full on the go servicing when combined with a small (4mm) philips head bit.</p><p>genericpositive_final.stl is new, and is a cosmetic insert if you'd like to add some color to your positive battery markers.</p><p>END OF UPDATE INFORMATION</p><p>Other OpenAPS Pi+Hat cases didn't quite do what I wanted them to do, so I designed this one to hit as many goals as possible.</p><h3>Features:</h3><ul><li>Tough as heck. My rig in this case has survived falls onto concrete without issue.</li><li>Screen protector.</li><li>Pocketable. It's not small, but the smooth edges and rounded battery area make it much easier to keep in a pocket.</li><li>Clicky, usable buttons.</li><li>Tool-less access to microSD card, power plug, and power switch.</li><li>Light pipes for increased visibility of charging and low battery indicators.</li><li>Accepts commonly available 18650 batteries.</li><li>High battery capacity, 6800 mAh with 2x Panasonic NCR18650B cells. I get 19 hours of battery without underclocking.</li><li>Cooling vents, no overheating issues across several testers.</li><li>Heat set threaded inserts for durability.</li><li>Enhanced antenna performance with a (mostly) radio transparent window and an (optional) GSM sticker antenna.</li><li>Size is 86mm wide, 77mm tall, and 25mm thick</li></ul><p>Note: Both of the photos that show the opened case are slightly out of date. See the screenshot for the final design. I will update this with final photos as soon as I have time to build more.</p><h3>Bill of Materials:</h3><h3>Printed Parts:</h3><p>1 each of:</p><ul><li>2x_Top.stl</li><li>2x_Bottom.stl</li><li>2x_Positive_Terminal.stl</li><li>2x_Negative_Terminal.stl</li><li>2x_Door.stl</li></ul><p>4 of:</p><ul><li>Thumbscrew_Head.stl</li></ul><p>(Optional) 2 of:</p><ul><li>0.8mm_washer.stl</li></ul><h3>Other Parts:</h3><ul><li>6 M2.5x6mm Nylon Screws</li><li>2 M2.5x8mm Nylon Spacers</li><li>2 M2.5 Nylon Nuts</li><li>2 M2.5 or M3 plastic washers. There is a printable stl you can use if you'd rather print the washers than buy them.</li><li>4 M3 Brass Threaded Inserts (Outer Diameter of 4.7mm to 5mm, 5mm tall)</li><li>4 Keystone 209 Battery Contacts</li><li>4 M3x14 Socket/Cap Head Screws plus printed thumbscrew adapters. 12mm also work. I epoxied the screws in, but they seem usable with a friction fit.</li><li>2 18650 Unprotected flat top cells of your choice. Panasonic NCR18650B recommended.</li><li>2 pieces of .030" - 1/32" thick Lexan/Polycarbonate. One 30mm x 22mm (Screen protector) and one 44mm x 26mm (Antenna window).</li><li>(Optional but highly suggested) Slim Sticker-type GSM/Cellular Quad-Band Antenna - 3dBi - 200mm from Adafruit</li></ul><h3>Parts Links:</h3><p>M2.5 spacers screws and nuts Brass inserts Keystone 209 contacts M3 14mm hex cap screws JST2.0 power leads Lexan <a href="https://www.adafruit.com/product/3237">Antenna</a></p><p>The above links are examples of the parts I used to make this case, but as suppliers for these types of parts change regularly, I cannot guarantee they'll work.</p><h3>Basic Case Assembly:</h3><p>Bottom:</p><ul><li>Push Keystone 209 battery contacts onto the printed Terminal pieces, making sure that the contacts are facing the correct direction</li><li>Solder wire between contacts, routing it in the channel between the contacts.</li><li>Trim red and black wires of power cable to length, allowing extra length for the negative wire to sit in the printed channel.</li><li>BE SURE TO VERIFY POLARITY OF POWER LEADS! With the key/slot of the JST connector facing down, looking at it from the side with the wires, the red/positive wire should be on the right side. This means it will be lined up with the + marker on the explorer hat.</li><li>Solder red wire of power cable to positive terminal on the side with the printed pointy bit. Solder black wire of power cable to negative terminal on the side with the printed pointy bit. Route the longer black wire through the channel to the negative side.</li><li>Apply epoxy to the internal parts of the case where the terminal parts contact and insert them, making sure that the wire is routed out of the opening. Temporarily inserting 18650 batteries is a nice way to clamp it while it cures.</li><li>Using a soldering iron, insert the 4 threaded inserts. I'd suggest practicing this on scrap plastic first, as it takes a little skill to do well.</li></ul><p>Top:</p><ul><li>Cut a 30mm x 22mm piece of Lexan for the screen protector.</li><li>Cut a 44mm x 26mm piece of Lexan for the antenna window.</li><li>Epoxy both pieces of Lexan in place, taking care to not over apply epoxy to avoid oozing.</li><li>Cut two short lengths of transparent 1.75mm filament and insert into light pipe holes.</li><li>Either cut them to length with your rig inserted into the case, or leave about 3mm of filament inside the case while cutting it flush on the outside. Once you are happy with the positioning and brightness of the light pipe, either glue it in place or melt a small surrounding area with a soldering iron to permanently attach it.</li></ul><h3>Putting your rig in the case</h3><p><a href="https://imgur.com/a/nXZ5zpR">Imgur gallery of illustrated and written step by step instructions</a></p><h3>Disclaimer stuff:</h3><p>If you're making an OpenAPS case, you probably understand this already, but this was made and tested on a limited number of rigs. The goal is to make it easier to live with diabetes, via the DIY diabetes community. I'm confident in the design, but it's not my fault if it eats your dog or kicks your pancreas. Use common sense and caution.</p><h3>Thanks:</h3><p>I wanted to thank the people who helped this come together. Some were testers or early adopters, others provided useful suggestions or just regular old support. In general thanks to the members of the <a href="http://discord.gg/diabetes">r/diabetes discord server</a> but in specific thanks to, in alphabetical order:</p><ul><li>adi</li><li>Bell</li><li>Bobbie</li><li>Cas</li><li>cluckj</li><li>Paper</li><li>rudgeman</li></ul><h3>Print Settings</h3><p><strong>Printer Brand:</strong></p><p>Prusa</p><p><strong>Printer:</strong></p><p>i3 MK3</p><p><strong>Rafts:</strong></p><p>No</p><p><strong>Supports:</strong></p><p>Yes</p><p><strong>Resolution:</strong></p><p>0.2mm</p><p><strong>Infill:</strong></p><p>30%</p><p><strong>Filament:</strong> Priline Carbon Fiber Polycarbonate Black</p><p><strong>Notes:</strong></p><p>I used 4 perimeters for higher strength. Supports are only needed for the 4 screw holes on each case half. Depending on your filament choice and bridging performance you may need to support the micro USB holes as well. All STLs are oriented in the proper directions for printing.</p>
With this file you will be able to print OpenAPS Pi+Hat 2x18650 Case with your 3D printer. Click on the button and save the file on your computer to work, edit or customize your design. You can also find more 3D designs for printers on OpenAPS Pi+Hat 2x18650 Case.