Optimal Turntable
thingiverse
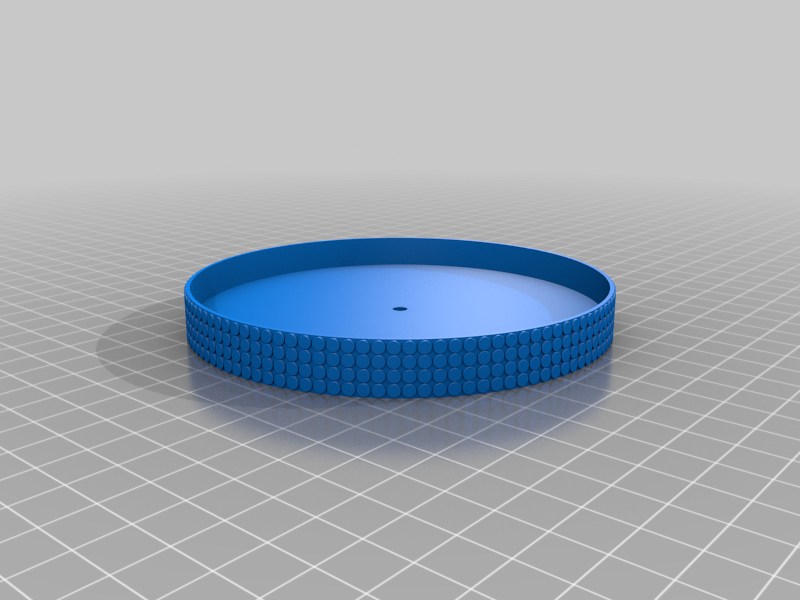
Hi! I have made a fully functional turntable with just 2 parts (3 if you want). I am very proud that it turned out so well. You can attach it direcly to an object, for instance a brick using a regular scew. You can also 3d-print the additional top plate if you instead want to lay the object(s) you want to turn on its surface. The only extra part you need to buy for the turntable to work is Industrial Bearing Steel Balls 6,35 mm in diameter. You need 8 Bearing Balls and I bought mine: 200 pieces from Amazon.se for 111 SEK (around $13, €11): https://www.amazon.se/gp/product/B07VTNXV47/ref=ppx_yo_dt_b_asin_title_o00_s00?ie=UTF8&psc=1 This is a description of the dimensions I used in Fusion 360 if you want to make design improvements or a bigger or smaller remake. Turntable (first part) 110 mm in diameter Ring bearing (second part) 100 mm in diameter (outer edges). The ring is 10 mm wide and 2 mm thick. In order to be able to add the 8 bearing balls I added 8 cylinder shapes 4 mm thick (the hight) and 9 mm wide and cut 6 mm holes in the center in the cylinder shapes. Then I added sphere cuts 7 mm in diameter in these holes for the bearing balls to be able to rotate freely inside. You attach the bearing balls by snapping them into place using a regular plyer. Top part (third part) the "Lid" 113 mm in diameter. Version 1 (V1) has a smooth surface on the edge and Version 2 (V2) has a rough edge. You choose which one you want to 3d-print depending on taste. Lastly you attach the hole thing using a M3 bolt (10-11 mm length) and a M3 nut. Here is a video how it works in action: https://youtu.be/A1Z0ssve_a8
With this file you will be able to print Optimal Turntable with your 3D printer. Click on the button and save the file on your computer to work, edit or customize your design. You can also find more 3D designs for printers on Optimal Turntable.