Optoma PK201 with Makerbot Cyclops 3D Scanner Chassis
thingiverse
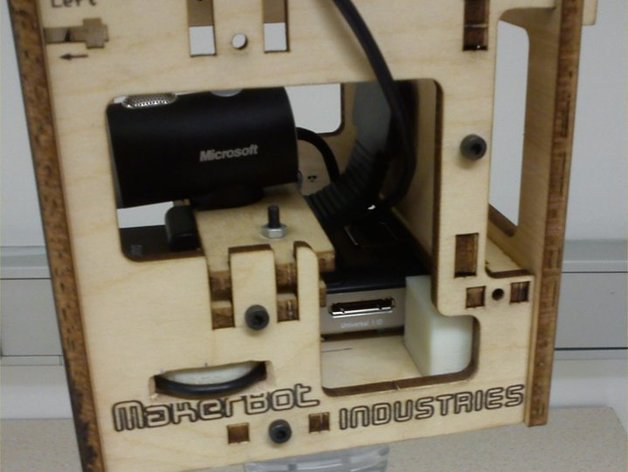
The Makerbot Cyclops 2.0 3D Scanner requires the kit "Cyclops" for its 3D scanner. Although it doesn't allow derivatives, you can find it here: http://www.thingiverse.com/thing:4271. Despite poor documentation, the text and photos should suffice. These printed parts help fit an Optoma PK201 Pico Projector into a laser-cut plywood housing. The focus wheel adjusts with a rubber band or o-ring for grip. A cube part maintains the projector's position against the scanner's bottom right rear corner. Modifications are needed on the laser-cut plywood parts, including enlarging the rear panel hole and making a bolt hole for the focus wheel in the bottom panel. The slot on the left panel is 8x30mm, while the enlarged slot on the rear panel is 20x62mm. A rectangular hole (20x15mm) is needed in the scanner's front panel for proper projection. After drilling and enlarging holes on Cyclops 2.0's panels, print extra parts from provided .stl files. Clean them before attaching the focus wheel with a bolt and nut. Place the spacer cube at the bottom right rear inner corner of the scanner, securing the projector with foam tape. Replace the back panel to optimize PK201 resolution using provided patterns for 3D scanning!
With this file you will be able to print Optoma PK201 with Makerbot Cyclops 3D Scanner Chassis with your 3D printer. Click on the button and save the file on your computer to work, edit or customize your design. You can also find more 3D designs for printers on Optoma PK201 with Makerbot Cyclops 3D Scanner Chassis.