OrangeRX DSMX JR Antenna Relocation
prusaprinters
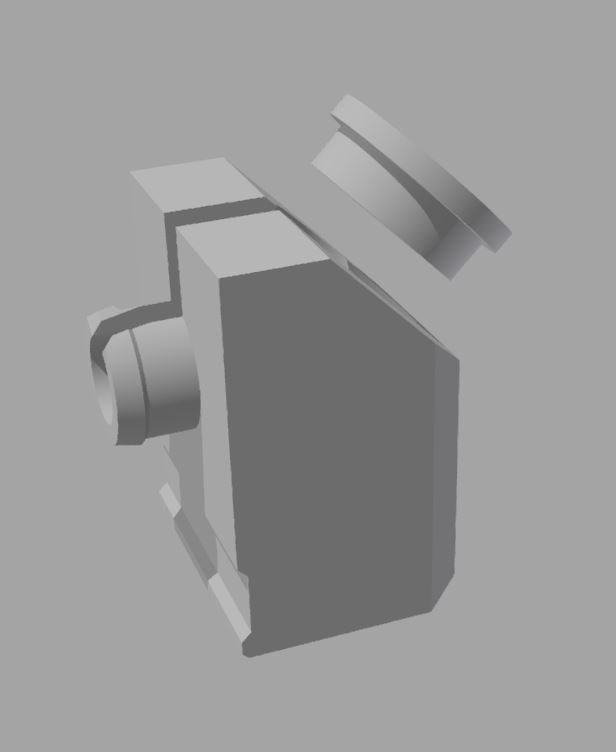
<p>This is a small model to relocate the SMA connector (without modifying the case) for the most recent model of the OrangeRX DSMX JR module (with the screws on the back/bottom) from coming straight out, up 90 degrees.</p><p><strong>Make sure you print the main adapter with the slot/hole facing down, as displayed in the preview above. There are internal overhangs that do not play nice with a simpler orientation</strong></p><p>This lets the antenna avoid interfering with the bracebar on most transmitters.</p><p>I use mine with a Turnigy 9X.</p><h3><strong>Materials and methods</strong></h3><p>X-Acto/Hobby knife <br>Phillips #1 <br>Pliers</p><p>1. Open up the module with a #1 Phillips screwdriver - at least on mine, they were very tight and using the wrong size will strip the heads very fast.</p><p>2. Disconnect the u.fl connector and remove the SMA connector from the top half of the housing.</p><p>3. Push the SMA connector up through the bottom entry hole in the printed adapter, screw down the nut and washers to fix it in place, and feed the coax/u.fl connector through the entry tube.</p><p>4. Squeeze the adapter housing and press fit the entry tube through the factory hole in the top of the module.</p><p>5. Press fit the adapter cap into the bottom entry hole to fix in place.</p>
With this file you will be able to print OrangeRX DSMX JR Antenna Relocation with your 3D printer. Click on the button and save the file on your computer to work, edit or customize your design. You can also find more 3D designs for printers on OrangeRX DSMX JR Antenna Relocation.