Orbiter Filament Sensor (Roller switch)
prusaprinters
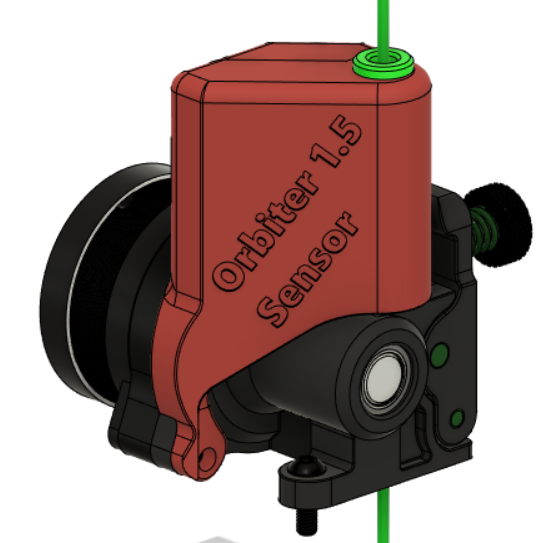
<p>This is my take on a filament sensor directely mounted on the Orbiter using a simple switch.</p><p>The fit of the switch is quite tight to keep it from moving around.<br>Has been working flawlessly so far.<br>If the trigger point is off slightly, try bending the switch lever slightly in the desired direction.</p><p>Decide on your desired wiring based on preference and available board connections. ( e.g. pull-up/pull-down resistor, LED, 2 lead or 3 lead connection).</p><p>If you chose to use 2 leads only, an LED is not possible. Use a JST XH2P Connector and print the corresponding files.</p><p>If you chose to use 3 leads, use a JST XH3P Connector and print the corresponding files.</p><h3>Print Settings</h3><p><strong>Printer:</strong></p><p>V-Core 3</p><p> </p><p><strong>Rafts: </strong></p><p>No</p><p><strong>Supports:</strong></p><p>No</p><p><strong>Resolution: </strong></p><p>0.2</p><p><strong>Infill:</strong></p><p>18 - 25 %</p><h3> </h3><h3>Post-Printing</h3><p><strong>Assembly</strong></p><p>Insert the pre-wired components to the designated slots.</p><p>Close the lid and fix with M3 bolts.</p><p>Wire up the sensor to the mainboard.</p><p>Enjoy.</p><p> </p>
With this file you will be able to print Orbiter Filament Sensor (Roller switch) with your 3D printer. Click on the button and save the file on your computer to work, edit or customize your design. You can also find more 3D designs for printers on Orbiter Filament Sensor (Roller switch).