Oric 1 and Atmos 48k Erebus Enclosure
thingiverse
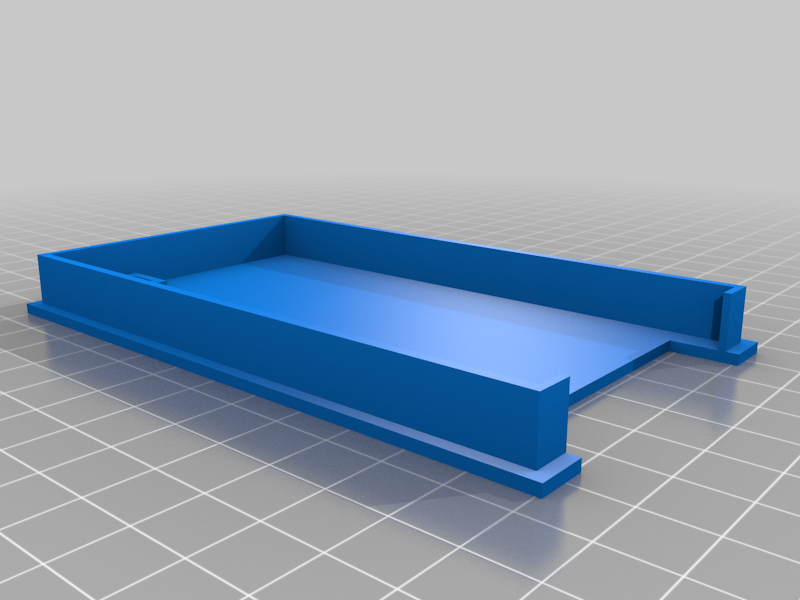
I bought this kit for a little device to load programs into my Oric Atmos, but couldn't find any enclosure. So I tried to make one. It's not perfect, as I am not an expert on 3D modelling, but it does its job. I used brass inserts for 3mm screws which are pressed into the bottom of the enclosure. If holes are not matching perfectly you can open holes on the pcb a bit so they fit. Use M3 L4 screws, near 34 pin connector normal head ones, and in the back use allen key head. It's important becuase it keeps the top from opening. Top actually sticks between the bottom case and the screws. If this do not work for you, once you are sure all is ok, you can glue the top cover. In addition to regular Erebus, I added a RESET button, whoever owns Oric, knows what pain in the arse is to power cycle every time you want to load something new. Reset switch should be connected between pin 4 on 34-pin connector and the ground.I found nice spot on the IC 74LS73 which is on the side of EPROM, pin 2, and GND spot (see photos). Card reader is connected with flat cable, directly soldered, or by jumper wires, as you wish, and dependent on your soldering skills. Reset button needs to be pressed by something into the hole.Once there, it will sit tightly, and it will not get out. Button is a tact switch 5mm x 5mm, 7mm height. You might need to widen a hole a bit, before pressing the switch in. I had no problems, but on second print I used different tact switch, and although it looked the same, it needed just a tiny widening in order not to obstruct proper functioning. Well, I hope you like my rookie design. enjoy! P.S. There are four files, one is top and the bottom together, print it as it is, with supports (touching buildplate) if your printer has problems with overhangs. The rest of the files are top and bottom separately, and one top with the title "EREBUS" , try it and see how it will print at your printer. EDIT: I JUST REALIZED THAT TACT SWITCH WILL JUST HANG THE COMPUTER, BECAUSE IT NEEDS TO BE DEBOUNCED BY A 1N4148 DIODE TO THE GROUND, FROM THE SWITCH.Please see the photos for the modification!
With this file you will be able to print Oric 1 and Atmos 48k Erebus Enclosure with your 3D printer. Click on the button and save the file on your computer to work, edit or customize your design. You can also find more 3D designs for printers on Oric 1 and Atmos 48k Erebus Enclosure.