OTTO DIY with 48:1 DC Motors
thingiverse
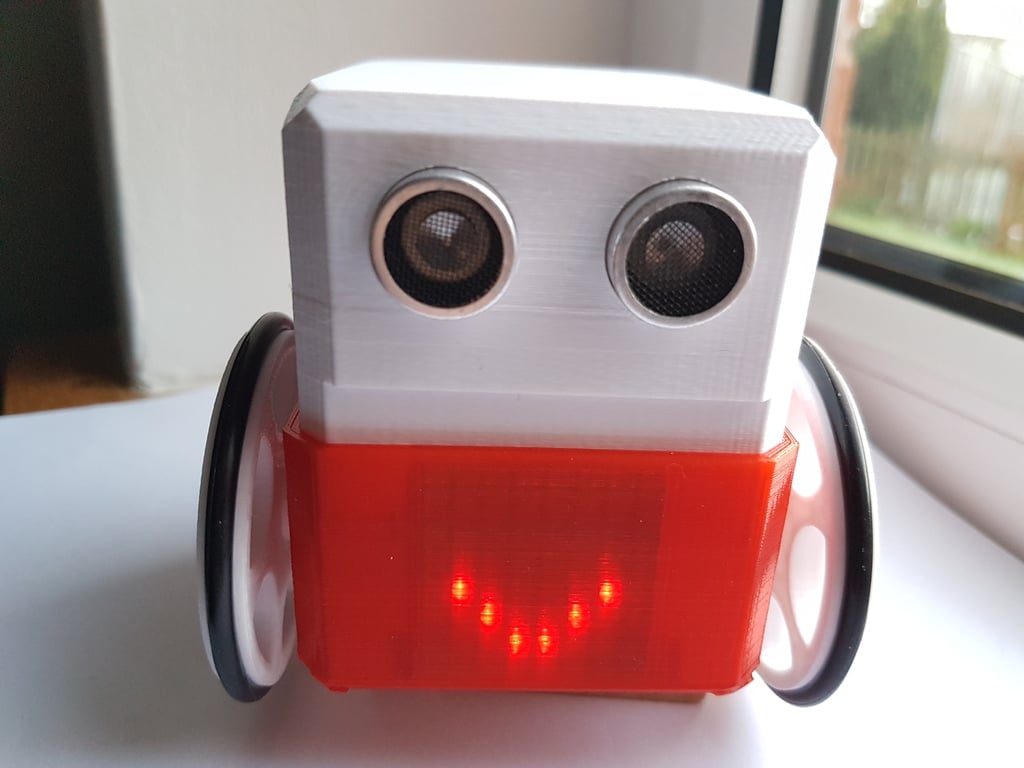
OTTO robot with 48:1 DC Motors List of parts: I used a 3.7V 1200mAH LIPO and a new DC MOTOR driver NANO SHIELD PCB You can use a Arduino NANO with I/O shield and a L9110S H-bridge Dual driver (some modifactions to the sketch will be required) Small female to female jumper wires Buzzer 2 x DAGU 48:1 DC Motors (yellow DC motors with right-angled gearboxes) HC-SR04 Ultrasound sensor module MAX 7219 LED matrix module 2 x Screws - small self tapping screws to secure PCB in place 4 x Screws - 3mm x 15mm screws with 3mm nuts (to secure castor and motor clamp in place) You can use a 3.7V 1200mAH LIPO and a 5 volt DC to DC booster CONNECTIONS: The HC-SR04 Ultrasound sensor is connected (TRIG to pin 8 and ECHO to pin 9) The MAX 7219 LED matrix is connected (CLK to pin 11, DIN to pin 12, CS to pin 10) The BUZZER is connected (pin 13), The Left Motor PWM pin is pin 6, The Left Motor DIRECTION pin is pin 2, The Right Motor PWM pin is pin 5, The Right Motor DIRECTION pin is pin 4, Code and libraries are : https://github.com/jarsoftelectrical/OTTO-DC-Motor Check the OTTO DIY+ for more details as this is based on that project. https://www.thingiverse.com/thing:2398231 For the Arduino programming: Download & Install Arduino IDE: https://www.arduino.cc/ This is still work in progress,
With this file you will be able to print OTTO DIY with 48:1 DC Motors with your 3D printer. Click on the button and save the file on your computer to work, edit or customize your design. You can also find more 3D designs for printers on OTTO DIY with 48:1 DC Motors.