Outdoor 3g/4g modem router
thingiverse
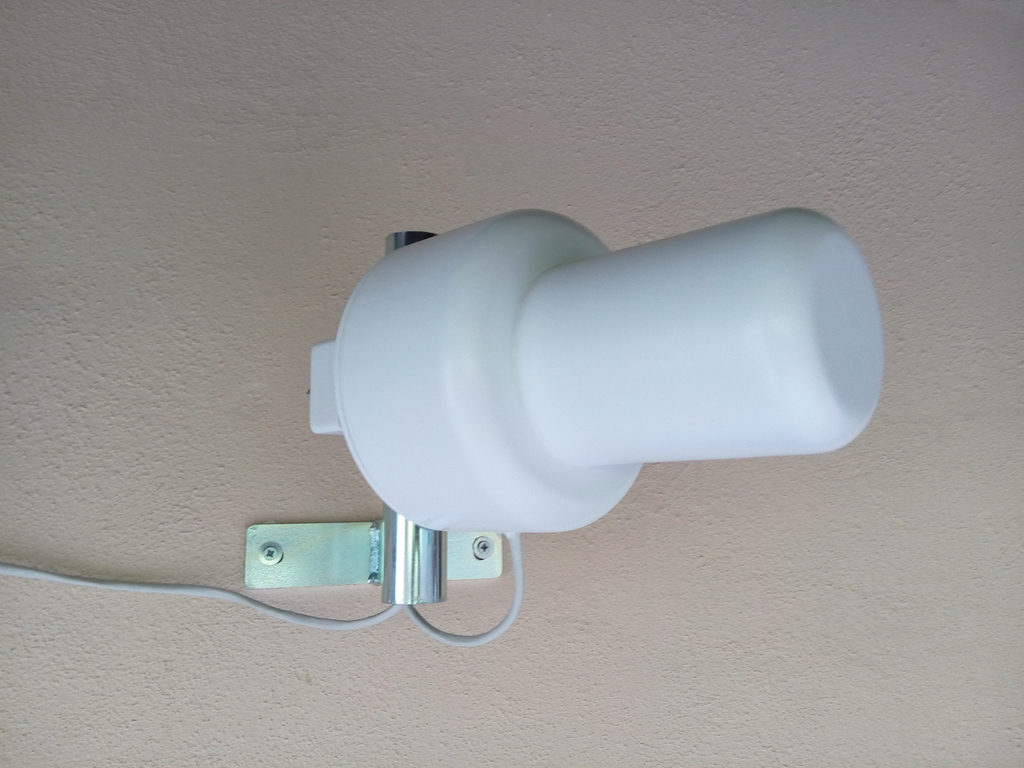
# Outdoor 3g/4g modem router This is my outdoor 3g/4g modem router with an high gain directive antenna **Bill of materials** - 8 x 3D printed parts - 1 x OrangePi Zero [link](https://amzn.to/2UK3I5o) - 1 x SD card (4GB or more) - 1 x Huawei E3372h-153 [link](https://amzn.to/2U7vTqy) - 1 x USB extension cable - left angle [link](https://amzn.to/2KEETUL) - 1 x step down converter 5v [link](https://amzn.to/2X36H6z) - 1 x PSU 12v 3A [link](https://amzn.to/2U2gAzf) - 1 x female DC power connector [link](https://amzn.to/2uVqUza) - 2 x RJ45 connectors [link](https://amzn.to/2Uq3xgi) - 1 x ethernet cable - 4 x cable ties (to lock the usb modem and the step down converter to the base) [link](https://amzn.to/2ImoZLO) - M2/M3/M4 screws with washer - 2 x M8 Bolt with washer and nut - 1 x O-Ring (150mm - Ø 2mm) or a silicon/rubber bracelet [link](https://amzn.to/2InKvQj) *For the antenna:* - 1 x copper sheet - 1 x M5 threaded row [link](https://amzn.to/2U2Y6yM) - 13 x M5 nut [link](https://amzn.to/2P6S3IJ) - 2 x cable CRC9 male to *whathever* - [link](https://amzn.to/2G4LfH5) **Building instructions** 1. Print all the enclosure parts * **Note:** For the antenna connector (on lid.top.stl) you have to insert an M5 nut and washer during the print (see router.mk4.stp and pause.print.gcode files) 2. Build the antenna according to the Kreosan instructions (thank you Kreosan!): [link](https://bit.ly/2KnIsyp) * **Note:** choose the antenna type according to the frequency used by your provider (2100, 2600 or 1800 Mhz. The 850Mhz type is too big for the enclosure, sorry) 3. Bridge with a solder the 2 pair of pads on the OrangePi Zero to enabling the PoE [link](https://parglescouk.wordpress.com/2017/04/14/getting-the-orange-pi-zero-working-with-poe) 4. Copy the Armbian image into the SD card [link](https://www.armbian.com/orange-pi-zero/) 5. Install the isc-dhcp-server package 6. Overwrite dhcpd.conf, interfaces, iptables.sh and rc.local with the included files 7. glue the lid parts (lid.top.stl + lid.bottom.stl) 8. screw the antenna to the lid 9. screw the OrangePi Zero to the base (with the ethernet port aligned on the top) 10. screw the supports of the usb modem and step down converter to the base 11. lock the Huawei E3372H and the step down converter to the base with the cable ties 12. put the M8 bolts on the base pole clamp (clamp.1.stl) 13. screw the base pole clamp to the base 14. make an hole on the bottom side of the lid, connect the ethernet cable to the step down converter and then to the OrangePi Zero 15. put the O-Ring (or the bracelet) on the base 16. connect the two CRC9 connectors to the usb modem 17. connect the usb modem to the OrangePi Zero with the USB extension cable 18. screw the base to the lid 19. add the RJ45 connectors and the female DC power connector to the other side of the ethernet cable 20. attach the psu to the power connector and the ethernet to your pc (or wifi access point, or ..) 21. Power up and enjoy your new 3g/4g modem router! * **Note:** the ip address of the router is: 10.0.0.1
With this file you will be able to print Outdoor 3g/4g modem router with your 3D printer. Click on the button and save the file on your computer to work, edit or customize your design. You can also find more 3D designs for printers on Outdoor 3g/4g modem router.