ownCloud Raspberry Pi Case + HDD
thingiverse
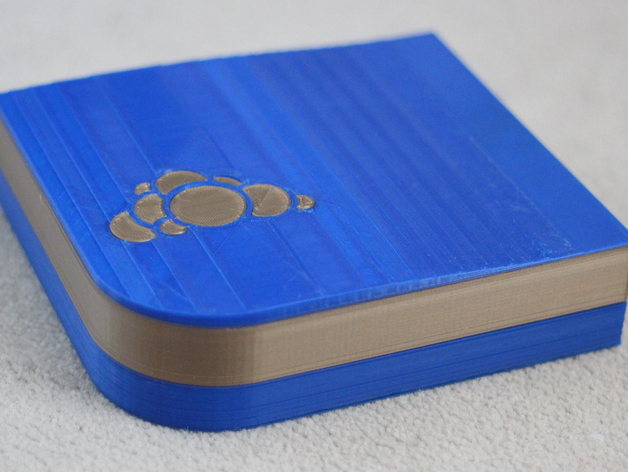
Added SketchUp file. I've started setting up my own 'ownCloud' server using a Raspberry Pi, which can be found online for purchase. Initially, I used a large USB flash drive but wanted more space and an organized setup. To meet these needs, I designed this case to hold a harddrive internally via a USB to SATA cable. The harddrive or solid state drive is attached to the upper half of the main case using two clips that secure it in place. The current design will accommodate a 7mm drive but can be adjusted for different thicknesses by replacing the clips. The USB lead passes through the case, entering from the rear cutout and connecting to the Pi's port. The lower part of the case now comes in two versions: one with slots for airflow and another with an opening for a 40mm fan to improve ventilation. I considered using a harddrive but worried that the Raspberry Pi might not provide enough power, so I'm leaning towards an SSD. After testing the clip design, it seems to be working well, even with a 9.5mm harddrive held firmly in place. The image shows the top half of the case with the harddrive installed, using recycled clips from my initial prototype. The assembly holds together securely without needing additional fasteners. I have finished printing all the necessary parts and am satisfied with how they fit together. I've added glamour photos of the completed case for reference. Print Settings: - Printer: Custom - Mendel Based - Rafts: No - Supports: No - Resolution: 0.3 - Infill: 20 Post-Printing: Parts Needed: Hardware: 1 x Raspberry Pi B+/2/3 5 x 3mmx6mm Self Tapping Screws 2 x 2mmx6mm Self Tapping Screws 1 x Sabrent USB 3.0 to SATA adaptor Printed Parts: 1 x ownCloud_Case_UPPER.stl 1 x ownCloud_Case_LOWER.stl or ownCloud_Case_LOWER_FAN.stl 2 x ownCloud_Case_CLIP_7mm.stl or ownCloud_Case_CLIP_9.5mm.stl Optional: 1 x ownCloud_Case_LID.stl 1 x ownCloud_Case_INSERT.stl Fitting: Connect the USB/SATA cable to the harddrive. Place the harddrive into its designated space and attach the clips securely. Insert the Raspberry Pi, securing it with 2 x 2mmx6mm screws on the mounting holes by the GPIO connector. Route the USB cable out of the case and plug it into a USB port. Assemble the two case halves together, ensuring the USB cable exits through the designated hole between them. Secure the assembly using 5 x 3mmx6mm self tapping screws. Be cautious not to overtighten the screws near the Pi, as this may damage the mounting points. Optional: Insert the printed inserts into the lid (these should fit securely without glue). Apply water-activated Gorilla glue to secure the lid to the upper half of the case, which works well with PLA. Install ownCloud: To install ownCloud, I referred to various guides available online. The guide on http://www.techjawab.com/2014/08/how-to-setup-owncloud-7-on-raspberry-pi.html provided a solid foundation for installation. However, using SQLite proved to be too slow, so I followed the instructions in https://forum.owncloud.org/viewtopic.php?t=14964#p38141 to set up and install MySQL instead. I also used http://www.htpcguides.com/nag-free-dynamic-dns-raspberry-pi/ to set up a dynamic DNS entry for easy access. So far, my setup is working smoothly!
With this file you will be able to print ownCloud Raspberry Pi Case + HDD with your 3D printer. Click on the button and save the file on your computer to work, edit or customize your design. You can also find more 3D designs for printers on ownCloud Raspberry Pi Case + HDD.