PacMan and Ghosts Night Light
thingiverse
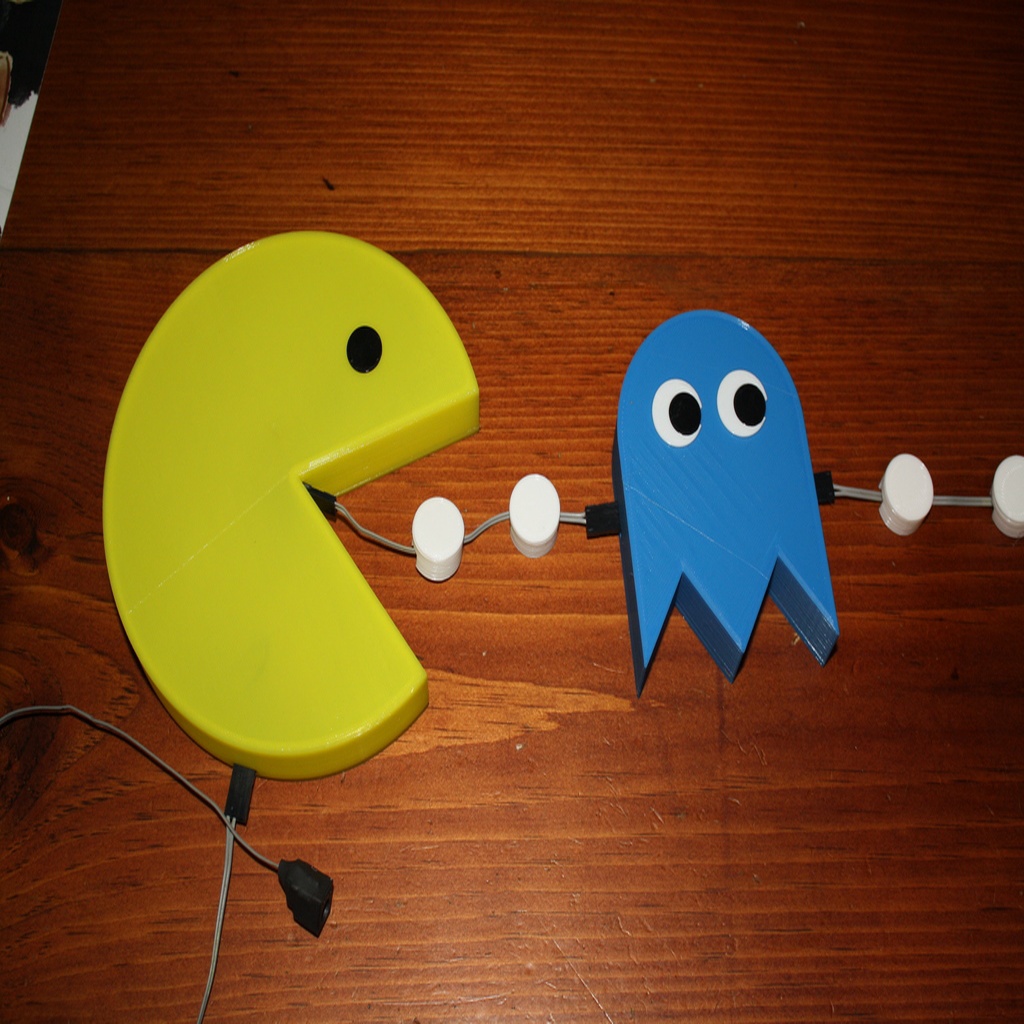
I made this for a friend of mine for Christmas and I thought I'd share it with you guys. You will need a few things to make this functional: * LED strips * single pin male headers (I used 8-pin headers, removed the two center pins and cut to size) * mating female connectors (again, 8-pin connectors cut to size) * connecting wire (I used high-density IDE cables, split and cut to length) * interconnecting wire (I used CAT-5 wire, stripped) * power supply appropriate for your LED strips * female connector for said power supply I was originally going to lay the LED strips our around the perimeter of the parts, as you can see in one of the photos, but once assembled, that led to bright hotspots on the face. Instead, I decided to lay the strips out on the rear panel and have them shine upwards. This essentially eliminated the hotspots. The LED strips are connected together, being sure that the wiring used doesn't cast a shadow once the LEDs are turned on. The strips are wired to the short end of two, three pin headers, with the positive side going to the center pin and ground going to both of the two outside pins. Doing it this way ensures that no matter how you hook the wires up (once assembly is completed) there is no wrong way around. The long end is inserted into the holes and affixed using your preferred glue - I used hot glue. The rear panel is then adhered to the face, again with your choice of glue. To make up the connecting wires, you only need to use the center pins and one of the two outer pins. Just be sure that the center pin on each connector is connected together. For the power in connector, wire the power supply female connector to a three pin connector with positive going to the center pin and negative going to either of the two outer pins. Of course, you could just cut the power supplies original connector off and splice in a three pin header directly to the wires if you like. I just liked my approach better. As for the eyes, I found that enabling the [Ironing] feature in Cura helps smooth the tops out and eliminates pin holes in the whites where the nozzle can't reach. Once they are printed, just glue the to the faces with your favorite glue - I like [SCIGRIP 16 10315 Acrylic Cement](https://www.amazon.com/gp/product/B003HNFLMY). Pacman and the ghosts can be hung either with double sided tape or with screws using the provided slot. The dots are designed to be adhered to the wall with double sided tape spaced however you choice along the wire. In one of the photos, I show using two dots per segment as well as three. But space things out however far you like and use as many dots as you like. --- **NOTE** *Due to either a Thingiverse bug or (more likely) shadowbanning, my models no longer show up under the [Newest] listings. If you want to see more of my models, please be sure to 'follow' me. **If you print this, it would really help if you'd post a 'make' so that others could find this model**.*
With this file you will be able to print PacMan and Ghosts Night Light with your 3D printer. Click on the button and save the file on your computer to work, edit or customize your design. You can also find more 3D designs for printers on PacMan and Ghosts Night Light.