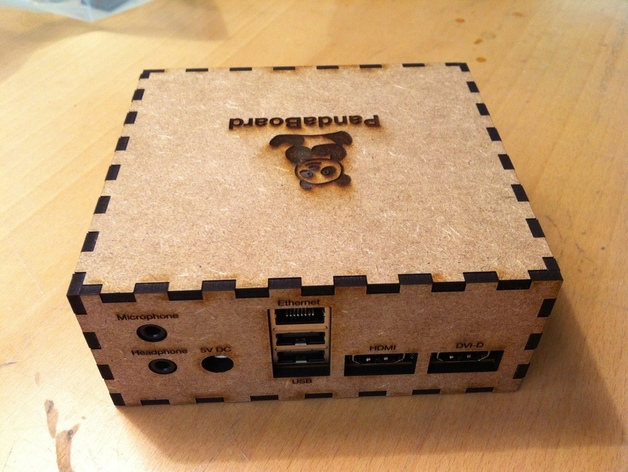
PandaBoard case
thingiverse
For 3.2mm material like wallboard, assemble the case in this order: bottom, backside, inside Pandaboard with audio jacks fitting, right side (RS232/OTG), front, left side, and top. Red-marked parts need engraving; adjust settings accordingly for your laser cutter, such as Epilog. Choose between an open or closed front part depending on your cooling requirements. Assembling two boxes takes approximately 36 minutes using a 30-watt Epilog/Cameo ZING Lasercutter and a 600x400mm wallboard. Don't forget to share if the original Pandaboard works with this design! Contact me at roland.io for more info.
With this file you will be able to print PandaBoard case with your 3D printer. Click on the button and save the file on your computer to work, edit or customize your design. You can also find more 3D designs for printers on PandaBoard case.
