PanelDue 7" and DuetWifi Enclosure Adaption for Rostock Max V2
thingiverse
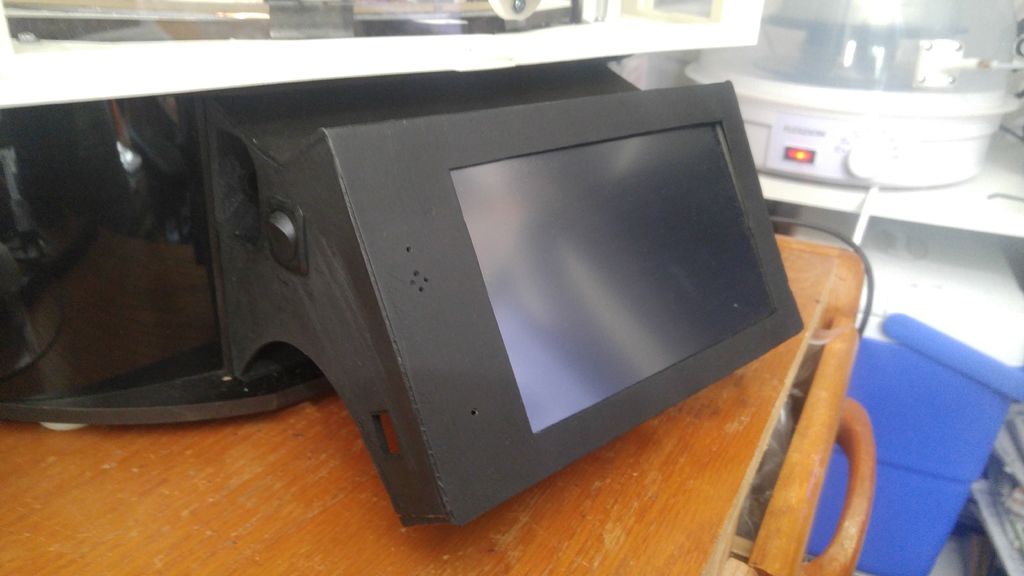
Please note: Paneldue has a new version, Paneldue 7i, with slightly different mounting positions. Since I don't have the 7i, I can't make adjustments myself, but upon request, I can upload the file in whatever Rhino can export the object as. I've been meaning to upload this for a long time. This little adaptation does it all! I moved the power switch to the front and placed my light switch on the other side. Since the Duetwifi is too big to fit inside the Rostock Max V2 base, I adjusted the panel so you can wedge the Duet partially in the base, with the rest outside my Paneldue adaptation. I had it protruding just enough to allow inserting an SD card into the PanelDue without my enclosure getting in the way. I could have made the top straight, but where's the fun in that? You may need to bring the printer to the edge of the desk to place the adaption, but you can move the printer back in place afterward. I included STL files for printing yours without power switch or light-switch holes. When I installed the adaption, I found it difficult to wedge in the Duet due to cables coming out the sides. I added an STL file to compensate, but its effectiveness is untested - let us know if it worked for you! I got my light switch, toggle on/on, from Frys.
With this file you will be able to print PanelDue 7" and DuetWifi Enclosure Adaption for Rostock Max V2 with your 3D printer. Click on the button and save the file on your computer to work, edit or customize your design. You can also find more 3D designs for printers on PanelDue 7" and DuetWifi Enclosure Adaption for Rostock Max V2.