Parameterized Reloading Die Box
thingiverse
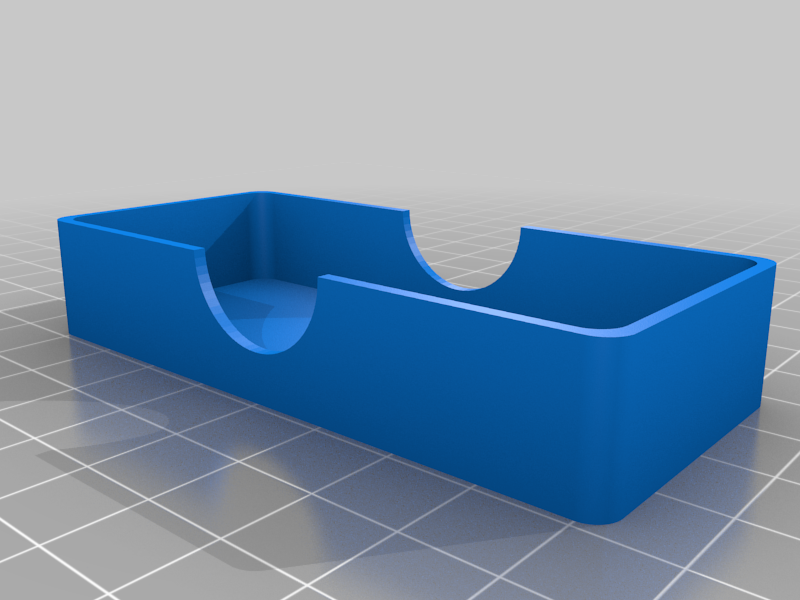
I did a box for two dies side by side with their locking rings "together". I figured by "top and tailing" them the rings would be offset and so It's be smaller and uses less filament. From there it was an easy step to parameterize the whole thing. lidGap: as always controls how tight the lid is. 0.2 works well on my Ender 3. Tight enough to stay on but not so tight it's a pain to take off. dieDiameter:shouldn't change, but here it is just in case... dieLength: this will change depending on brand etc. It's the length of the longest one in the set. ringBottom: "cut in" into the bottom of the box for the locking ring. ringSide: "cut in" into the side of the box for the locking ring. ringThickness: How big is the cut in for the locking ring? ringOffset: How far from the end of the box does the cut in start (end of the cut, not the center) the textSize/text paramaters are obvious. Text can be set to "" numDies: Pretty obvious.. You can replace my Dillon Powder Die Box (https://www.thingiverse.com/thing:5393613) with this one set to: numDies=1 dieLength=78.5; ringThickness=9; ringBottom=3; ringSide=4; ringOffset=29 and set the text how you like.
With this file you will be able to print Parameterized Reloading Die Box with your 3D printer. Click on the button and save the file on your computer to work, edit or customize your design. You can also find more 3D designs for printers on Parameterized Reloading Die Box.