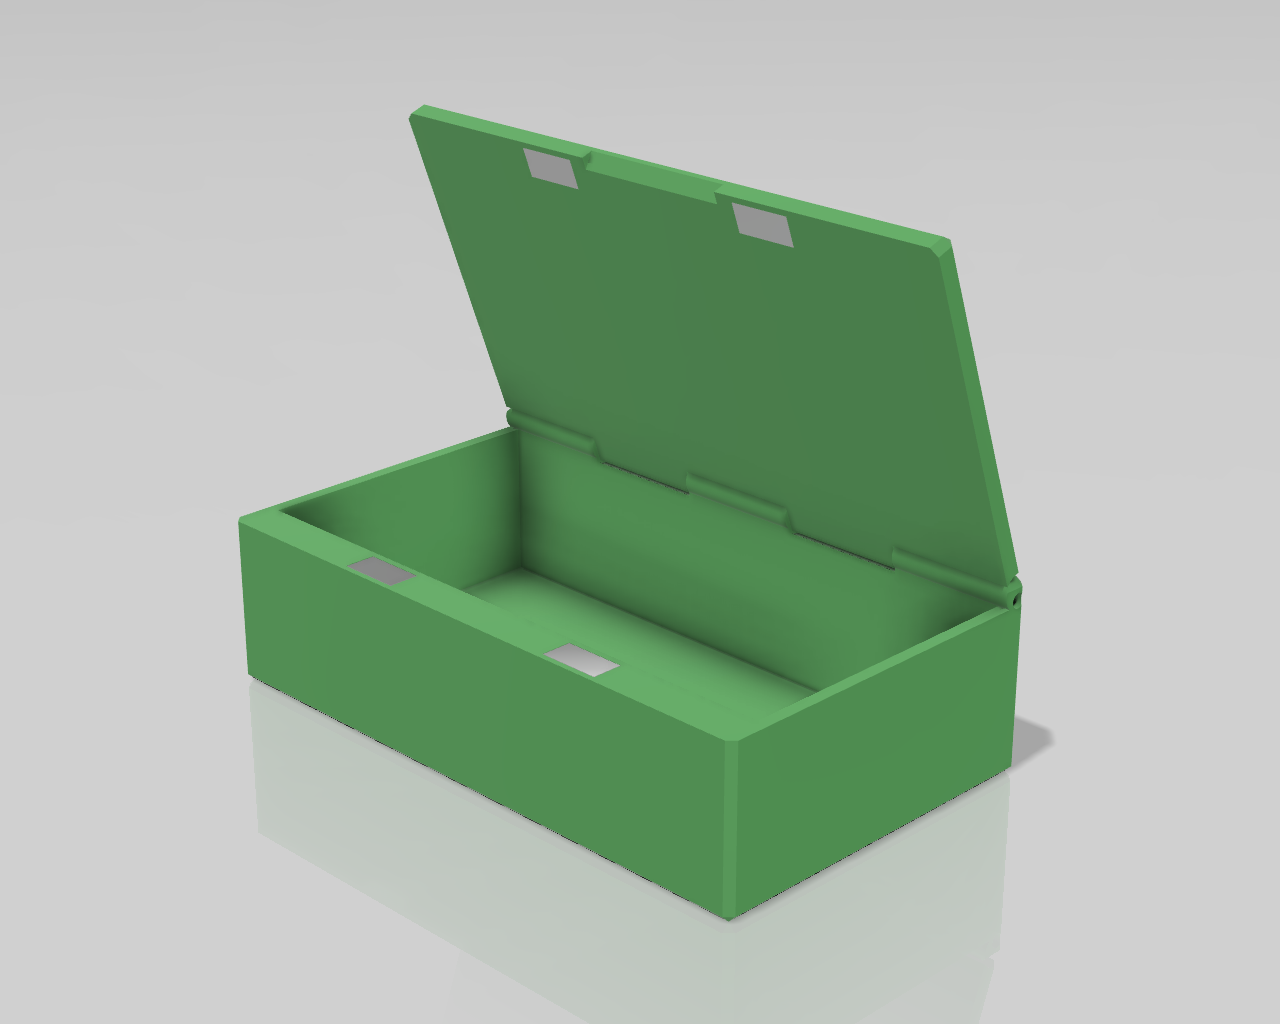
Parametric Box with flush hinges and magnetic closures
prusaprinters
<p>This is a basic hinged box with magnetic closures, fully parameterized in Fusion 360. It is designed with flush hinges for excellent stackability and arrangement.</p><p>It is intended to use 1.75mm filament as the hinge pin. The hinge pin path has tight tolerances but the insertion path is of a low friction design. Inserting the filament should be easy. Once fully inserted, the hinge pin swings into a blocked path so it won't work its way back out.</p><p>Fully parametric, including:</p><ul><li>Inside dimensions</li><li>Magnet sizes for the closure latching, including circular and rectangular variants</li><li>Automatic adjustment of latch wall thickness and magnet positioning for a given magnet size</li><li>Pretty much anything else if you're at least a little familiar with Fusion 360.</li></ul><p>This my first real attempt at a fully parametric model in Fusion 360 and I welcome any comments and advice on how I built it from anyone with more experience. I'm always interested in novel or more efficient ways to construct!</p><h3>Customization:</h3><h4>Adjust Box inner dimensions and magnet size Parameters</h4><ol><li>Open the model in Fusion 360</li><li>Open the Parameters dialog box</li><li>Modify the <strong>inner_*</strong> parameters as desired (length, width, and height).</li><li>Modify the <strong>magnet_*</strong> parameters as desired<ul><li>If you have rectangular magnets adjust length, width, and height</li><li>If you have round magnets adjust diameter and height</li></ul></li></ol><h4>Activate Magnetic Closure Shape</h4><ul><li>In Design mode, be sure the magnet shape you want is <i>not</i> suppressed. Suppress the one you don't want.<ul><li>Rectangular magnets are controlled by the 8th item in the design history (named <i>Rectangular Magnet Extrusion</i>).</li><li>Circular magnets are controlled by the 9th item in the design history (named Circular<i> Magnet Extrusion</i>).</li></ul></li><li>Note that the depth of the magnet holes is automatically .2mm deeper than the magnet thickness by default so that the magnets don't bang together on closing.</li></ul><h4>Edit the text</h4><ul><li>In Design mode, edit the sketch named “Lid Text” to make any desired changes to the text.</li></ul><h4>Printing</h4><ul><li>Print the Box with its bottom on the build plate.</li><li>Print the lid with its top on the build plate.</li><li>No supports are needed.</li></ul><h4>Assembly</h4><ul><li>Put the Box and Lid together in preparation for the hinge pin.</li><li>Cut a hinge pin to length (just shy of the <strong>inner_length</strong> parameter value).</li><li>Insert the hinge pin into the hole on the right-hand end of the box as far as it will go. Use a bit of filament to push the hinge pin all the way in. I recommend PETG or any other durable filament fir for purpose.</li><li>Glue the magnets in place. Don't forget to verify the polarity of the magnets!</li></ul>
With this file you will be able to print Parametric Box with flush hinges and magnetic closures with your 3D printer. Click on the button and save the file on your computer to work, edit or customize your design. You can also find more 3D designs for printers on Parametric Box with flush hinges and magnetic closures.
