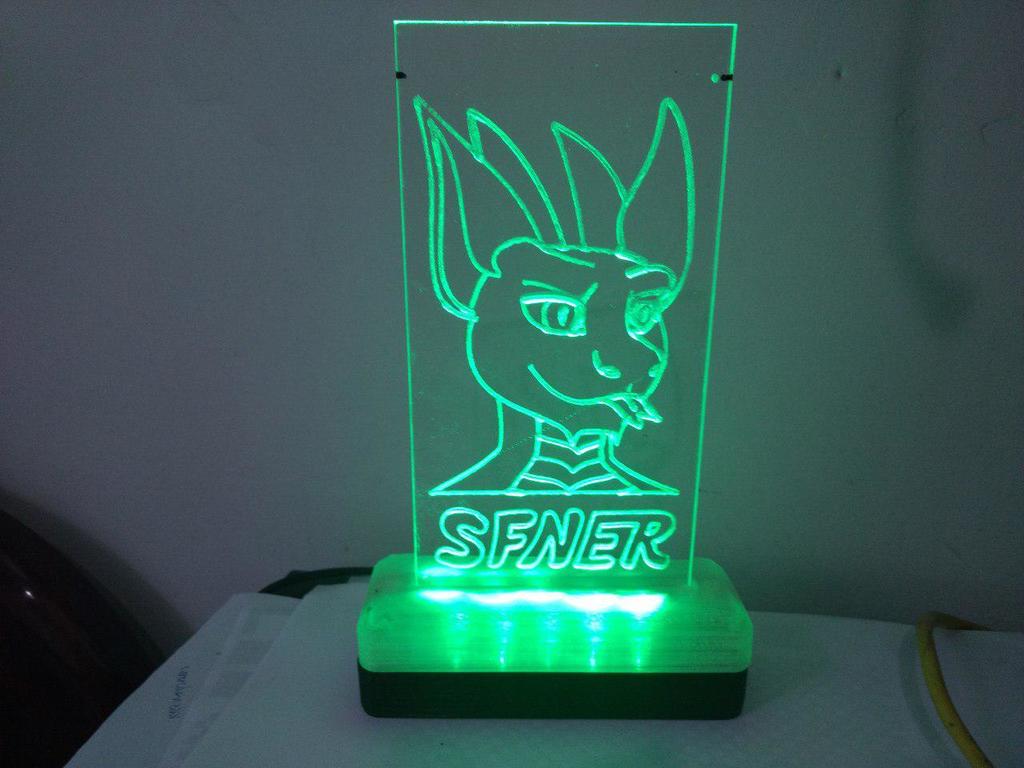
Parametric LED Acrylic Sign
thingiverse
Parametric LED Acrylic Sign. - First, install both GNU Make and OpenSCAD on your favourite Linux distribution. - Edit the parameters at the start of the OpenSCAD file. - Open a terminal and run "make" and wait... a lot! On an i7-4790, it takes from 40 to 50 minutes to generate all the STLs (around 110MB). - Ensure all your dimensions are right by printing the models: `test_led_fit.stl`, `test_sticks_base.stl`, `test_sticks_top.stl` and `test_usb_cage.stl` before continuing. - Print one of each: `bottom.stl`, `bottom_clip.stl`, `top.stl`. - Print `filler.stl` the same number of times specified by `filler_ammount`. - Print `led_stip.stl` the same number of times specified by `acrylic_layers`. - Place all the LEDs inside their holes on the top of the strip, solder all the needed wires, remove the LEDs and reinsert them so the wires have walls making their access harder. Leave some wires to solder the circuit. - Solder the USB port to the wires. - Insert the USB port into its holder. - Cut the "legs" from the `bottom_clip.stl` and use the hot soldering iron to "glue" the USB port in its place by melting the clip in "strategic points". - Use the soldering iron to "glue" the `led_stip.stl` to the `bottom.stl`. - Insert the `filler.stl`s on the stick of `top.stl`. - Assemble `top.stl` and `bottom.stl` together. - Done! The acrylic was engraved [using this mill mod](https://www.thingiverse.com/thing:3406157) with GCode generated by [this Inkscape plugin](https://inkscape.org/~arpruss/%E2%98%85gcodeplot).
With this file you will be able to print Parametric LED Acrylic Sign with your 3D printer. Click on the button and save the file on your computer to work, edit or customize your design. You can also find more 3D designs for printers on Parametric LED Acrylic Sign.
