Parametric Traffic Light Model
thingiverse
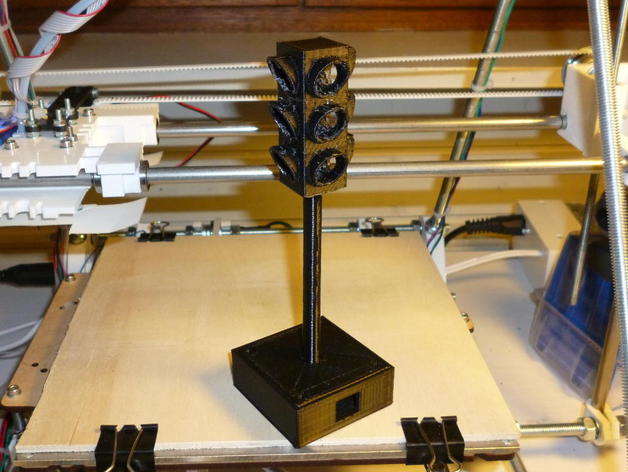
Make a 3D model of a traffic light in OpenSCAD for your desk-mounted USB-controlled traffic light. Utilize the electronics described on this GitHub repository: https://github.com/holgero/XFD to operate it. Watch it function here: http://www.youtube.com/watch?v=HyK4Re3XgTo. Customize sizes in the scad file and render corpse(), shaft(), or casing() modules individually as STL files, or use the provided ones. If you activate the "if (plate)" section, it will render all three parts at the same level. However, I didn't use this due to issues with the corpse affecting other parts. If not using USB control, remove the USB hole in the casing. Print each STL file with 0.4 mm layer height and add support only for the corpse (though it might not be necessary on most printers). Assemble LEDs in the corpse, thread wires through the shaft to the casing, glue corpse to shaft if needed, and connect everything to the controller circuit in the casing. Lastly, screw the base plate of the shaft to the casing, and fill the corpse with hot glue for a better appearance.
With this file you will be able to print Parametric Traffic Light Model with your 3D printer. Click on the button and save the file on your computer to work, edit or customize your design. You can also find more 3D designs for printers on Parametric Traffic Light Model.