Parking disc v2
prusaprinters
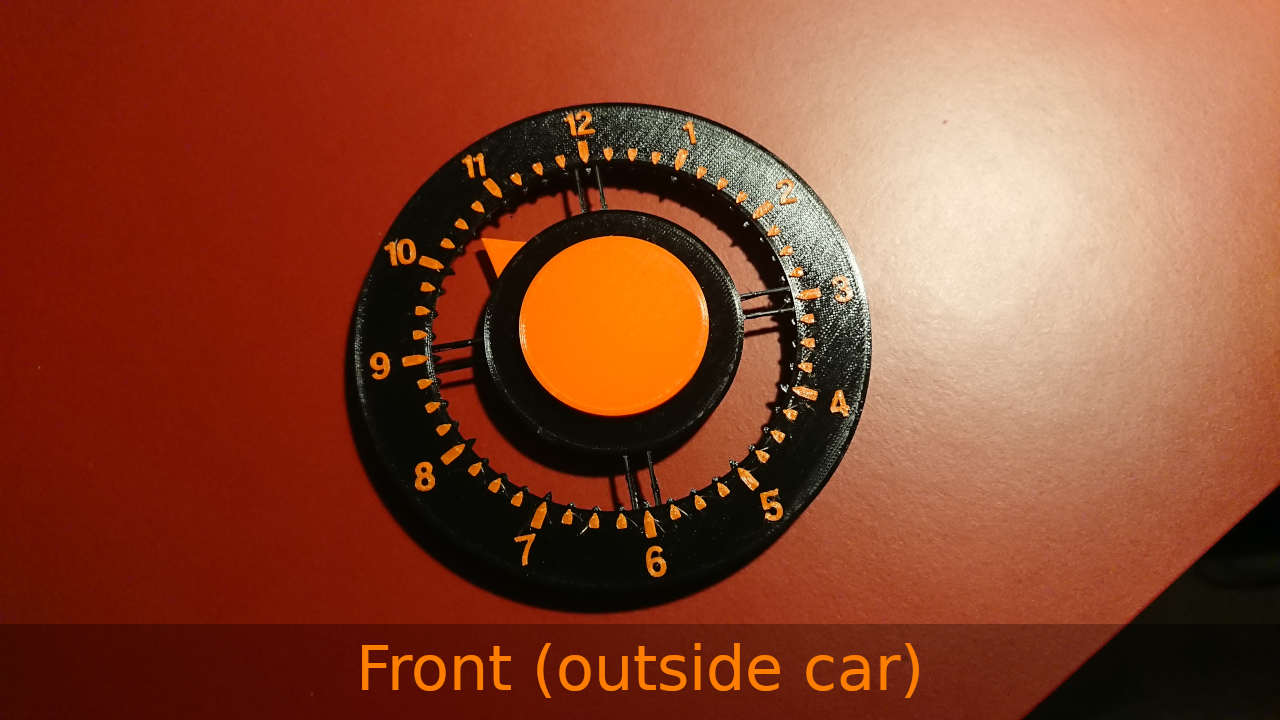
<p>This is v2 of my parking disc print. It consists of 3 parts:</p><ul><li>The clock itself</li><li>The pointer</li><li>The back plug</li></ul><p>NO SUPPORTS NEEDED FOR ANY OF THE PARTS!</p><p>The back plug comes in 2 variants. The first one needs no extra attention after printing. The second one has a springy arm, that allows for better stability of the pointer. Both plugs work, but the one with the springy arm is vibration proof. It requires a bit of care to print it right, so I highly suggest printing it with the provided gcode. When the springy plug is done printing, you need to gently detach the spring from the back using a flathead screwdriver. If you overdo this, you will break the arm.</p><p>The clock itself has 2 color changes throughout the print. BEGIN WITH ORANGE! The first couple of layers should be printed orange, which allows for better telling the time using the taps from inside the car (see pictures). After a few layers the gcode will ask for filament change. Change it to black! When the majority of the clock has been printed, it will ask for a filament change again. Change it back to orange! It will then print the numbers in orange as seen in the pictures.<br>Also note that the spacers between the outer and inner ring of the clock, will not be printed during the first few layers. This is intentional! To avoid them having an orange back, which might be confused with the pointer when looking at the clock from the front, they won't be printed during the initial orange layers. It will work without supports! But you will need to clean them up slightly after printing.</p><p>The pointer is simple to print and needs to extra attention.</p><p><strong>ASSEMBLING INSTRUCTIONS:</strong></p><p>Gently lay down / push the pointer over the plug. Apply some glue to the very top of the plug and push the clock down on top of it so the bumpers reach into the holes on the clock. If you are using the springy plug, I suggest having the spring pointing downwards.</p>
With this file you will be able to print Parking disc v2 with your 3D printer. Click on the button and save the file on your computer to work, edit or customize your design. You can also find more 3D designs for printers on Parking disc v2.