Parkside battery to Ryobi tool adapter
thingiverse
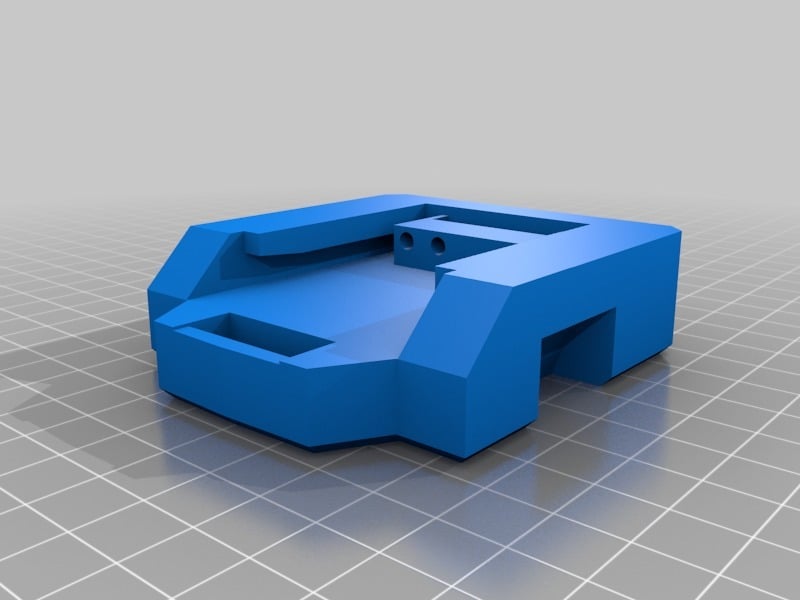
Parkside battery adapter for Ryobi tool. ================ Mixed two pieces of work together, I admit that. Did some modifications so they fit together. You need to print: - 1x top - 1x bottom - 2x clip And extra: - 4x 6.3mm Faston male crimp connector, "blue" (accepts 1.5 - 2.5 mm2 cable) but without the plastic protective tubing - 2x ~10cm cable (I advise 2.5 mm2) - CA glue or any "fast" glue - 1x some small spring (from a pen, split in half) __a)__ - 4x M3 screws - 4x metal M3 threaded inserts that you put in with heat (f.e. with soldering iron) __b)__ - or just glue it togehter :-) (but watch the alignment!) Put the cable through the holes, crimp or solder the connectors, glue them in place. If something is tight, help it with a little heat (soldering iron), but be careful. It should work 99% straight out of the printer. **Connecting just the two connectors on each side (+ & -) works for the tool, but don't try to charge it with Ryobi charger. Charge the battery with Parkside charger only!**
With this file you will be able to print Parkside battery to Ryobi tool adapter with your 3D printer. Click on the button and save the file on your computer to work, edit or customize your design. You can also find more 3D designs for printers on Parkside battery to Ryobi tool adapter.