Parts for installation frame struts on TT Bluer Plus
thingiverse
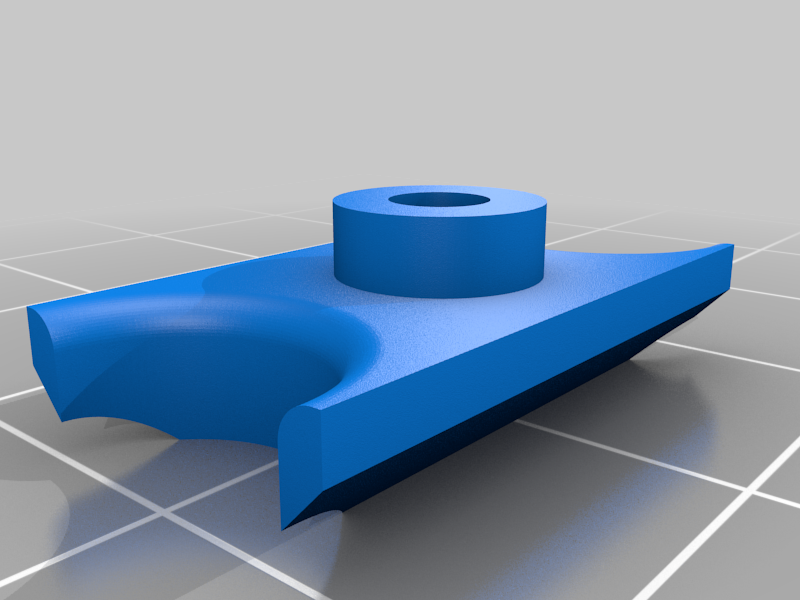
Here I have posted printed parts for installing frame struts on the printer Two Trees Bluer Plus. Used filament PETG No supports needed infill 50% Layers height 0.2mm To install the frame struts, you will need two aluminum tubes 710mm long and 12mm outer diameter, as well as parts 1, 2 and 3, which must be printed out in two. Both tubes must be riveted on each side. In the upper part it is necessary to rivet the tube to a length of 35mm, the lower to a length of 30mm. You can flatten the ends of the tubes using a bench vise. In the tubes, you need to make two holes at each end, stepping back about 7mm from the edge. Hole diameter 4mm. It is necessary to cut an M4 thread in the frame, but it is not needed to make a thread in the base. Assembly instructions. Unscrew the bolts and remove the plastic holder for the Z axis on the frame. This will give you access to the profile slots. Unscrew the upper bolt of the upper cross-mount of the frame. Insert the printed part 1 into the slot and push it all the way. The part should rest against the lower bolt. Insert and screw back the top bolt. Part 1 is fixed. Replace the plastic holder for the Z-axis and fix it with the screws. Do the same for the other side of the frame. Using the hole in part 1 as a guide, drill a hole with a diameter of 3.3-3.5mm in the frame to a depth of 1-1.5 cm. In the resulting hole, cut the thread with an M4x0.7mm tap. Do the same on the other side of the frame. After the thread is ready, screw on the tube with an M4x0.7 screw and about 20mm long using a spacer (part 2). The spacer is needed so that the print head can reach the end switch of the X axis without obstacles. The lower part of the tube is not secured. It is necessary to make a hole in the housing. To do this, move the bottom of the already drilled tube closer to the front of the housing. Using the prepared hole in the tube as a guide, mark and drill a hole in the printer body. The inside of the case is empty, so the drill can go in by 2-3 cm and will not damage anything. However, it is better to remove the bottom housing cover and control everything during the drilling process. To fix the lower edge of the tube, use M4x0.7 screws, about 10-12mm long. You will also need two nuts M4 and two printed washers (part number 3), one on each side of the body. Plastic washer 3 inserted between the tube and the body The nuts will have to be held with a wrench from the inside, which is not very convenient, since there is little space. Now you must secure the tube and tighten the screws on all sides, replace the bottom cover of the bottom of the case in place and set the printer in its normal position. Now you can print. Attention! The height of the printed item will decrease by 1.5-2 cm. instead of 40cm you can print items about 38cm high.
With this file you will be able to print Parts for installation frame struts on TT Bluer Plus with your 3D printer. Click on the button and save the file on your computer to work, edit or customize your design. You can also find more 3D designs for printers on Parts for installation frame struts on TT Bluer Plus.