PCB Etch Tank
thingiverse
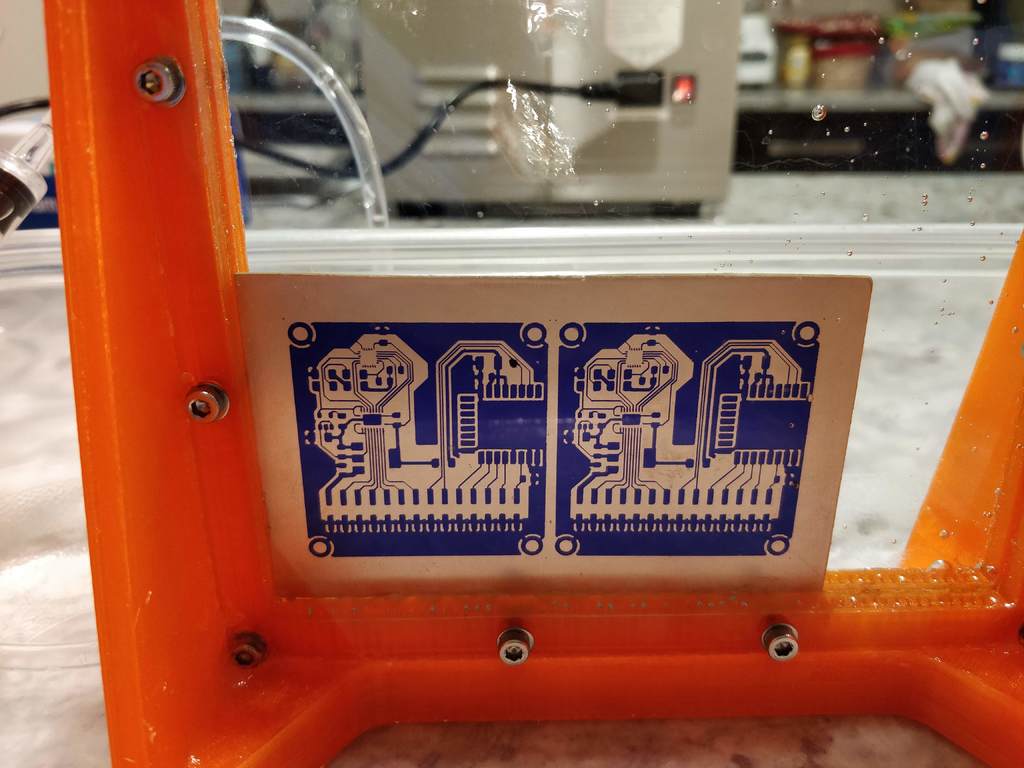
This is a compact PCB etching tank for boards with the size up to 5" x 5". Main advantage over the version you can buy from amazon for $80 is that it is small enough, so does not need big volumes of enchant to be mixed and then disposed. # Required tools and materials: * Two 1/8 6"x6" clear acrylic sheets (https://www.ebay.com/itm/CLEAR-ACRYLIC-PLEXIGLASS-1-8-X-6-X-6-PLASTIC-SHEET/271859055001) * 22x M3 screws 6..12mm length * A tube of silicone glue for sealing the glass to 3D printed frame. * 6" aquarium stone with up to 14 mm in diameter (found on PetCo). https://www.petco.com/shop/en/petcostore/product/jw-pet-anchor-bubbler-6-inches-1452401 * Any aquarium air pump. This one has the best power output for the money: https://www.amazon.com/gp/product/B008ILGHAU * A drill/dremel with 3 mm drill bit, cutters,screwdriver and some file or send paper; # Assembly instructions: * Print the parts. Scale them accordingly to the exact size of acrylic sheets so they would fit nicely. The actual size in STL design files is 149x149 mm (the square Plexiglas sheets I've got from eBay were slightly less than advertised 6" x 6" size); * Drill the mounting holes in acrylic sheets; * Apply silicone glue in the corners over the perimeter where sheets are mounted and screw them down; * Take the air-stone and cutters, cut-off the clear anchor mounts from it. But leave the input nozzle intact. So that you will get it to a cylindrical shape that can be inserted at the bottom of tank frame. When inserted - apply a silicon glue around the nozzle and screw-down the cover plate. (in my version, instead of 3D-printing the cover plate for the stone - I've used my 5W laser engraver to cut it out from 1/16 thick black Plexiglass https://www.thingiverse.com/thing:2791931). # Note: If you fail to get the right size of the aquarium air stone - that's Okay. You can simply use hot plastic glue gun to glue in an input air nozzle (you can cut it off any other stone or T or Y air pipe connectors sold in pet-stores). You don't need an even air-bubble distribution during etching. The purpose of bubbling - is to agitate an enchant in the tank, so it will circulate well enough to prevent gas bubble piling up near metals. # !!! USE ON YOUR OWN RISK !!! * You should understand the dangers of dealing with aggressive chemicals and use proper protection gear. * Wear protective gloves and glasses. * Rinse your hands under running water immediately after any contact with chemicals (even if you wear gloves - you may then touch/rub your face accidentally, or touch something else around you and it may get damaged by tiny drops of enchant from your gloves). * Setup everything in a well-ventilated space, especially if you etch with H2O2+HCl (it may release chlorine gas, which is highly toxic)! * Be careful if using fully-immersible water heater, unplug it every time before touching anything. * Dry your hands before plugging/unplugging air bubbler and/or water heater, to avoid electrocution.
With this file you will be able to print PCB Etch Tank with your 3D printer. Click on the button and save the file on your computer to work, edit or customize your design. You can also find more 3D designs for printers on PCB Etch Tank.